We may earn money or products from the companies mentioned in this post.
Have you ever wanted to go on a safari?

Today I am going to take you with me on a drive-through Safari. We are going to open my art journal and learn to draw one of the many animals to be seen on this safari. My husband, baby girl, and I went to a drive through safari in Nebraska City. We had a great time getting out of the house and seeing some animals we had never seen in real life before.
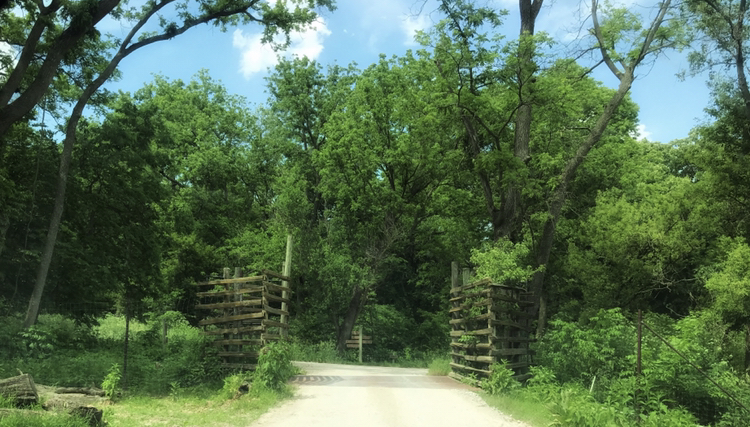
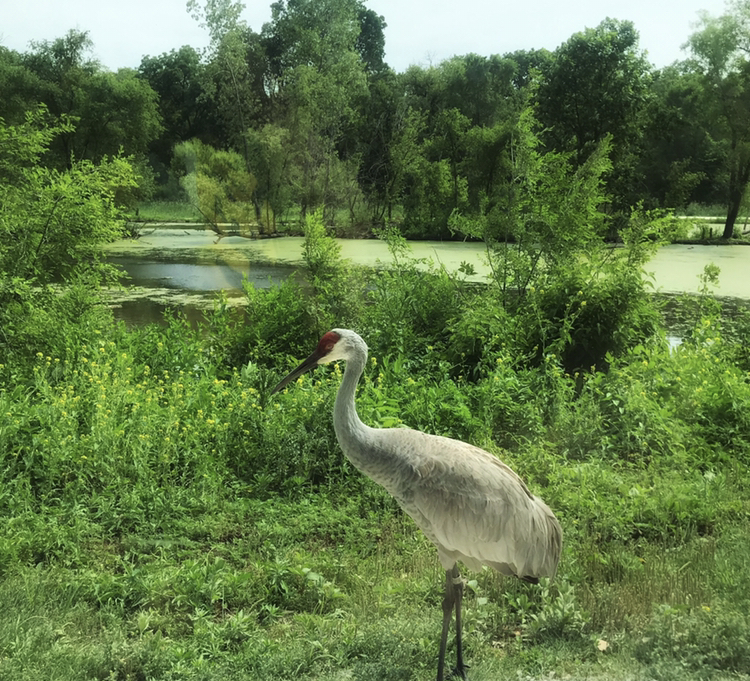
The animals we saw were elk, white tailed deer, buffalo, and many others. This location made us really feel engulfed in the safari experience. We drove through many wooden gates hidden in the trees, and by many murky lakes and streams filled with all different types of birds. Today we are going to learn to draw one of those beautiful birds.
But before we can paint we need to draw an outline to of our crane follow. There are 4 easy steps on how to draw the outline and 2 steps to paint the crane. When following these steps use a pencil cause you will need to erase some marks as you follow along.
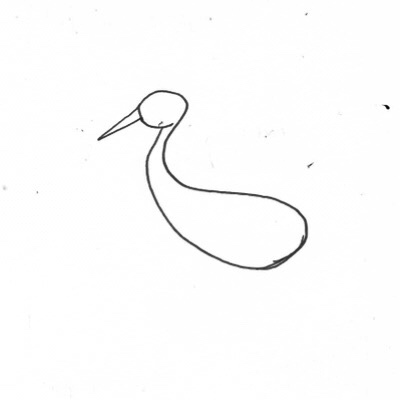
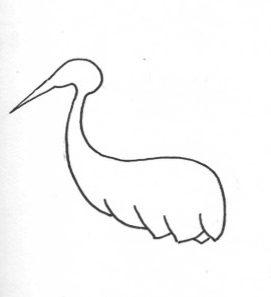
Step 1:
Begin by drawing a circle for the head then connect a thin triangle angling down off the left side of the head. Next, draw curved lines for the neck. Picture the head and neck making a S shape, this will help you get the neck curved correctly. Lastly, for step 1, draw an oval for the body. The oval should have a slight slant down to the right.

Step 2:
Step 2 is very simple, but it will make a big difference. Erase the line between the neck and the body.
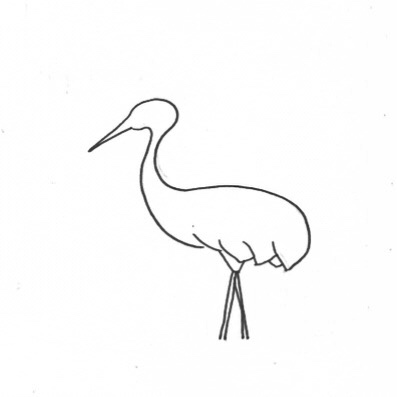
Step 3:
Next, erase the lines between the beak and the head, and the head and the neck. Now lets add some details to our crane. Add curves to the bird’s head and feathers to the body.
Step 4:
The very last step is to add the legs. Draw a triangle with a rounded tip for the thigh, and draw to straight lines down for the legs, but have the right leg angled to the right.
Before we can move onto painting, we need to trace the pencil marks with a waterproof ink pen, and then erase the pencil marks once the ink is dry. Be patient and don’t get to hasty and erase your pencil marks immediately after you trace, it may cause the ink to smear.
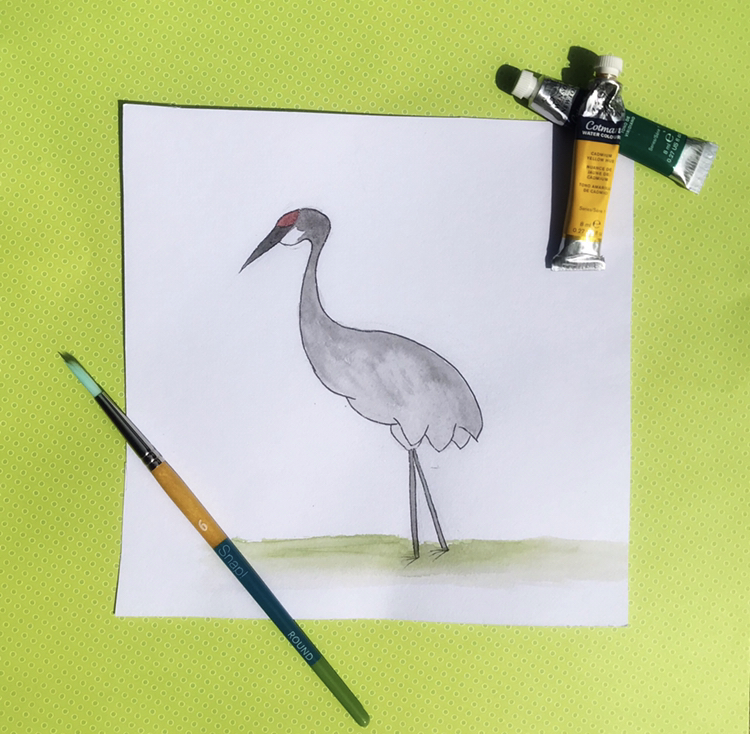
Now to Paint!
Its time to get out our paint supplies. You will need a couple glasses of water, paint, brushes, paper towel, and a paint pallet! We will only be using two colors today, Ivory Black and Alizarin Crimson Hue.
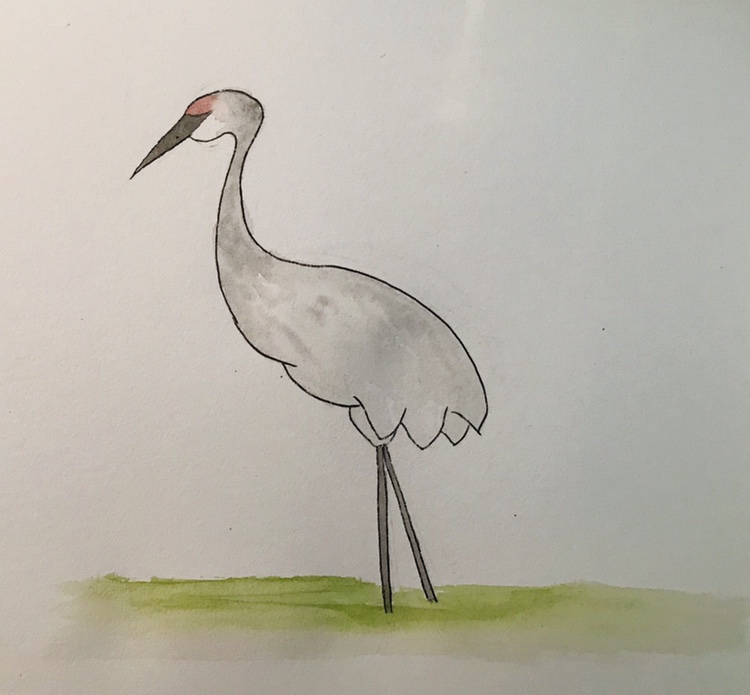
Step 5:
Take a small amount of the Ivory Black and place it on your pallet and water it down to where it has a light grey consistency. This is going to be the first base layer of the crane’s body. Add a little more black to make a darker grey for the beak and legs. While the body is still wet take your darker grey and add feather like brush strokes on the top of the bird’s body. Once your first layer is dry mix and apply the Alizarin Crimson to the top half of the crane’s forehead.
Step 6:
To finish this painting we are going to add another layer to make the colors pop. Use more paint than water so your colors stay rich and vibrant. Use a watered down black to make a dark grey. Add the dark grey to the beak and legs and then add a drop of water to the dark grey and apply over the head, neck, and upper back.
When your painting is completely dry mix a thicker consistency of the Alizarin Crimson and apply over the forehead.
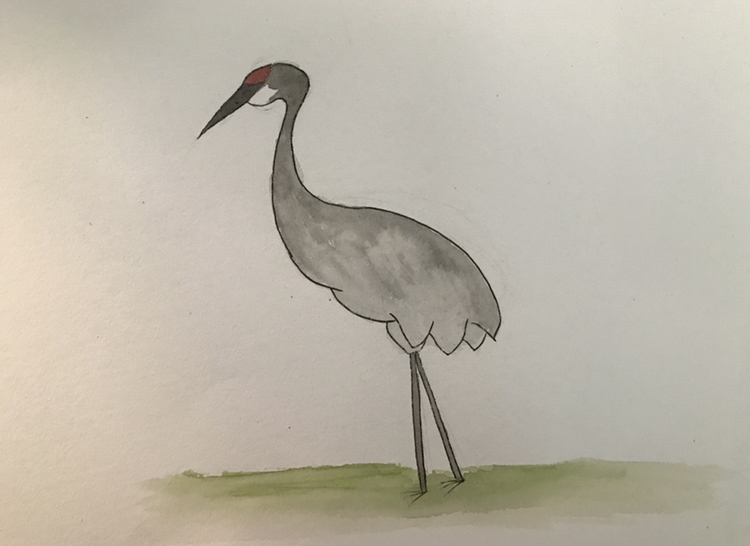
Your Painting Is Complete!
I hope you enjoyed painting with me today. Don’t forget to follow me on Instagram, @reflectingcreation, and Pinterest. Comment below and let me know what bird you would like to doodle next.