We may earn money or products from the companies mentioned in this post.
Let’s Learn To Trace!
Have you ever drawn the perfect picture, but it was on a scratch piece of paper?
Or have you ever tried and tried to draw a picture onto a canvas but had to erase and erase to where you ruined your canvas?
If you have had these problems you are in the right place. Here you will find an easy fun answer to your problems. We are going to learn how to trace a picture onto a canvas.
There are many ways to transfer or trace an image onto a canvas. You can use a lightbox, which would shine a light behind your picture to make the outline show through onto your canvas (if the canvas is very thin).
You could hold your picture and canvas up to a window on a sunny day. Or you could use tracing paper and graphite paper.
The third choice is what I recommend because this method will work on any type of canvas, and because it is super easy.
What Supplies Will You Need To Trace A Picture Onto A Canvas?
Supplies:
- Sketching Paper
- Pencil
- Ink Pen
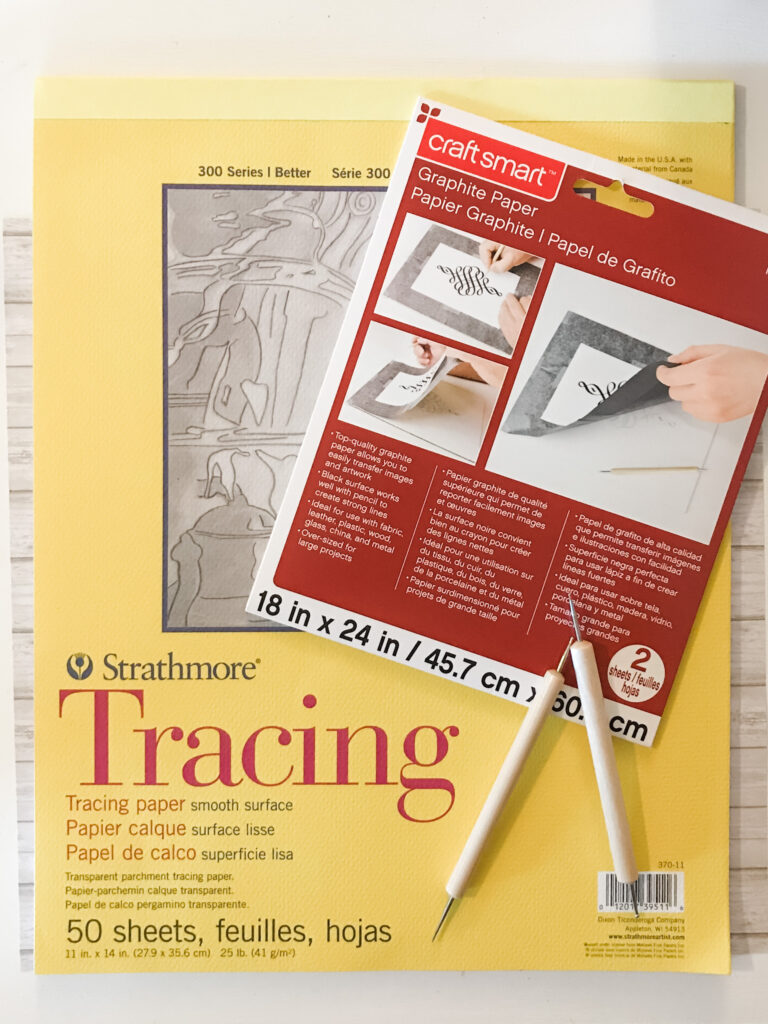
- Tracing Paper
- Graphite Paper
- Stylists
- Watercolor Paper or Canvas
- Low tack painter tape or washi tape
If you would like to see all the art supplies I recommend, check out, “My Supply” page. Click HERE to check it out!
If you would like to trace the same picture that I will be tracing, sign up below to join our emailing family to receive a free printable.
Let’s Start Tracing!
Step 1:
Pick the picture you would like to trace and lay it flat on your desk. Next, place your tracing paper on top of the picture. Now all you have to do is grab your pen and begin tracing your picture onto your tracing paper.
Check out this quick example at the beginning of this video.
Step 2:
Get out your desired canvas and lay it flat on your desk (I will be using 140 lb. watercolor paper).
Next, carefully lay your graphite paper on top of your canvas, then place the picture you would like to trace on top of the graphite paper. Use low-tack painter’s tape or washi tape to secure the three layers in place.
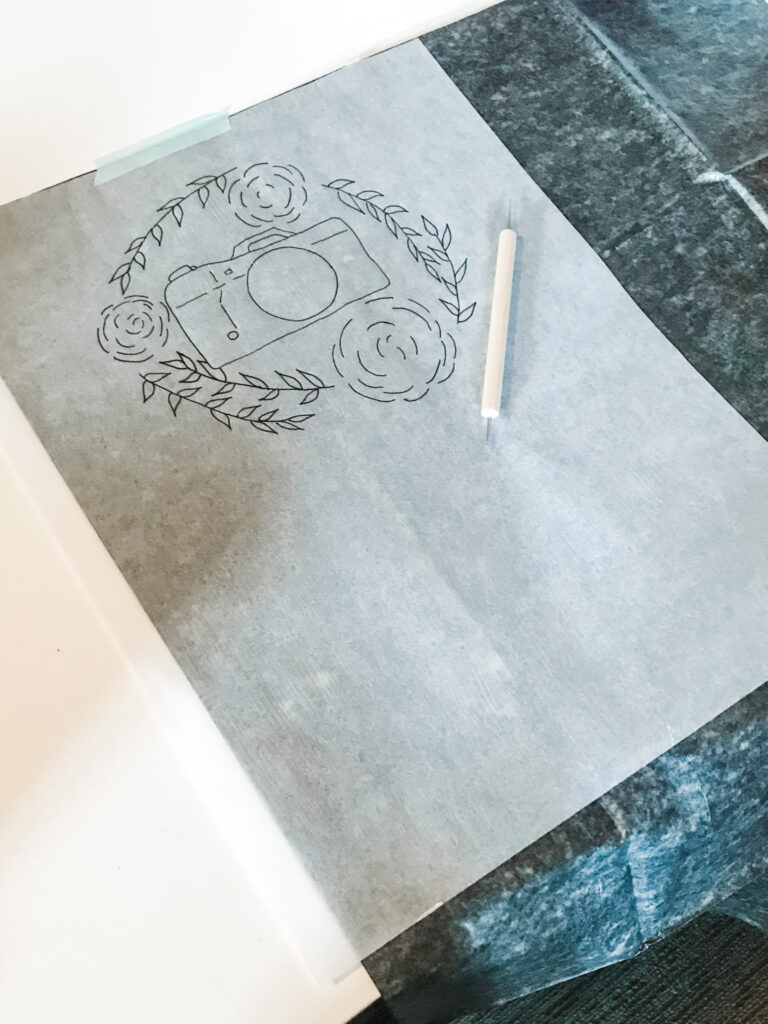
Step 3:
In this last step, all you have to do is take your stylist and begin tracing your picture. Go slow and take your time, because once you trace over the graphic paper you will not be able to erase any mistakes. Occasionally, carefully lift up the graphite paper to check on your progress.
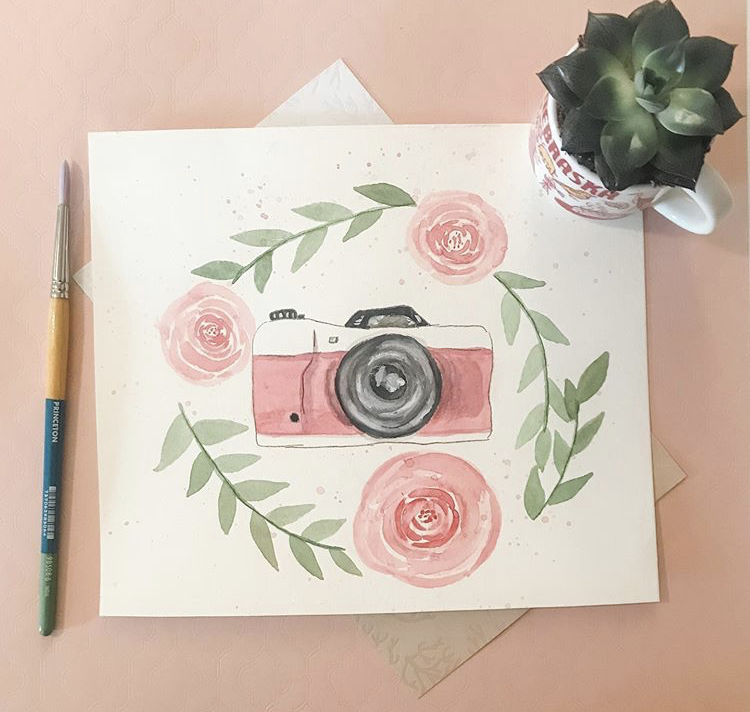
After your picture has been transferred onto your canvas you can begin painting in your masterpiece. It’s great to know that because of tracing a picture onto a canvas you won’t be wasting any money, time, or canvases.
Below is a picture of my final product after I finished tracing my picture onto my canvas, which was 140 lb. cold press watercolor paper.
I hope you enjoyed learning this technique. I know once I discovered it there was no going back! If you found this helpful, please let me know by leaving a comment below.
Don’t forget to follow along on social media to see more paintings and behind the scenes. If you would like to sketch out the same picture that I did in this tutorial, sign up to receive our newsletter and you will receive a free printable.
You always have the best tutorials and posts! Thank you for sharing your knowledge and ideas for making art so much fun!
What a great instructional post. After reading, I feel like I could do this! Thanks.
That looks easy enough.
Nice! I haven’t traced anything since I was a kid probably. Love it!
You made this look so easy.
This is a fun way to be creative when you might not necessarily have a great art talent!
It does look easy! I love how you break art lessons down to manageable levels and directions.
Great tutorial!
You do make this look easy. I’m not the artistic type, but I really did love tracing things when I was a kid. Maybe I could try again!
I enjoyed learning about graphite paper, which I didn’t know existed. A long time ago I remember making a layer of pencil on one side of a sheet of paper so you could use it to make an impression of a design you had on the other side – same idea of transfer, I guess, but so much more even with the graphite paper, I’m sure!
I didn’t even know they made graphite paper! The last time I tried tracing something, I tried to see through the paper. I’m still getting up the courage to start painting. I do have the paints and the brushes though. I love all your tips. They are easy to follow and understand.
Great idea for those of us a bit artistically challenged!
This looks easy but what do you do once you’ve traced it on the canvas?
Wow, super easy! Thanks for sharing this!
Ok, so I do a lot of paintings. And most of them are re-creations of others I’ve seen online. I’ve always done my sketches free hand on the canvas and then painted over it. (I mostly use acrylic.) But I love the idea of using graphite paper and tracing it! I could just print it out to the size I wanted and then draw over it. LOL! Seems so much easier!
This is great! So many ideas are in my head for this now! Thanks!
You are so creative! THank you for igniting my creativity!
How interesting! Great technique to trace onto another surface!
You have the best art-based how-to’s! They’re easy to follow and make it looks so appealing.
Great step by step guide!
oooh what a great idea! I bet you could do the same thing on to any fabric really and then use fabric paint too.
great tutorial! My daughter loves art, especially using canvas!
Thank you! Hope this will be helpful for her. 🙂
Sounds pretty easy. My daughter will like this!
Simple, easy to follow instructions! I’ll share with my granddaughter.
I hope she likes it!