We may earn money or products from the companies mentioned in this post.
Hello friends! Welcome back today we’re going to draw four flower doodles everyone needs to know.
Let’s get started!
Supplies Used:
Notebook Paper
Pencil
Waterproof Ink Pen
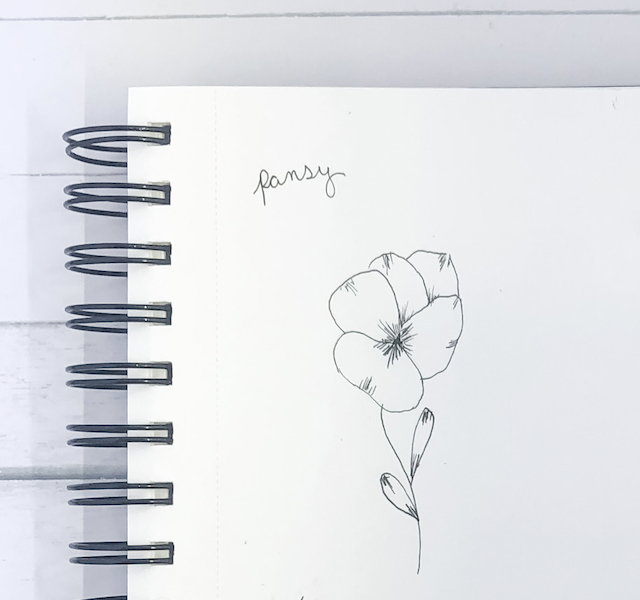
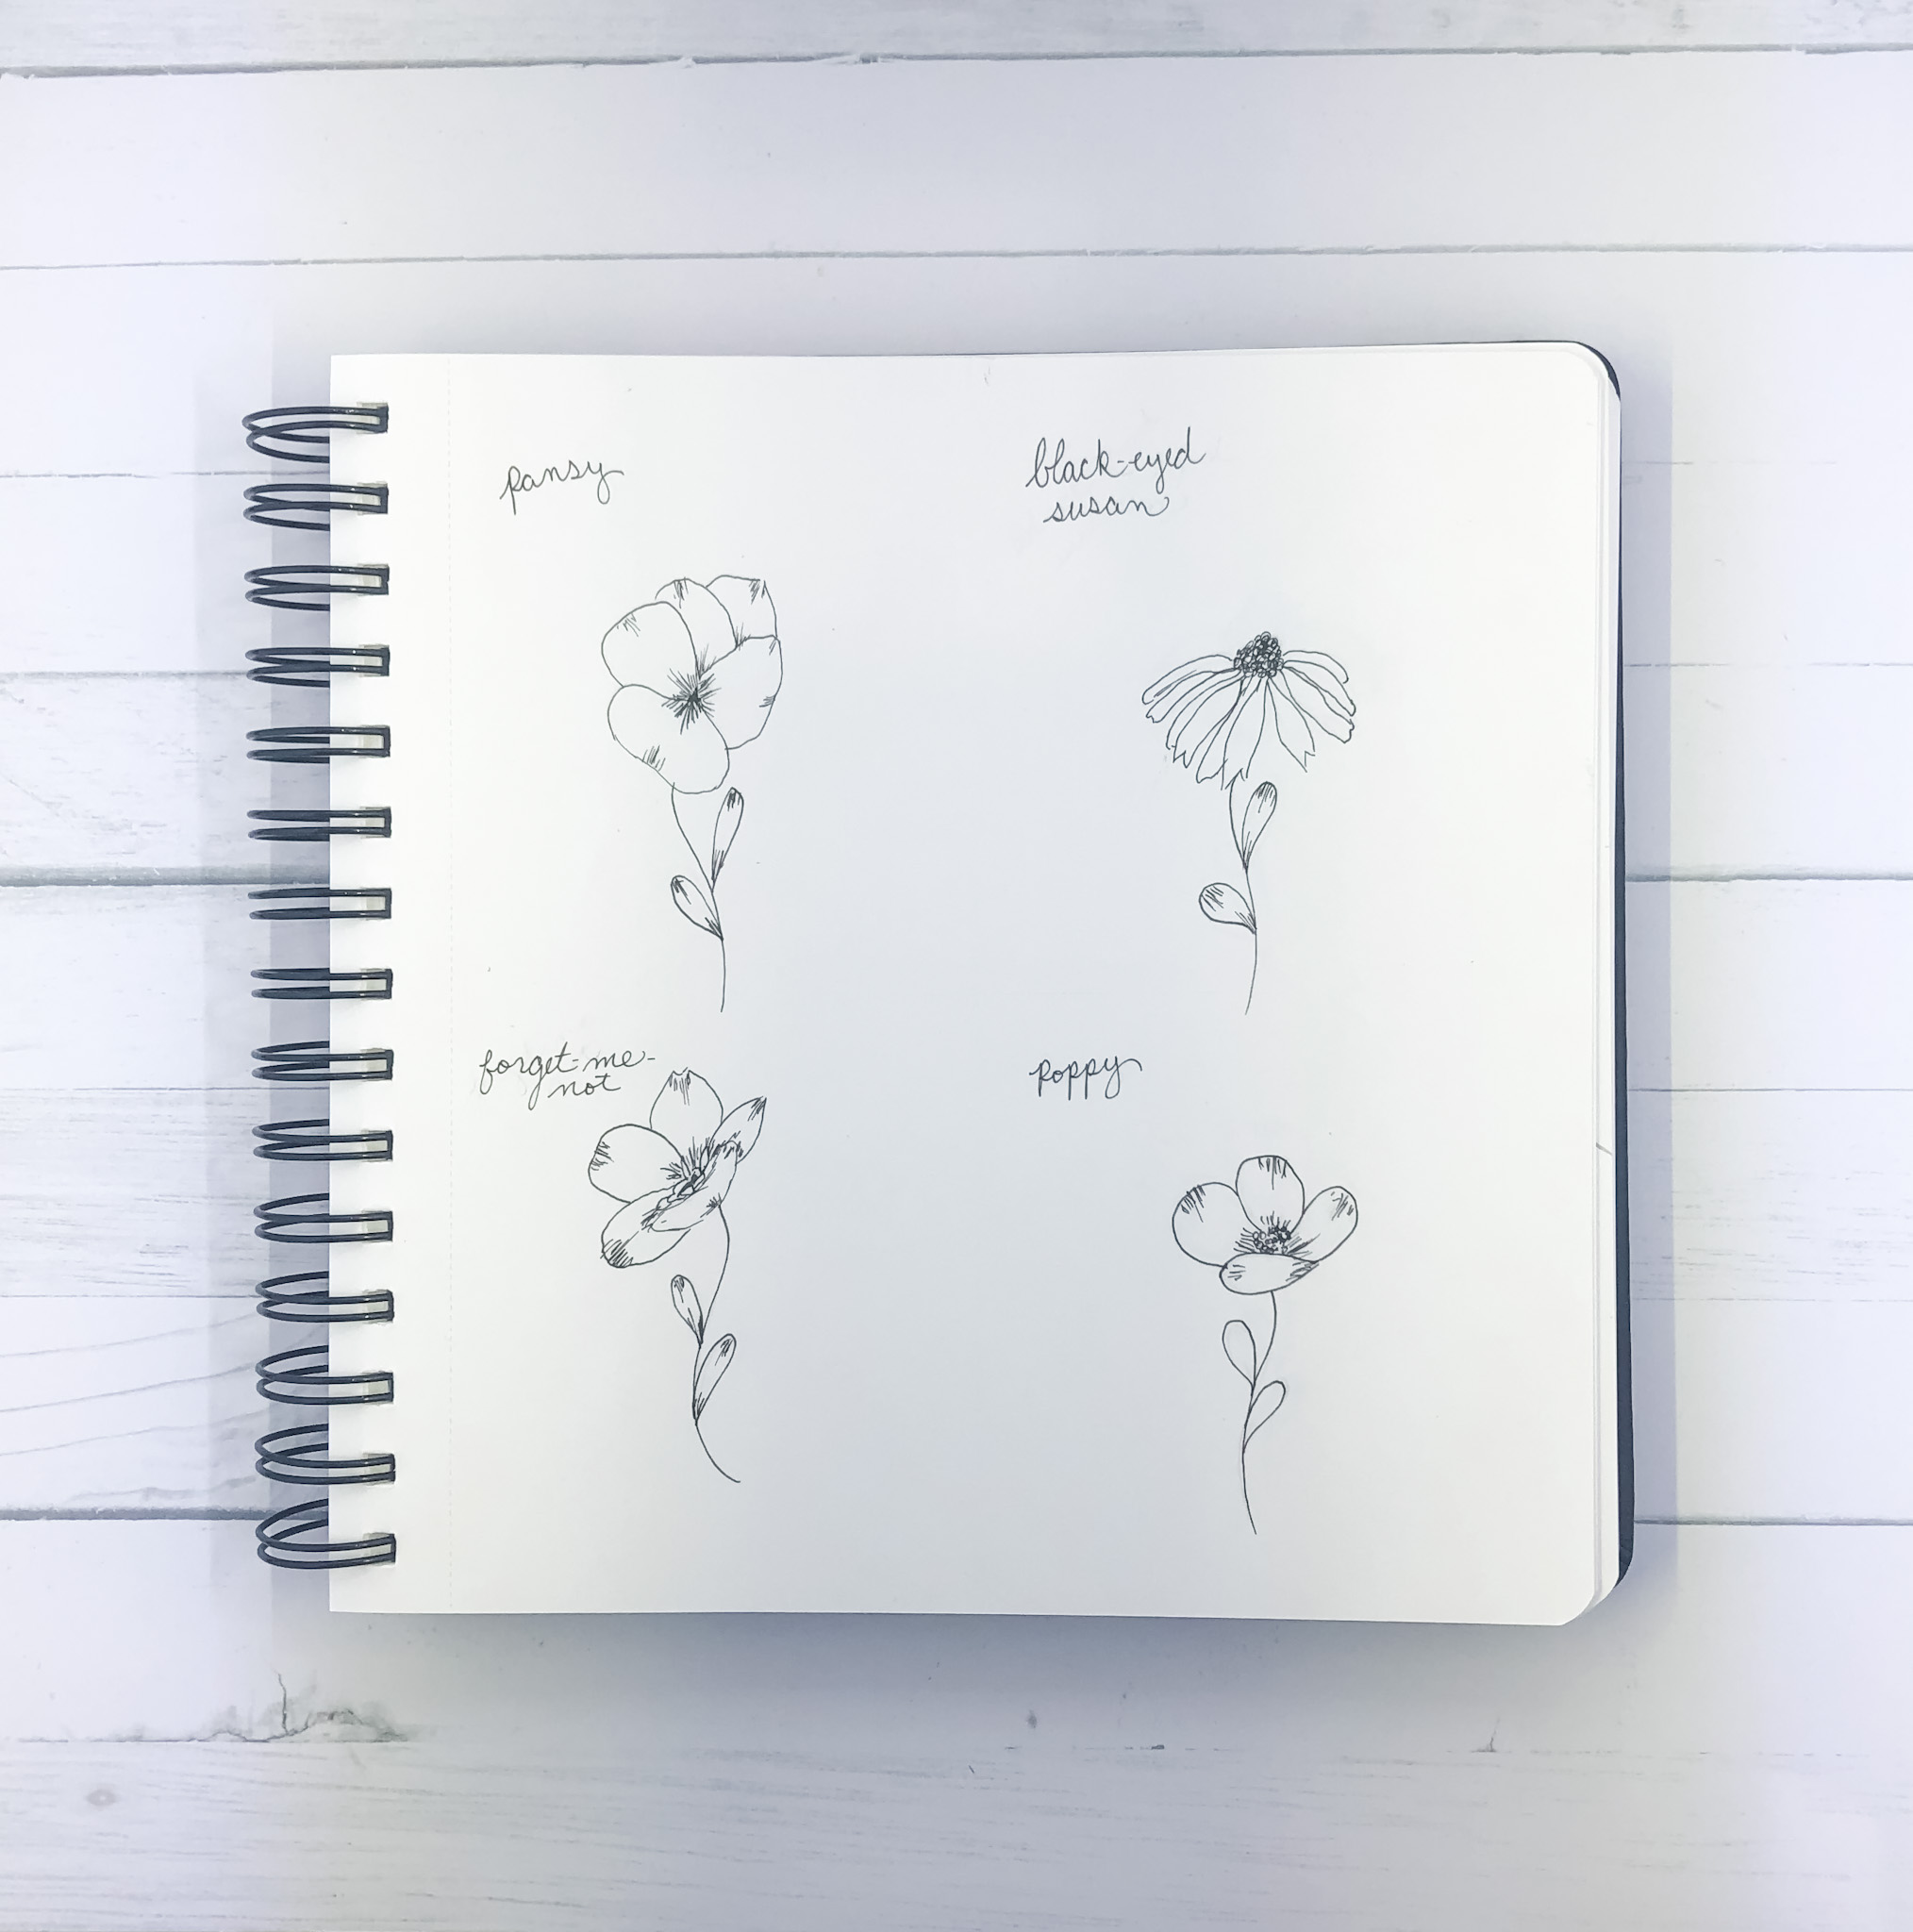
Pansy:
Start with a small triangle for the center of the flower. Then you can start drawing loose big flower petal shapes. I started with three big flower petals right around the center triangle Then I added two hiding behind the top section of the flower.
After I got the five flower petals in place I started messing around with their shape and size till everything look like it was the right proportion.
Then when everything looked good I filled the center triangle in with my pencil making it a dark center.
Then I started adding line shadowing to the flower petals. I just created thin quick lines at the base of the flower petals as well as on the top of the flower petals. I kept my lines longer in the center of my line clusters and kept the rest of the lines shorter on the outside.
To finish off our first flower doodle I added a loose wavy stem and some rounded tipped leaves. The stem and leaves aren’t really realistic, but I thought they gave the doodles a fun look.
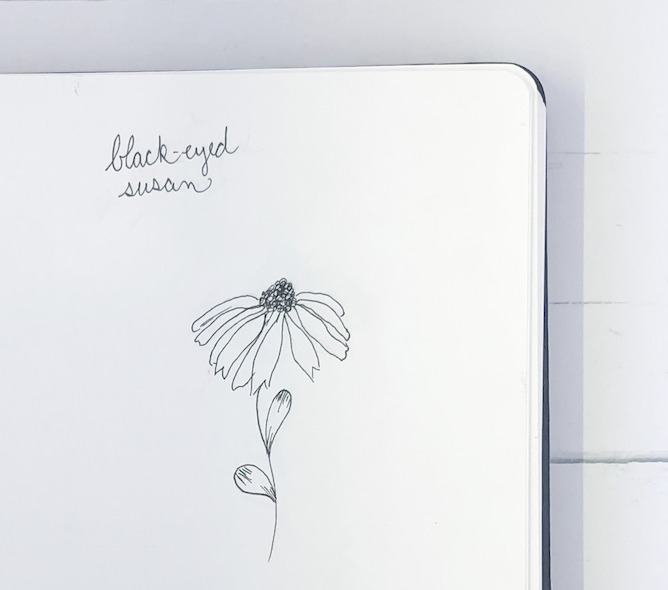
Black-Eyed-Susan:
Next, is our Black-Eyed Susan flower. This flower is a lot of fun to draw and I think one of the simplest out of the four we are drawing. Basically cause of the flower petals which I’ll show you how to draw in a second.
We start this flower with dome shape for the center. Then we fill the dome with small circles, which give the center a black textured look.
The flower petals we are going to add all the way around the bottom of the center are made up of thin jagged flower petal shapes. To me these are pretty easy because of how thin they are it’s a lot easier to make them look good.
Keep the flower petals on the farthest sides of the center a little bit shorter and slightly curved. You’ll also want a couple of the flower petals in the center area to seem like they are overlapping.
I added the same type of stem and leaves to this flower as I did to the first, then I went back and added in my line shading to the flower.
Again I added quick thin lines to create the shadowing at the base and tip of the flower petals.
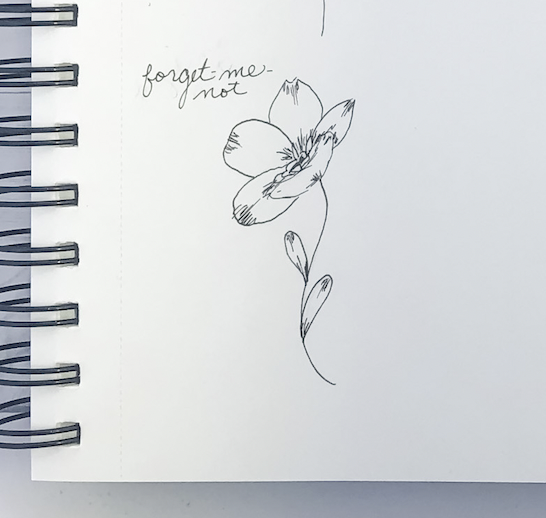
Forget-Me-Not:
Our next flower is a a forget-me-not. And this flower starts with a thin small oval for the center. Then we add smaller circles in side of it. Then we create these weird pointed oval shapes coming off of the center dividing where the petals will be.
We are going to add five petals total to this flower. The first petal is a weird curved cup like shape to create an angled look for the flower. Then the other four are large flower petal shapes similar to what we drew with our first flower.
Once the petals were in place I redefined the center section of the flower then I added my stem, leaves and added my line shading the way we’ve done for all the flowers.
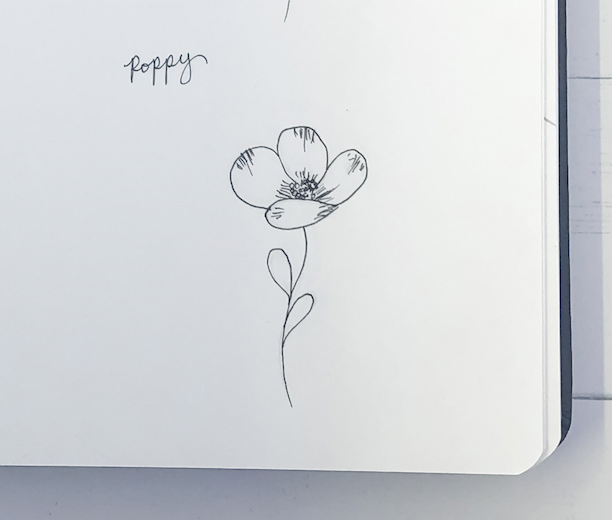
Poppy:
Our last flower is the poppy. We start this flower by drawing a cluster of small black dots for the flower’s center. Then we draw three big loose flower petals on top of that and then one cupped flower petal in the front.
I messed around with the cupped flower petal for a while, but once I thought I had it were I wanted it I added some more black dots to the center and then added my line shading and my stem and leaves.
Adding Black Ink:
The last thing I did was take my small tip black ink pen and traced over everything. Using the black ink pen really makes everything look sharpe and bold and really finishes everything off nicely.
Let me know in the comments if there are more drawing tutorials you would like to see.
These doodles are perfect to put on some bookmark, I have a watercolor tutorial you can check out if you’d like to use these flower doodles to create an easy watercolor bookmark.
One thought on “How to Draw Floral Doodles”