We may earn money or products from the companies mentioned in this post.
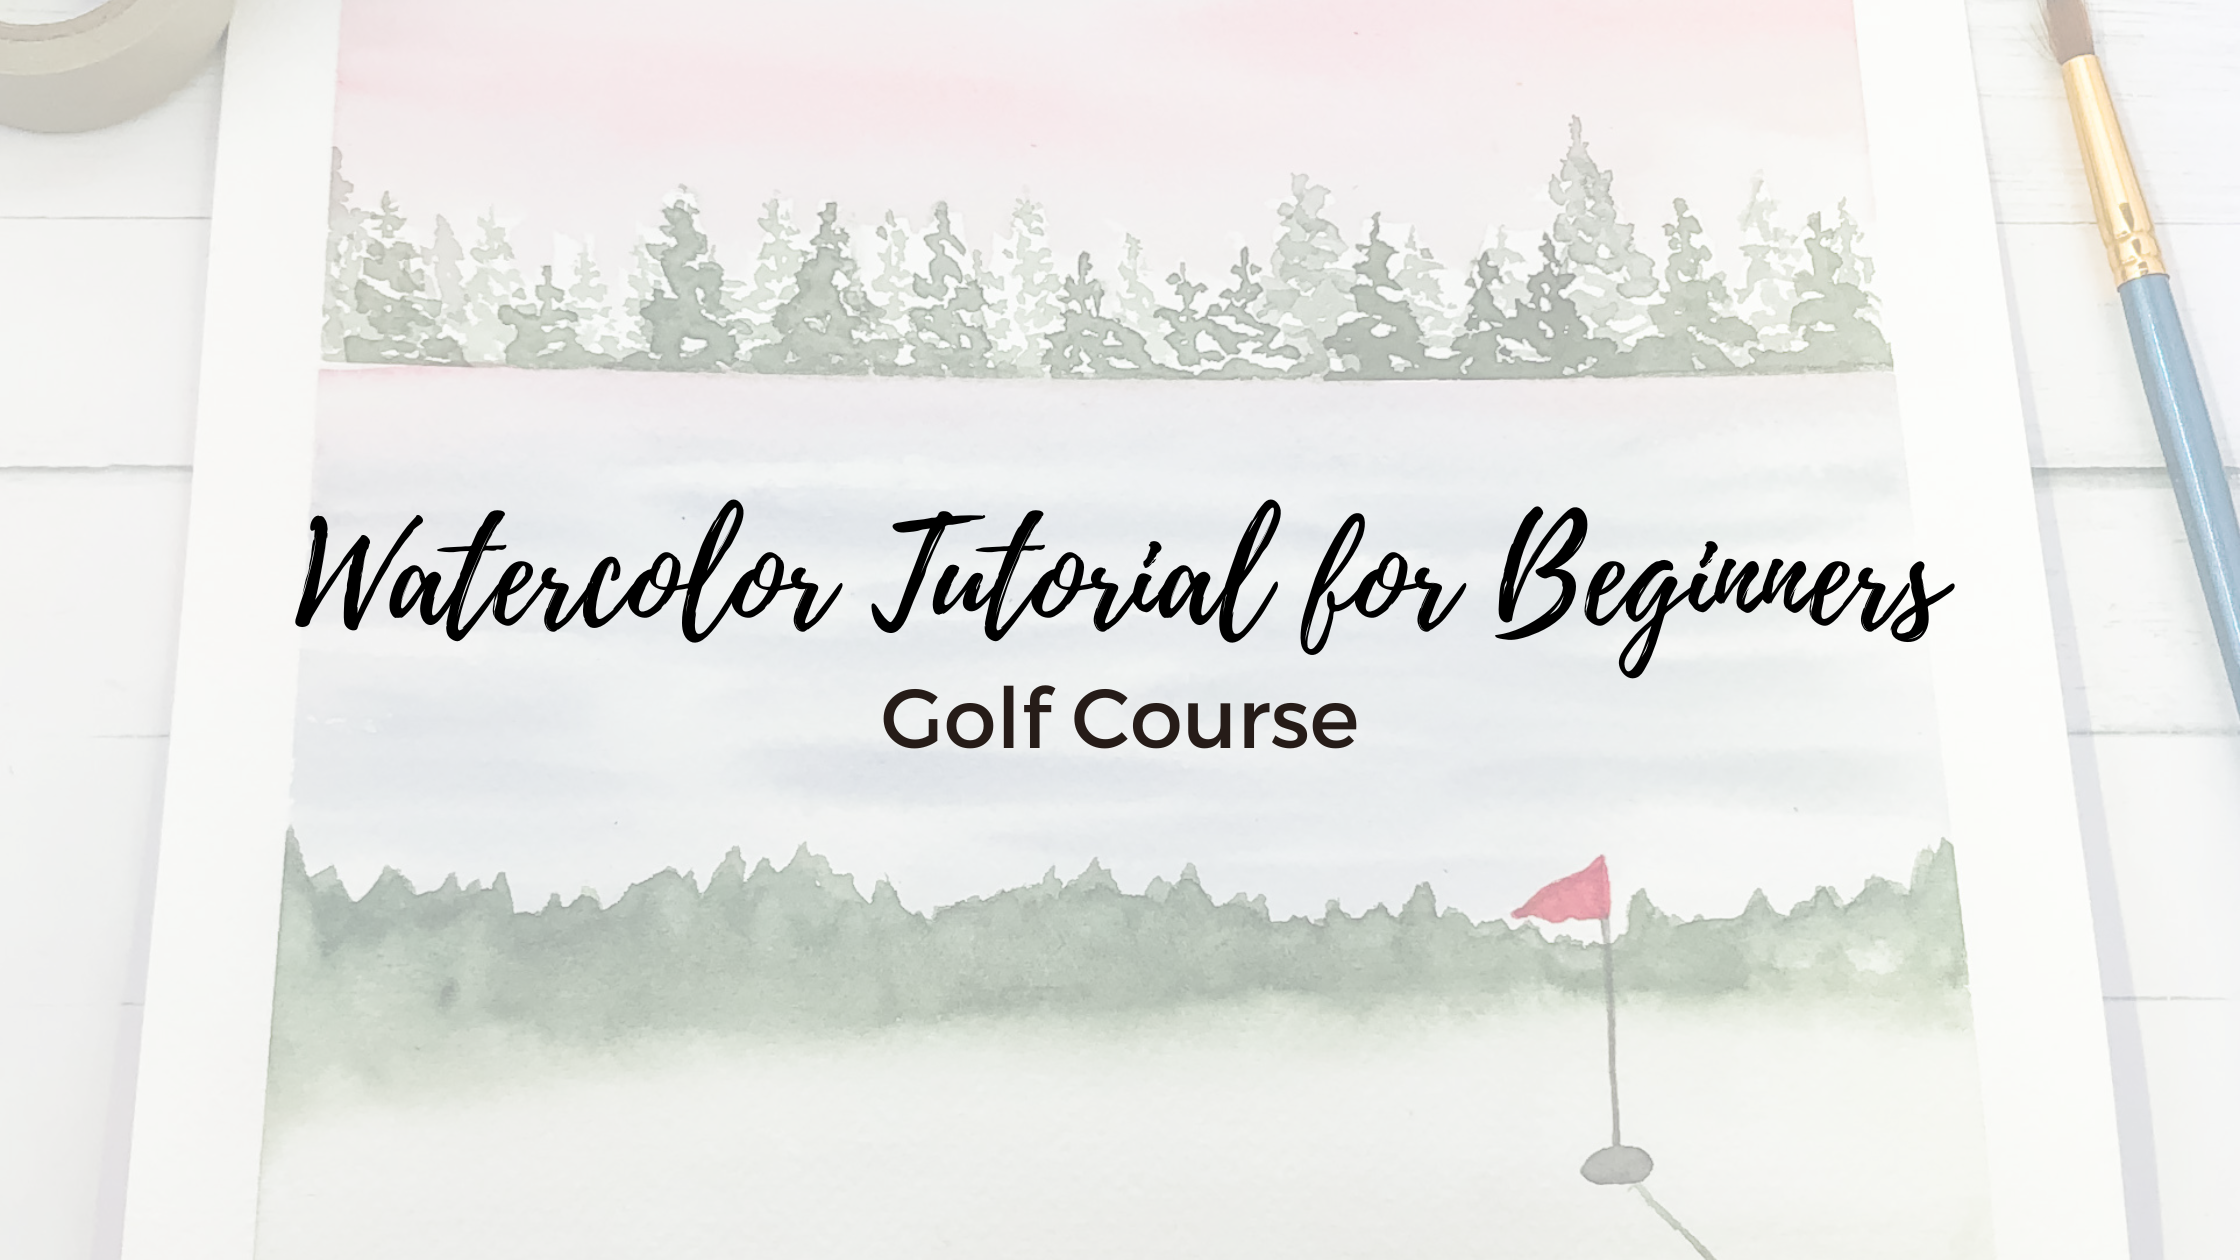
Hello friends! Welcome back my name is Kate and today we’re going to paint an easy watercolor golf course.
Let’s get started!
Full Video Tutorial
Colors Used:
Sap Green + Payne’s Gray
Ultramarine Blue + Payne’s Gray
Alizarin Crimson
Black
Supplies Used:
Watercolor Paint
Watercolor Cold-Press Paper
Rounded Tip Brush (size 12 & 2)
Two Cups of Water
Paper Towel
Pencil
Step One:
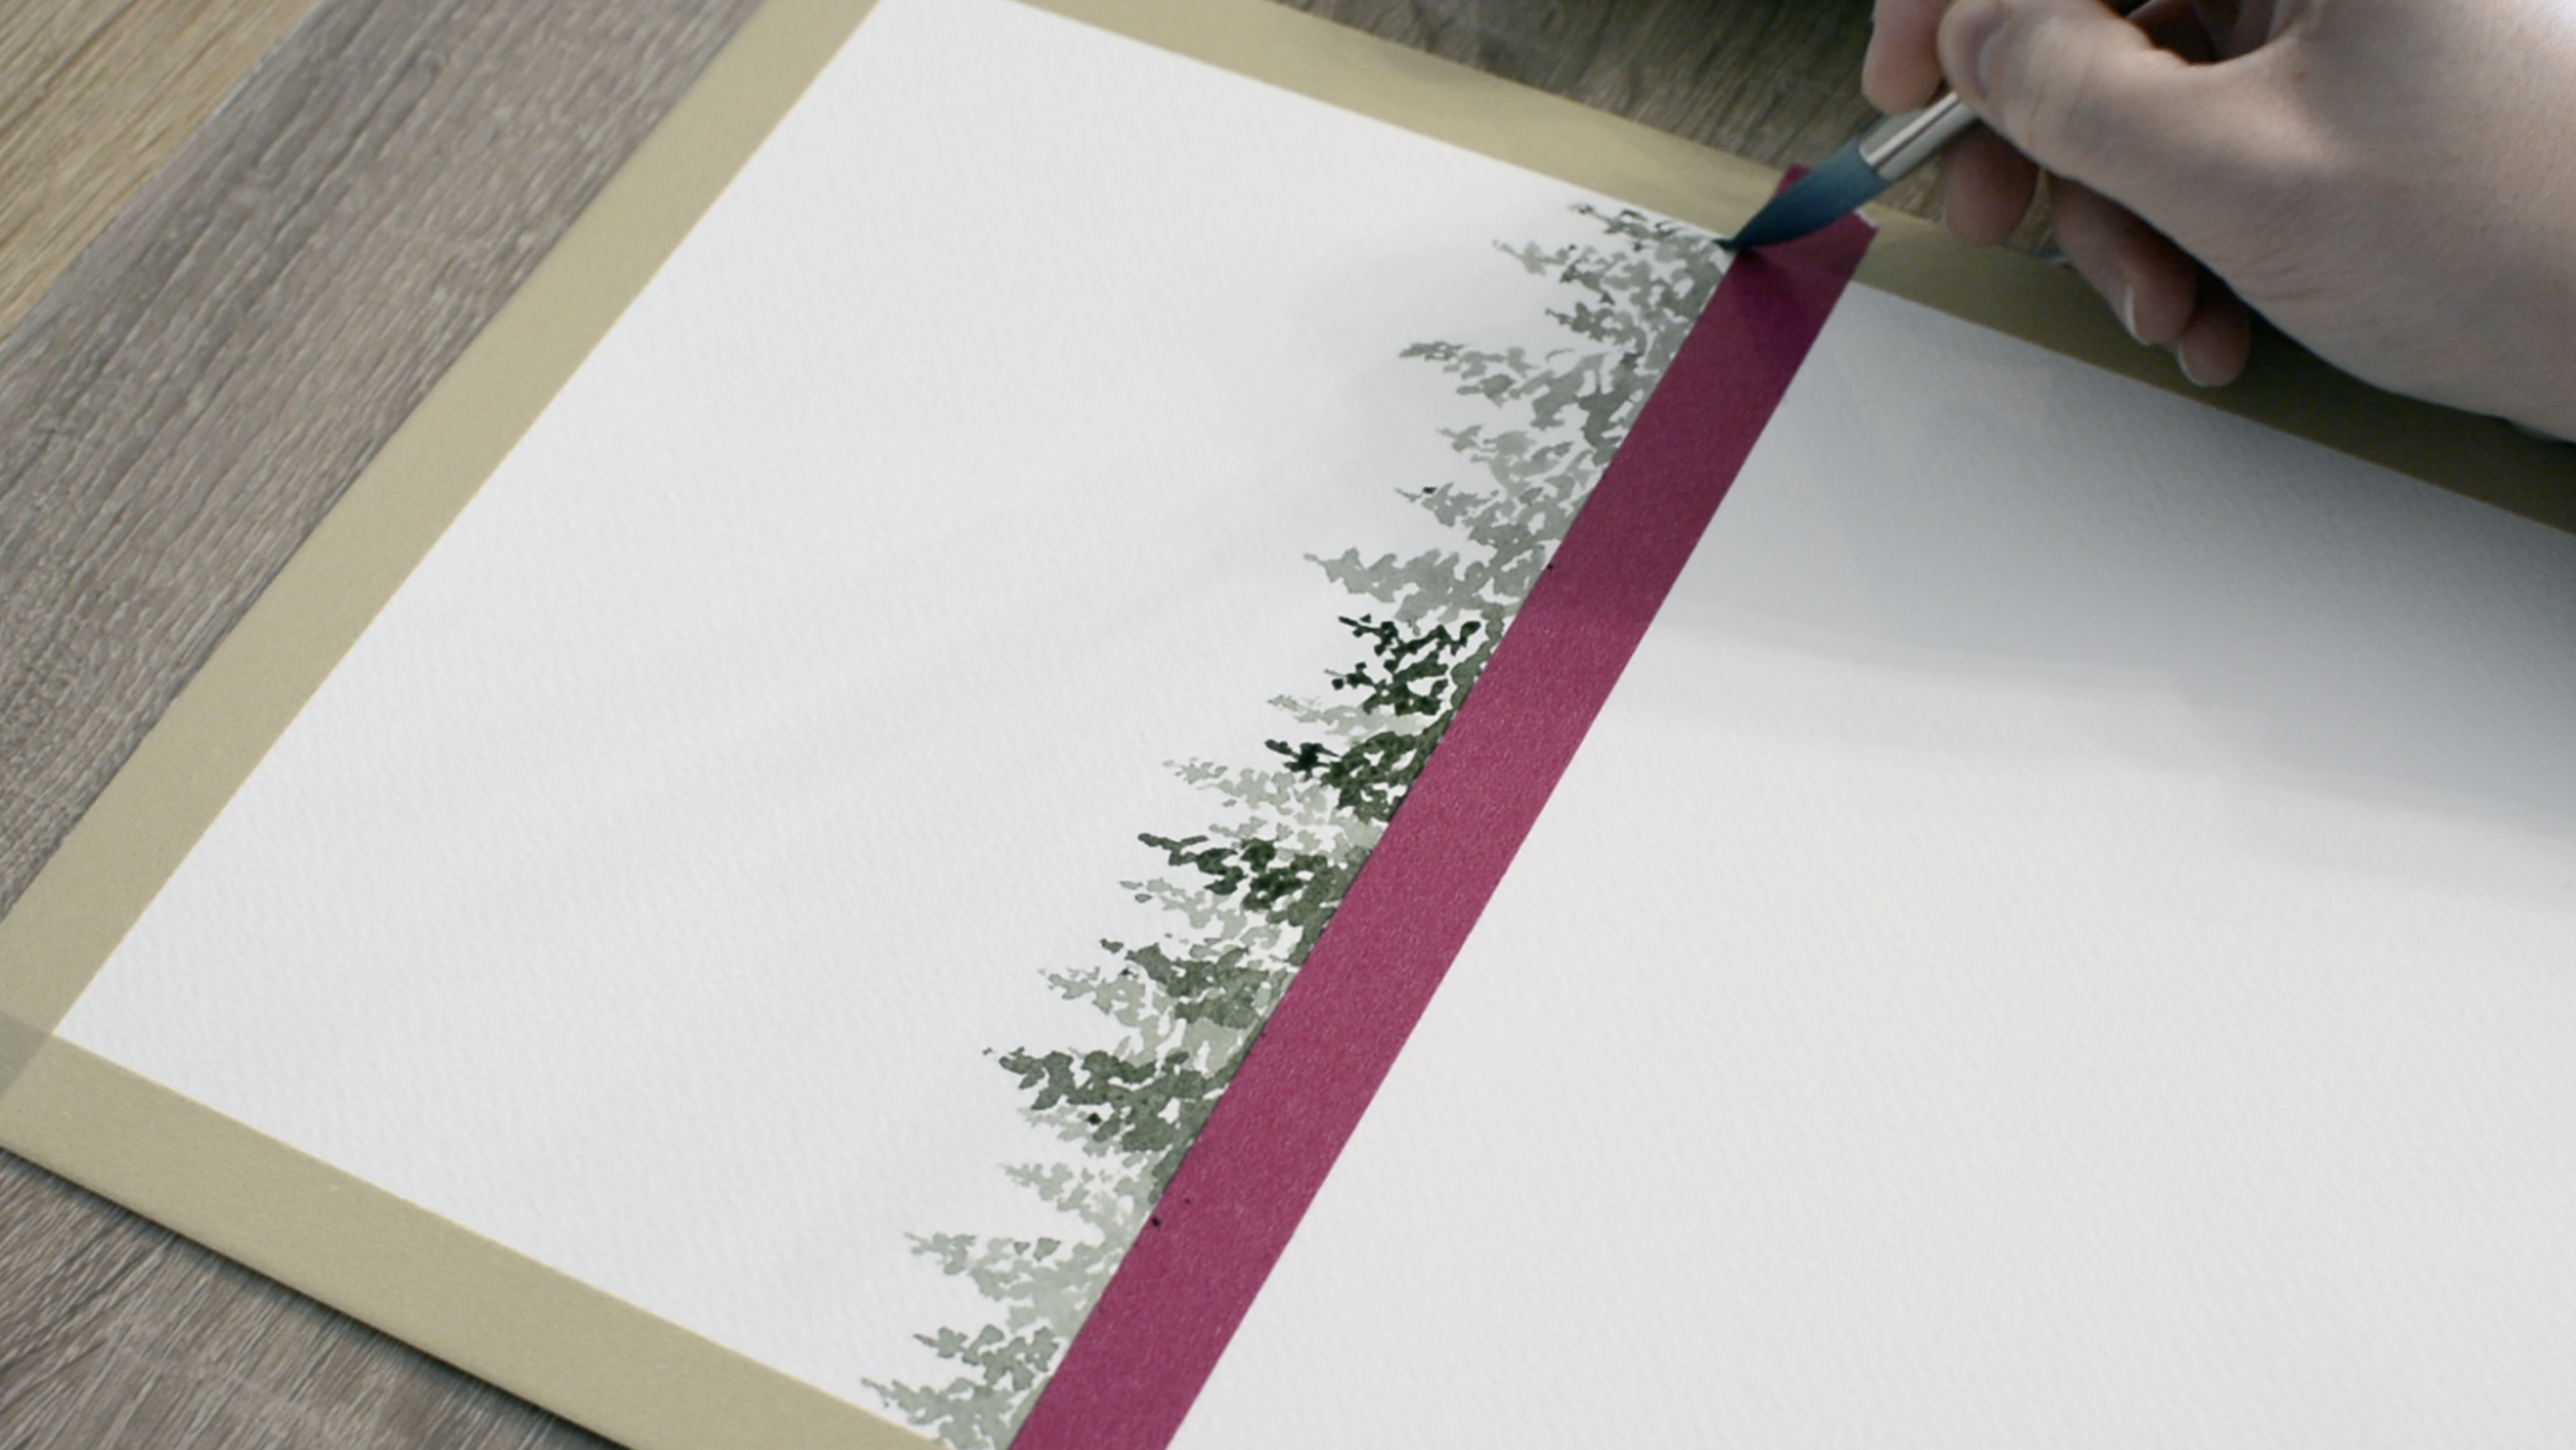
I began this painting by first placing a masking tape along my horizon line so I didn’t have to worry about keeping it straight as I painted my trees across the horizon.
Next, I mixed up a dark green paint mixture and began painting my trees. I used the tip of my large round brush to paint the tree shapes by tapping on the general tree shape.
The more you practice these types of trees the easier and quicker it will become.
I ended up adding more pigment to my paint mixture to make the tone darker and added a second layer of trees as I continued painting across my horizon line.
A tip for giving the trees a natural look is to vary the size and shape of the trees.
Step Two:
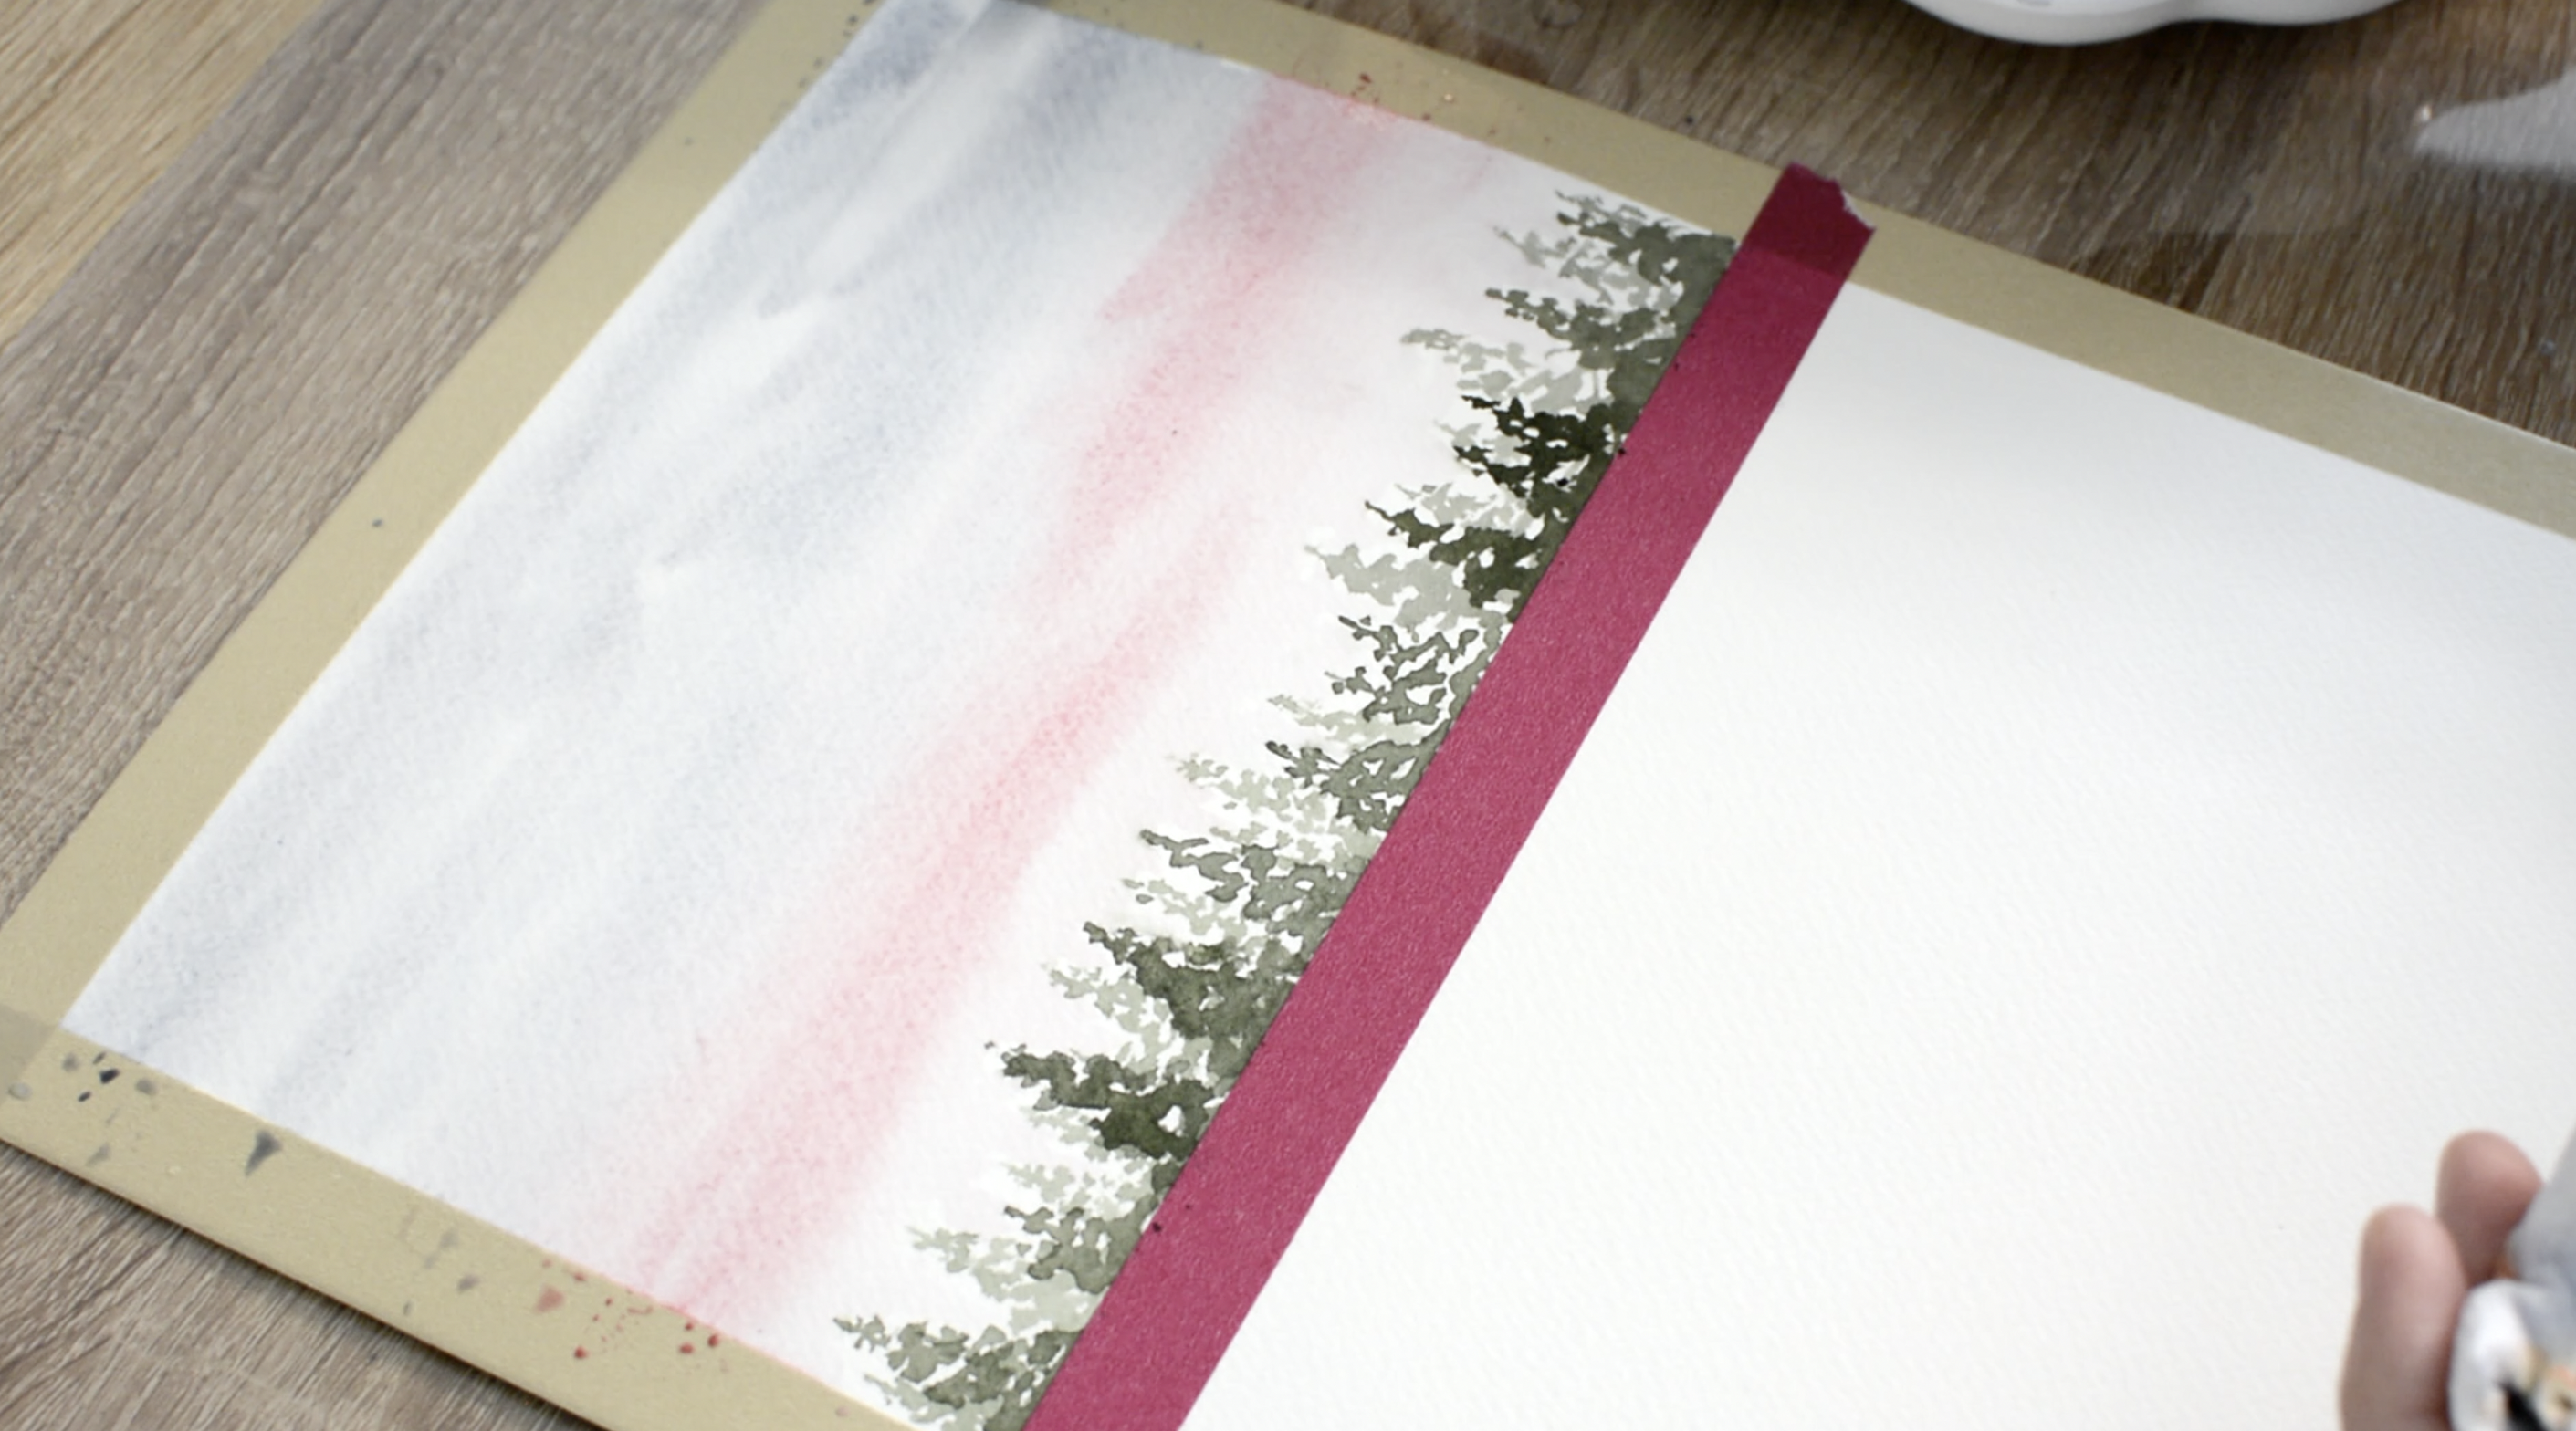
Next, I took my large mop brush and filled my sky section with clean water. This will allow my paint to blend seamlessly together.
I then switched back to my large round brush filled with my blue paint mixture and I loosely painted on the top of the sky.
Then I cleaned my brush and filled it up with my pink paint to fill in the rest of the sky.
After the first layer was in place but everything was still wet I added some darker pigment to certain areas to give the sky depth.
Step Three:
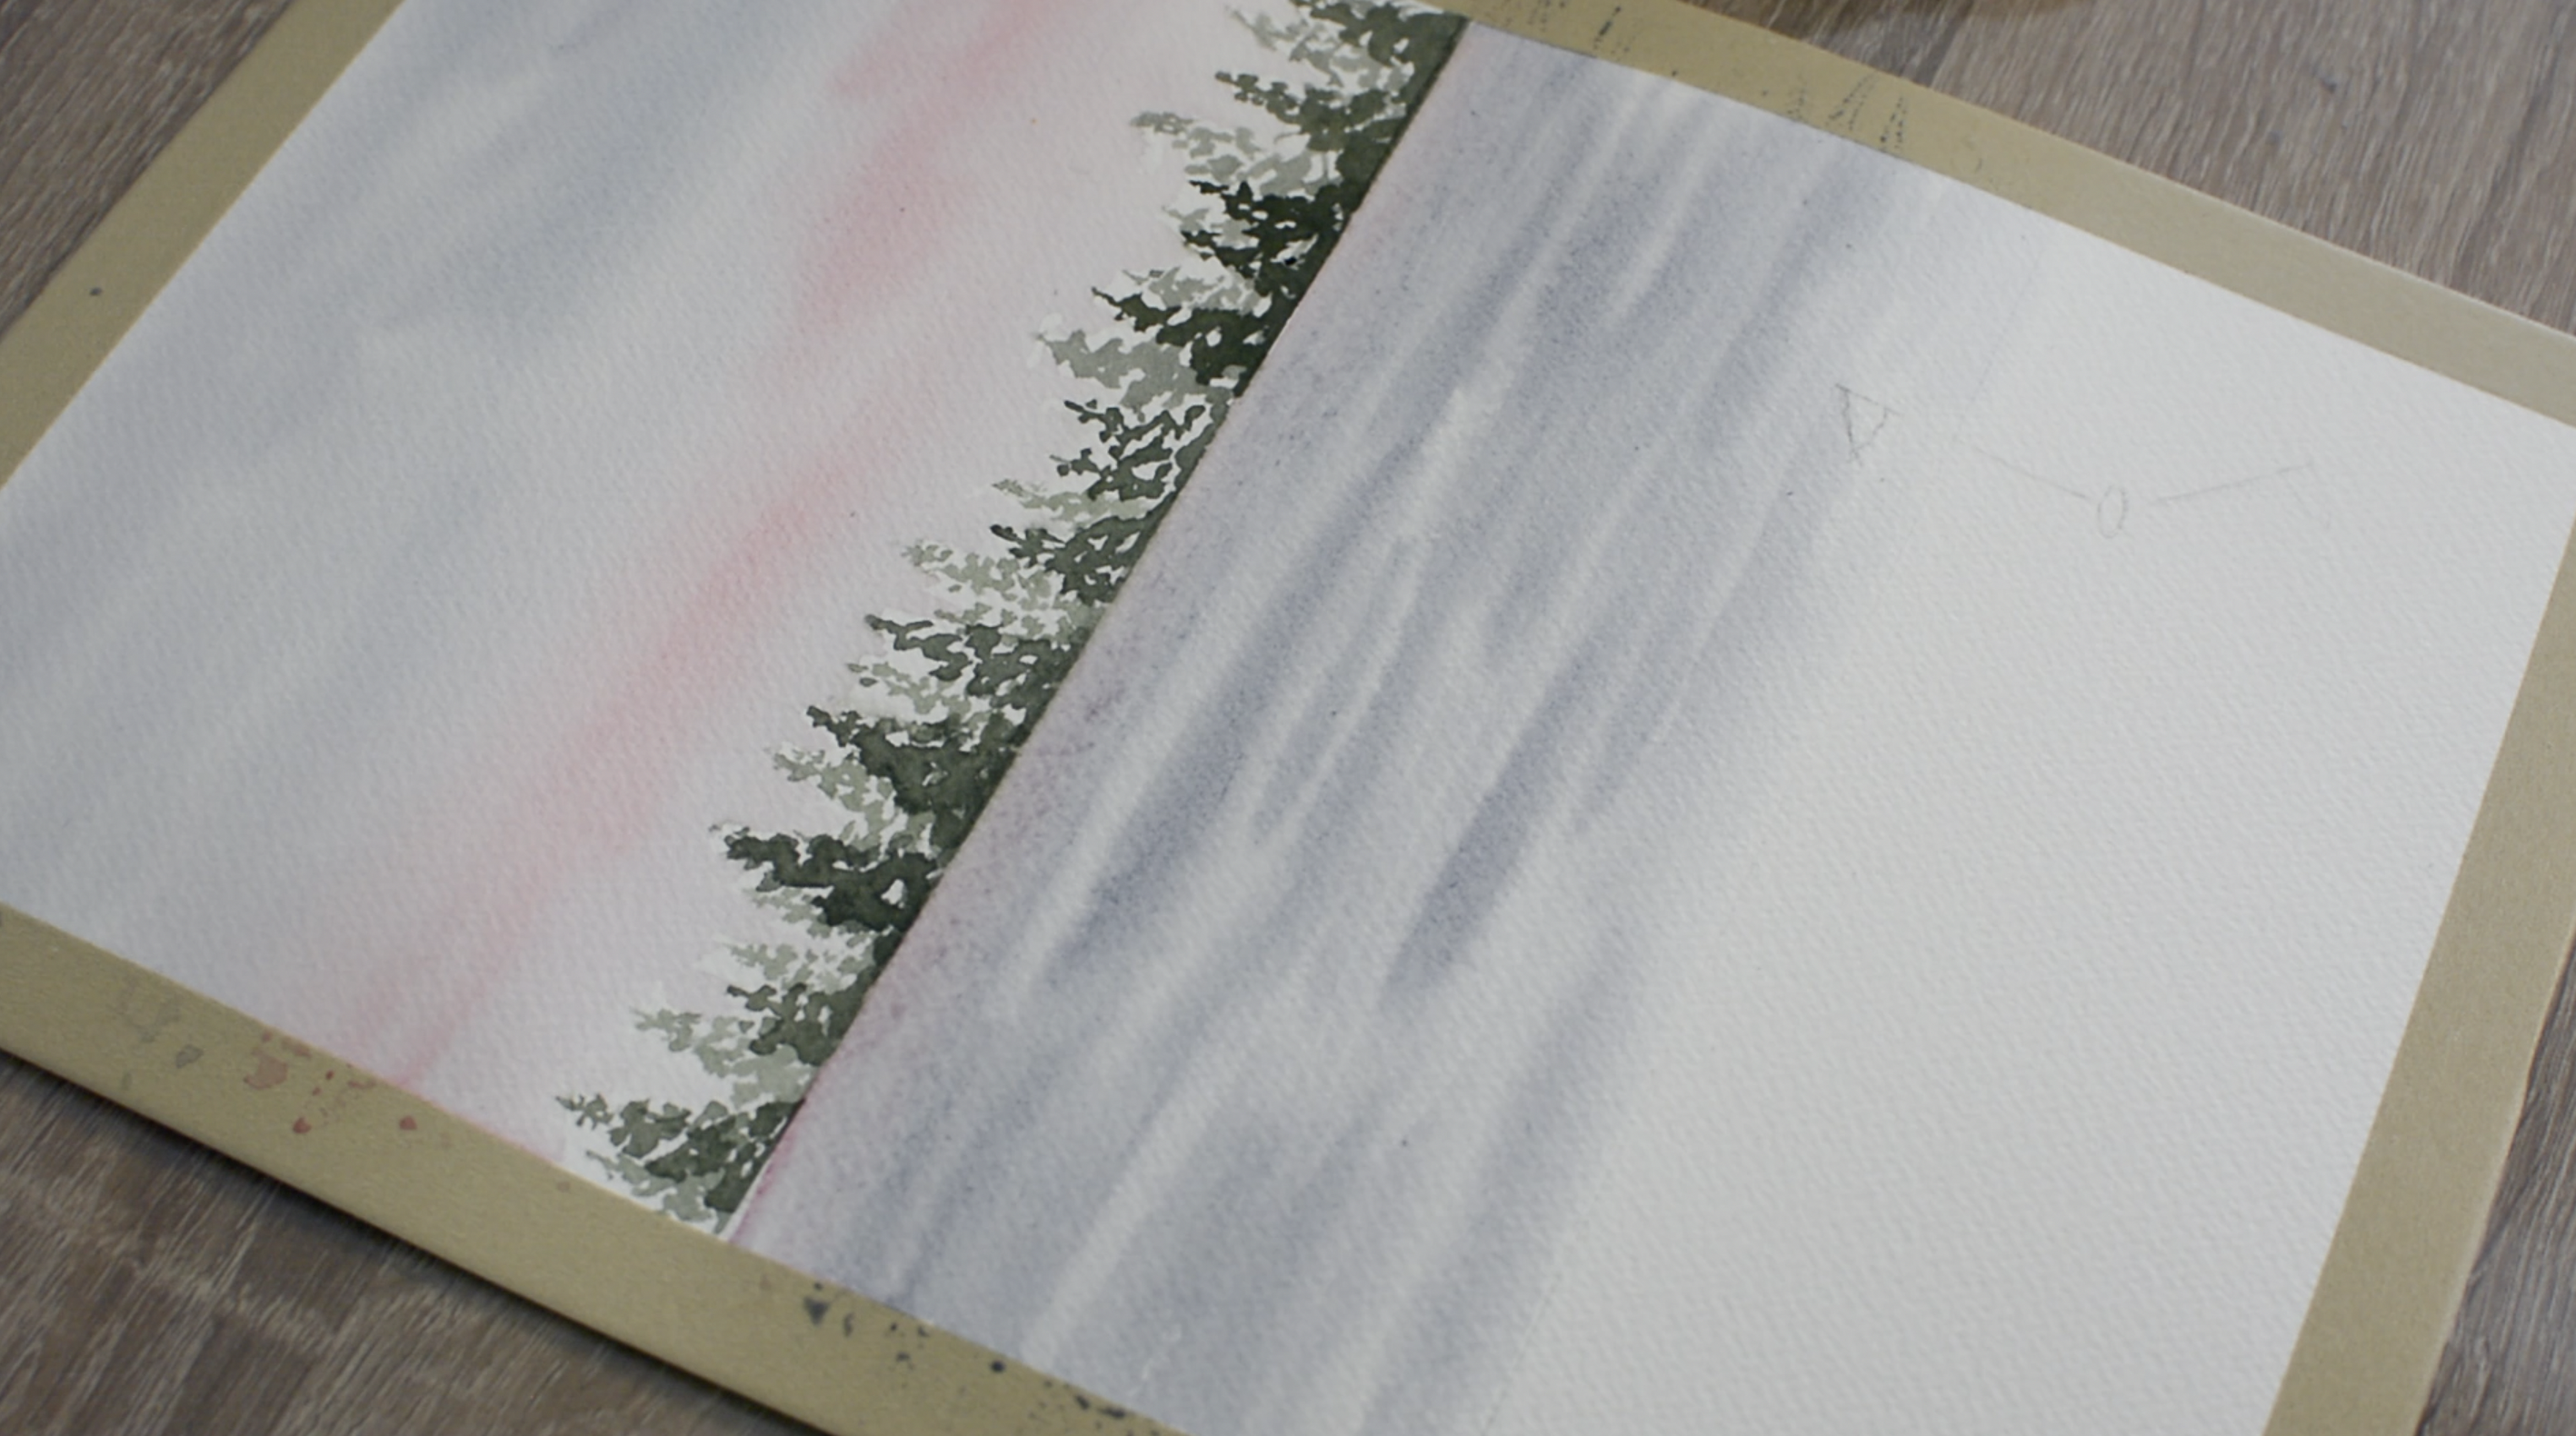
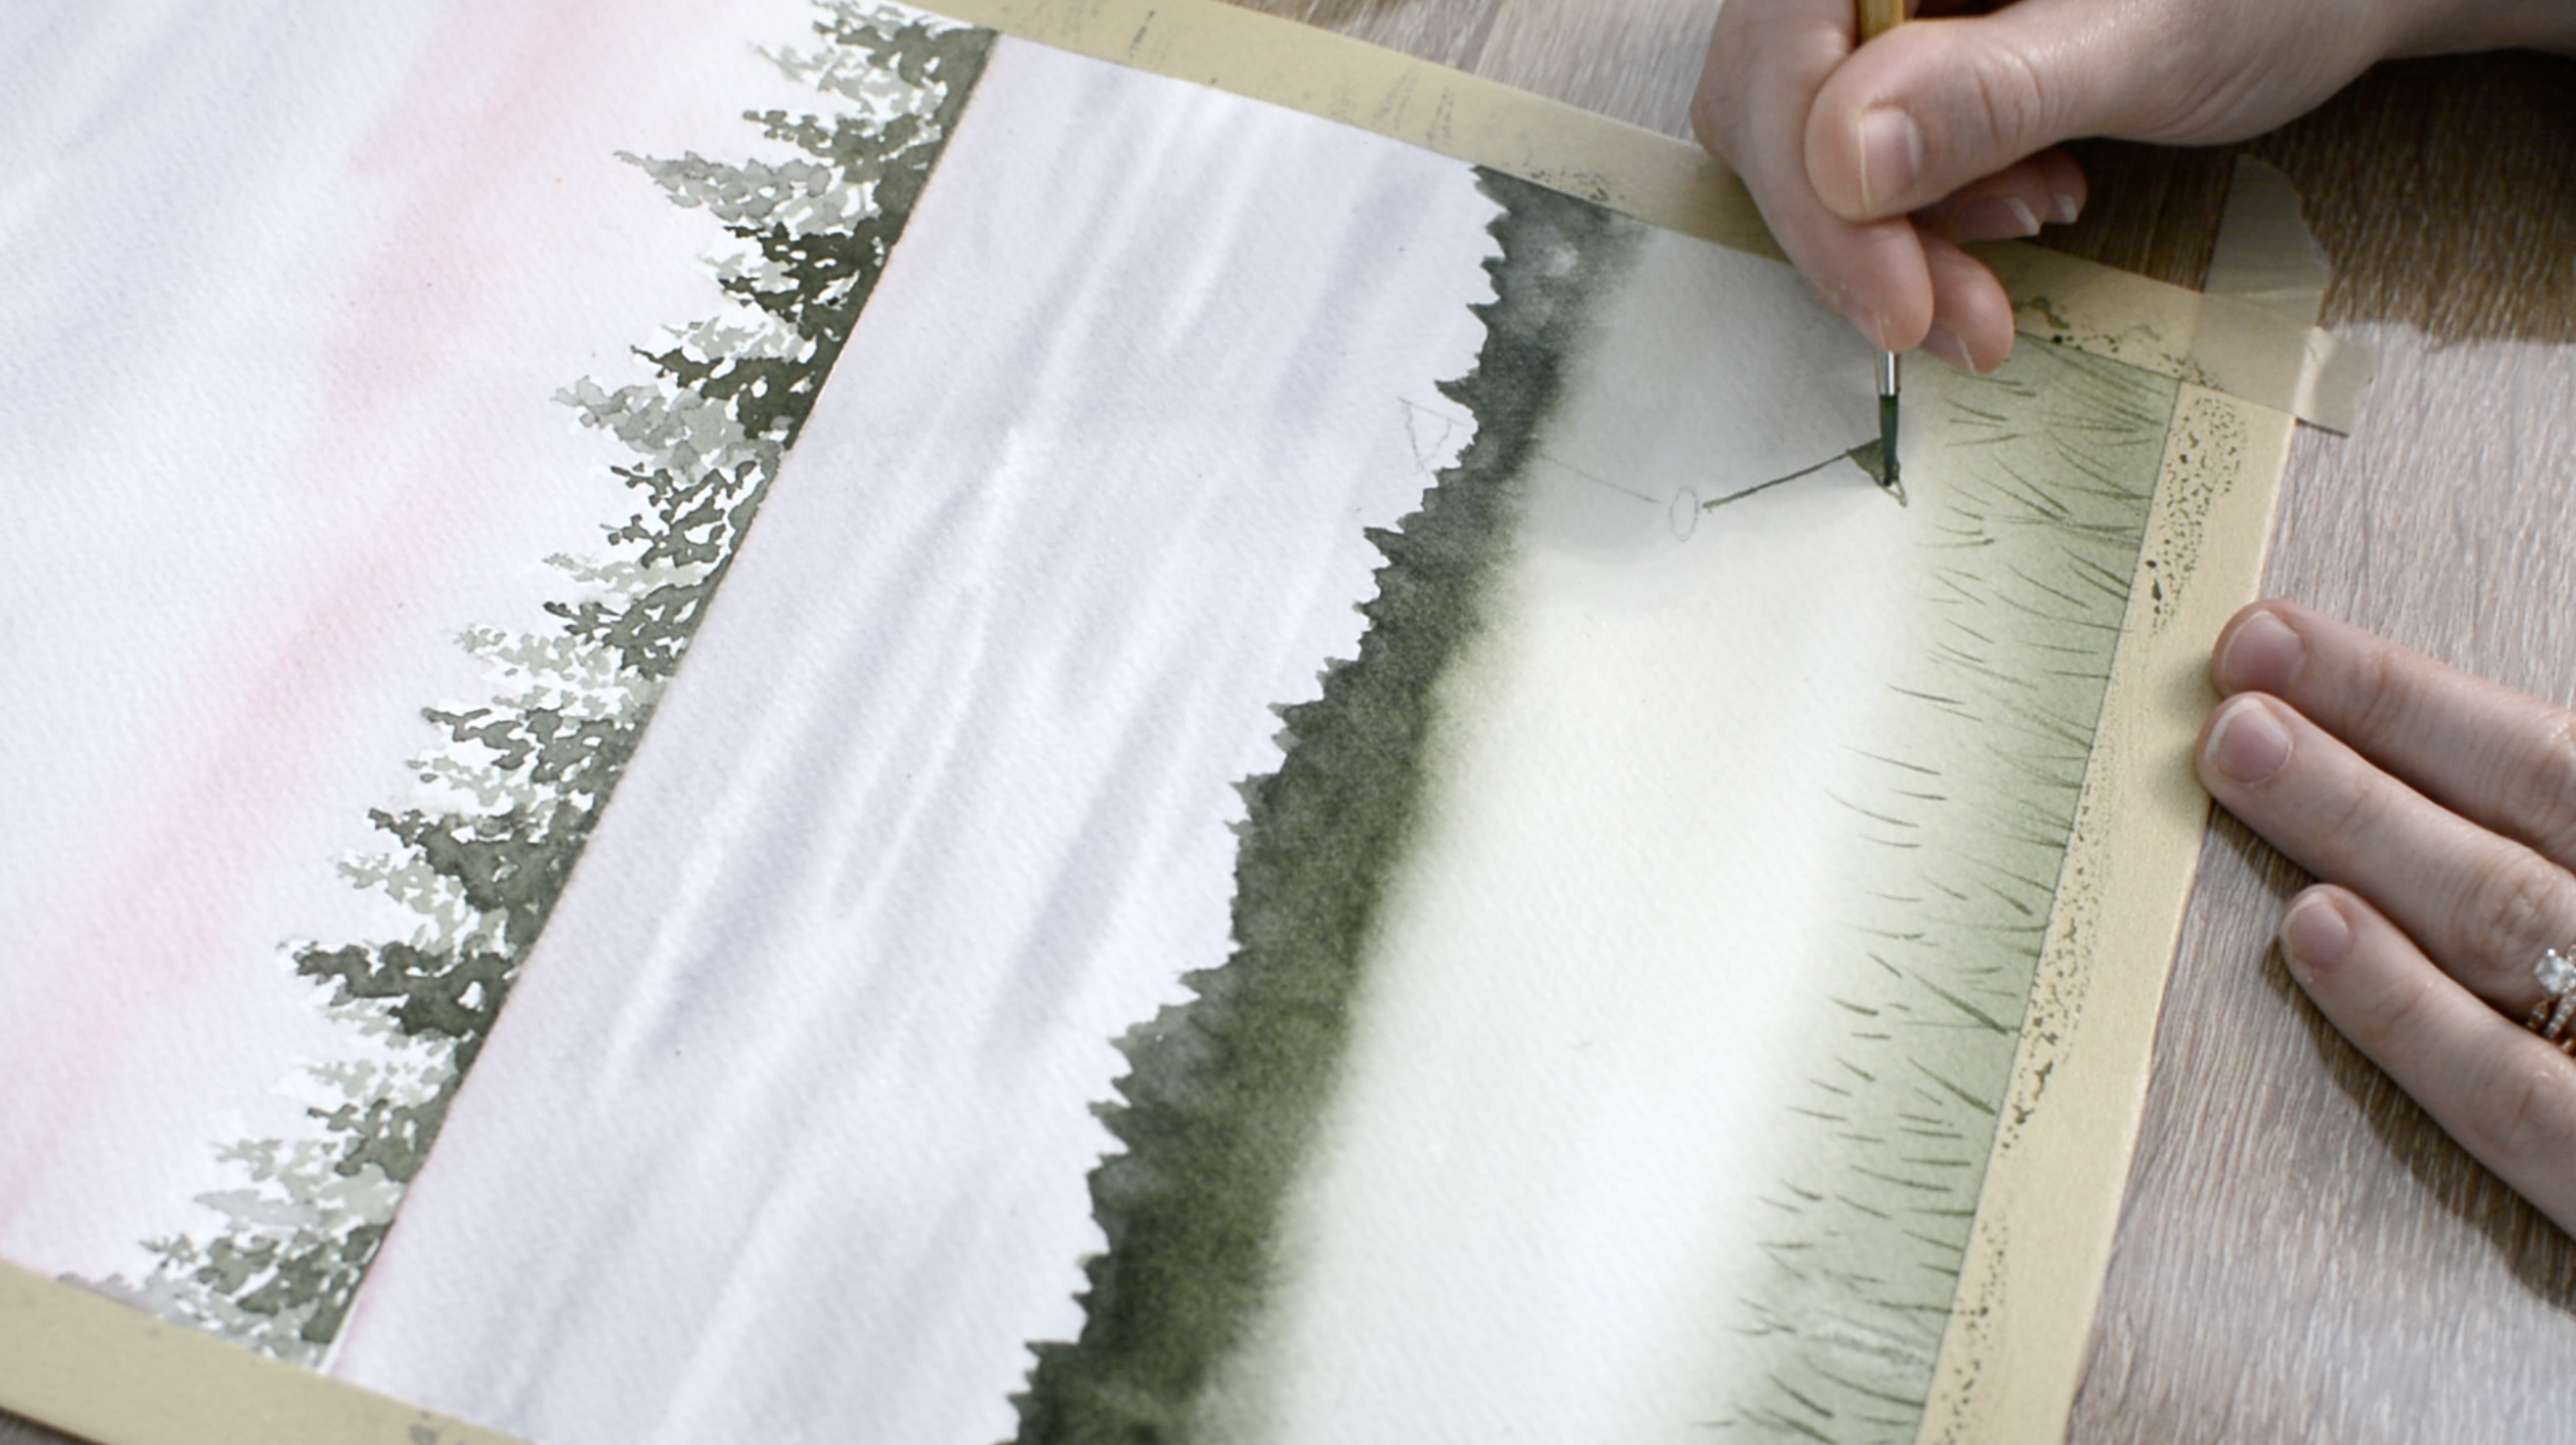
Once my trees were completely dry I removed my masking tape and drew where I wanted my golf course and flag to be. This simple sketch is to give me guidelines on where not to paint.
Next, I took a damp brush and lightly damped the section I will be painting in my lake. Then I took my pink paint and painted it in a thin line along the bottom of the horizon line under the trees to give a reflection of the sky on the water.
Then using the same. blue I used for the sky I began to paint in my lake. I painted in the water very loosely leaving a lot of white space in between each brush stroke to give the appearance of highlighted waves.
I then took some darker blue paint and added a few more brush strokes to build up the layering on the water. The key to this step is to keep white space in between the brush strokes!
This step can be very fun and loose if you let go of it looking perfect and just allow yourself to loosely paint in these waves.
Step Four:
Once again when my lake was completely dry I took my mop brush and filled in my entire golf course section with clean water. Then I took a light wash of green paint (a lot of water and a little bit of green paint) and filled in the gold course section.
I then added more green paint to my paint mixture and applied it to the bottom of the painting to give the golf course depth and to also show where the putting green ends and the rest of the area starts.
Lastly, for this step, I took the same dark green paint and I painted in loose bush shapes separating my putting green from the lake.
Step Five:
When everything dried I added a second layer to my bushes and applied thin brush strokes to create grass at the bottom of the painting.
Just take a dark green paint mixture and using the tip of your brush quickly paint in quick thin brush strokes.
Then with that same green paint mixture, I painted in my flag’s shadow on the putting green.
Step Six:
To finish off this painting all we need to do is fill in our flag with red and black paint.
I used my small round brush to fill in the flag with a dark mixture of red paint.
Then once it dried I used black paint on the very tip of my brush to paint in a thin line for the flag pole and hole.
I then waited for it to completely dry then I added a second layer of paint to the flag.
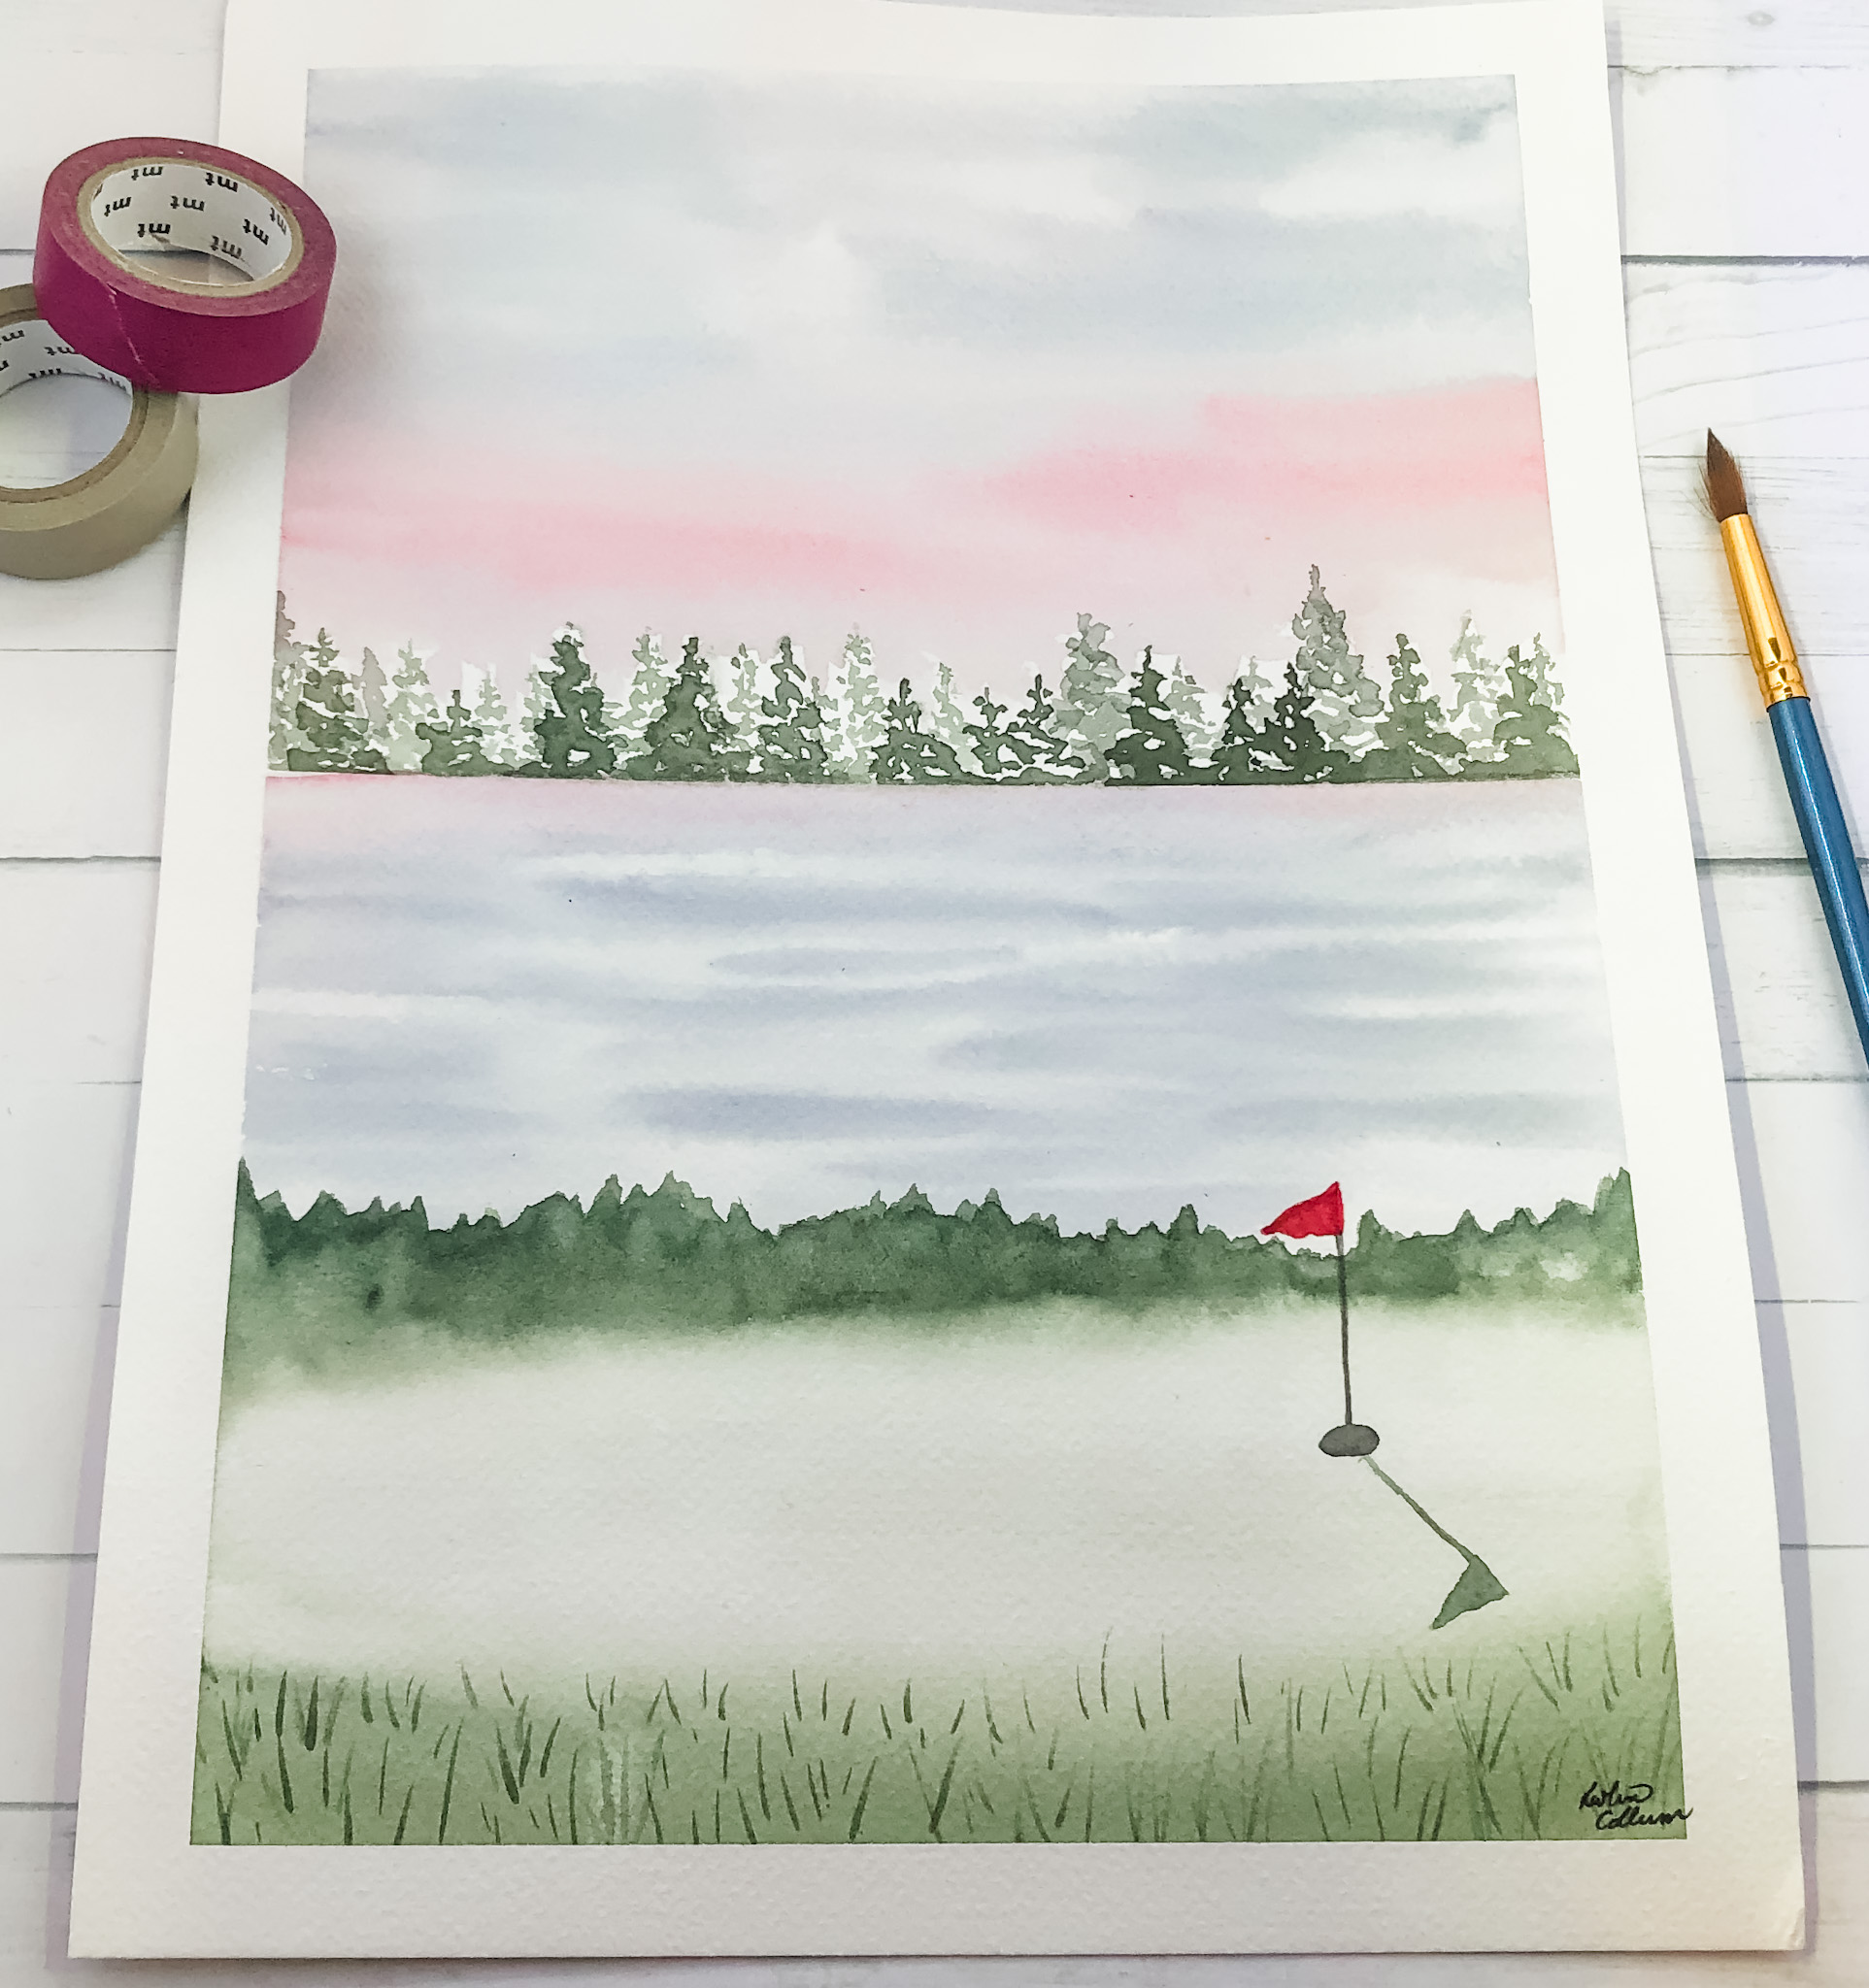
And there you have a watercolor golf course painting.
Thanks so much for following along! Here are a few more watercolor tutorials you may also like!
Watercolor Palm Tree Bookmark Tutorial
Watercolor & Ink Floral Bookmark Tutorial