We may earn money or products from the companies mentioned in this post.
Time to Relax!
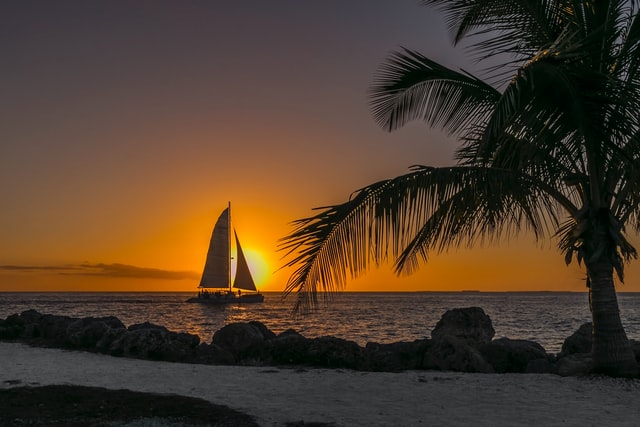
As summer approaches the idea of relaxing on a sunny beach is very enticing. How wonderful would it be to jump on a plane and head to Hawaii and kiss the worries of the week good-bye? Luckily, no matter where you live you can feel the relaxation of a warm beach by painting it with watercolors.
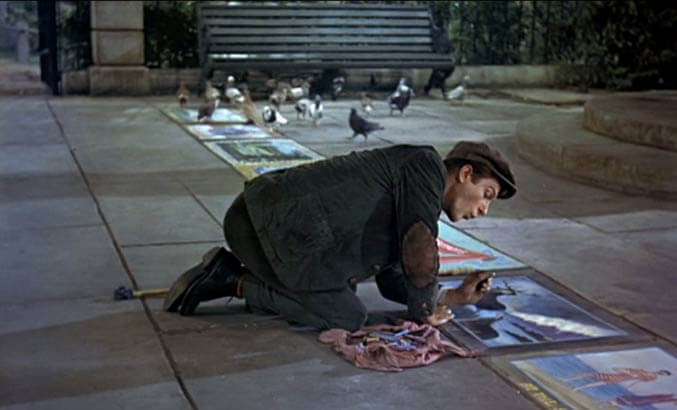
Whenever I get out my watercolors and begin painting I immediately escape my reality, relax, and get lost in the picture I am creating. How awesome is it to have the ability to transport yourself to anyplace or scene you want. It reminds me of that scene in Mary Poppins when they jump into the sidewalk chalk drawings. I’ve always loved that scene, and I have always wished it to be true.
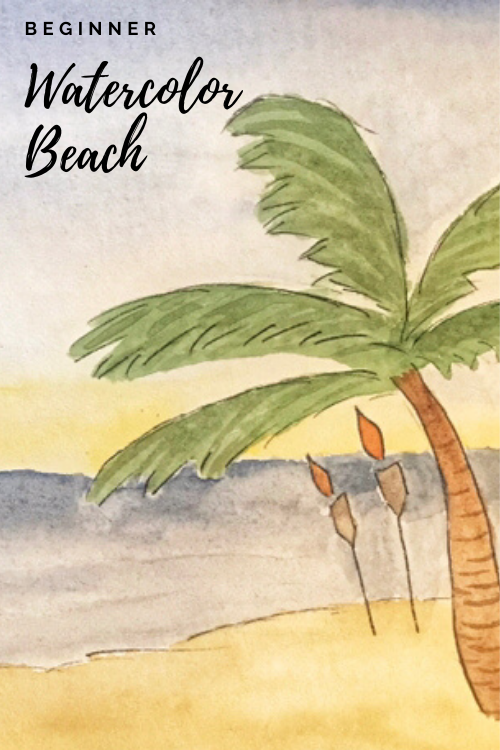
Today I am going to take you step by step on how to paint a beach scene using watercolor and ink.
Let’s Get Out Our Supplies!
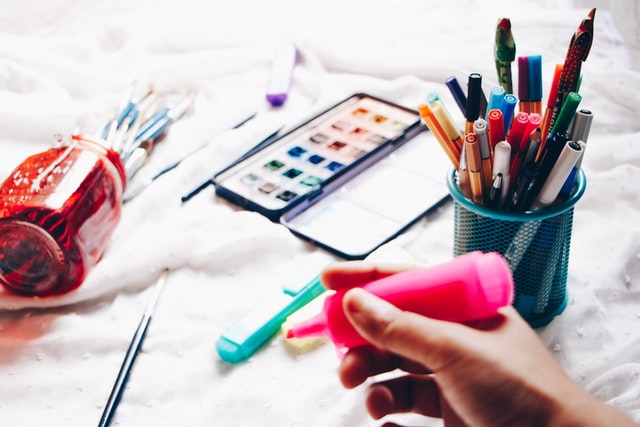
What you will need:
- Pencil
- Eraser
- Waterproof ink pen
- Watercolor paint
- Paint brushes
- Paper towel
- Two glasses of water
- Watercolor paper
- Color wheel (optional)
If you want to learn more about watercolor supplies and techniques check out Ultimate Beginner’s Guide to Watercolor.
Step 1:
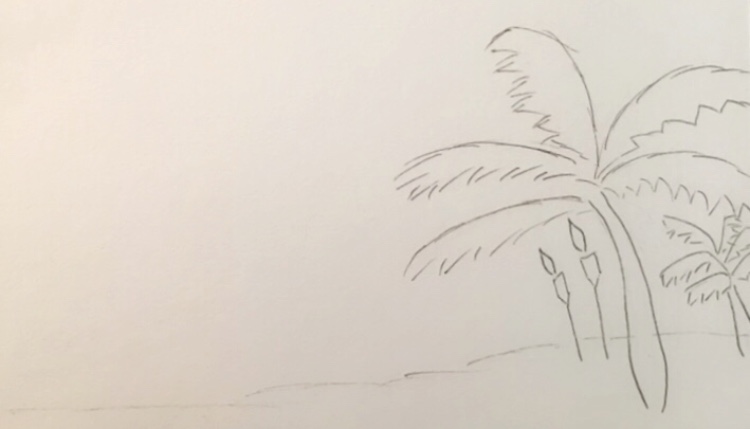
Grab your pencil, and lets begin to sketch out our beach scene. Once our sketch is complete we will trace it with our waterproof ink pen and erase the pencil lines. As you sketch don’t feel pressured to make anything look to realistic. Sometimes going quickly on a sketch before you paint can give a fun look to your painting. Below is a picture of my sketch that you can use as a reference photo for your beach sketch.
Once your beach is scene looks the way you desire it to trace over your sketch with your ink pen. Give it 5 to 10 minutes to dry before you erase.
NOTE: If you erase too quickly you can smear your ink and ruin your sketch.
Step 2:
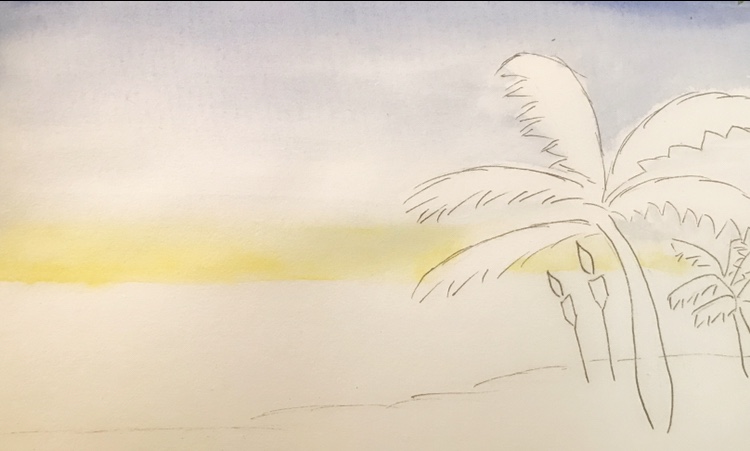
Next let’s paint our sunset! Use a flat brush when painting the sky, this brush will help you cover more space evenly at a time. Dip your brush in ultramarine and start painting from the left to the right working your way down the paper. As you work your way down dip your brush in clean water to take off some paint and keep working down to the middle of your sky. this will create a nice gradient wash.
Now take your cadmium yellow on your clean flat brush and apply to the bottom of your sunset working up to the Ultramarine. Use a clean wet brush to merge the ultramarine and cadmium yellow together. If you put the cadmium yellow right on the ultramarine it will turn into a green.
Step 3:
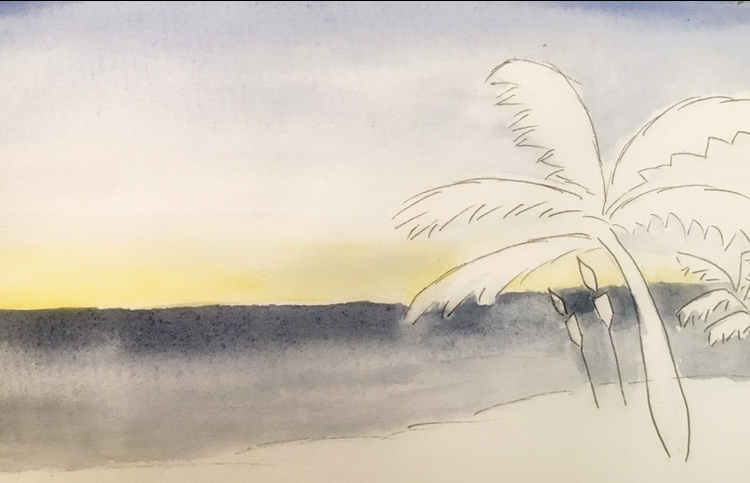
Get out your color wheel for the next step. (if you don’t have a color wheel you can get one HERE, or got to my color wheel post to learn how to create your own color wheel). Cause we are going to make our ultramarine slightly darker by using blue’s complimentary color. Orange is blue’s complimenting color, so take any orange you have and a small amount to your ultramarine. You should now have a darker blue.
Dip your flat brush in your darker blue paint and start on the left side of your paper were your sky ended. keep a little space between the yellow and blue or you will turn your sunset green. Clean your brush off and with a slight amount of ultramarine work your paint all the way down to your shore line. You want your paint to get lighter as you get closer the shore.
Step 4:
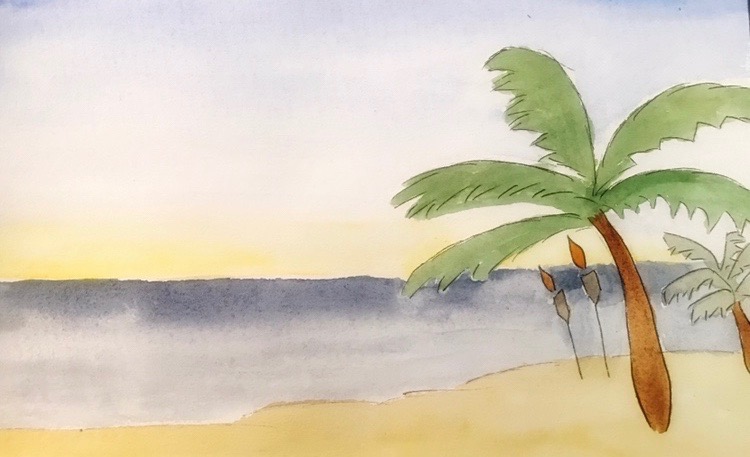
We are now going to add detail to our beach, palm trees, and tiki torches. The colors you will need are cadmium yellow, burnt umber, viridian, and burnt sienna.
Beach
Mix a light wash (even amount of water and paint) of cadmium yellow and burnt umber, then use to fill in the beach.
Tree Trunks
Use a wash of burnt umber to fill in the tree trunks.
Tiki Torches
Use a darker wash of burnt umber, by mixing in a small amount of blue, to fill in the tiki torches stands. And use the color burnt sienna for the tiki torch’s flame.
Palm Leaves
Mix virdidian with cadmium yellow to create a yellow-green. Then use the color wheel to mix in green’s complimentary color to create a darker hue. Now fill in the palm leaves with the green you have made.
Step 5:
The very last thing we need to do is add detail to the palm tree to make it pop. Use green’s complimentary color on the color wheel to make a darker green. then use quick downward brush strokes on the palm leaves. Lastly, mix burnt umber and ultramarine to create a dark brown. Then use your detail brush to create circular stripes up the tree trunk.
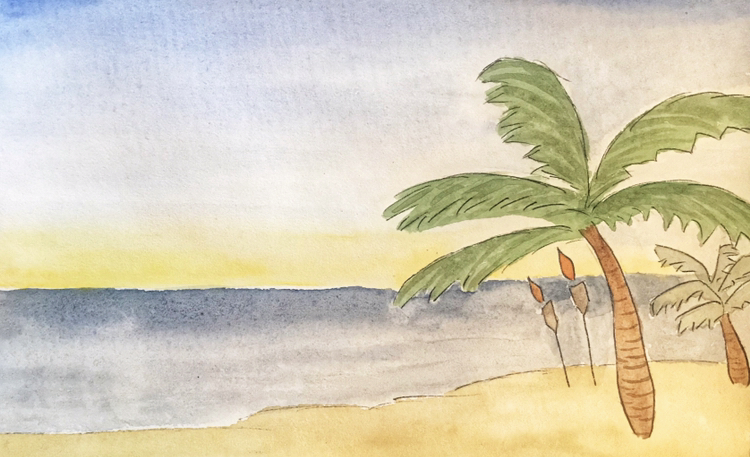
Your painting is complete!
If you enjoyed painting sign up to receive regular newsletters from reflectingcreation.com. Comment below letting me know what vacation destination you would like to learn to paint next. Also, don’t forget to follow me on Instagram, @reflectingcreation, and Pinterest.