We may earn money or products from the companies mentioned in this post.
Hey everyone! Let’s do a quick and easy watercolor painting together.
VIDEO
Supply List:
Watercolor Paint (Indigo & Sap Green)
Water
Paint Brush
Paper Towel
Watercolor Paper
Large Clips or Washi Tape (to hold down paper)
White Sharpie
Step One:
Clip or tape your paper down to a board. Then fill your paper with A LOT of water (no puddles though). IF YOU GET A LOT OF POOLING USE A PAPER TOWEL TO SOP UP THE EXTRA WATER.
Then take your darkest blue paint on your brush. Use a lot of paint in a creamy consistency. Then paint in a thick line across the top of your page.

Next, use your brush and gravity to pull the blue paint down your wet page. The water should allow you paint to move freely down the page.

Step Two:
Let the painting completely dry. To speed up the process you can use a heat tool or hair dryer.

Step Three:
Once everything is dry use your brush to get a good amount of green paint on it. Then with a side angle paint in the green paint along thr bottom section of your page.
This is going to create the ground for our painting.

Step Four:
To finish off this painting we are going to take a white sharpie and add in our rain streaks. (You can also use and opache white medium for this).

Take the shapie facing downward and apply really quick staight lines randonly across the rainy sky. My lines were straight down, but to make the painting your own you could have your rain going sideways.

And there you have a super easy beginner friendly watercolor painting!
If you want to try another rain themed watercolor painting that is more intermediate check THIS post out.
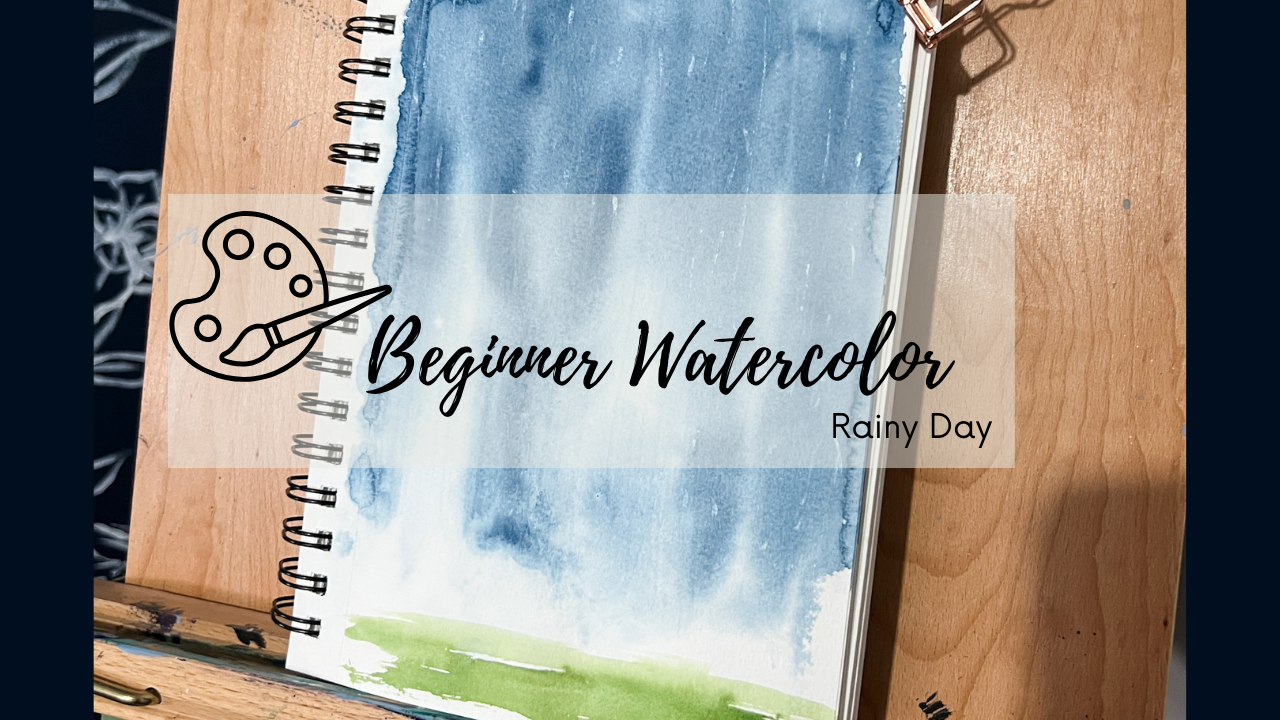
Watercolor Rainy Day Tutorial
