We may earn money or products from the companies mentioned in this post.
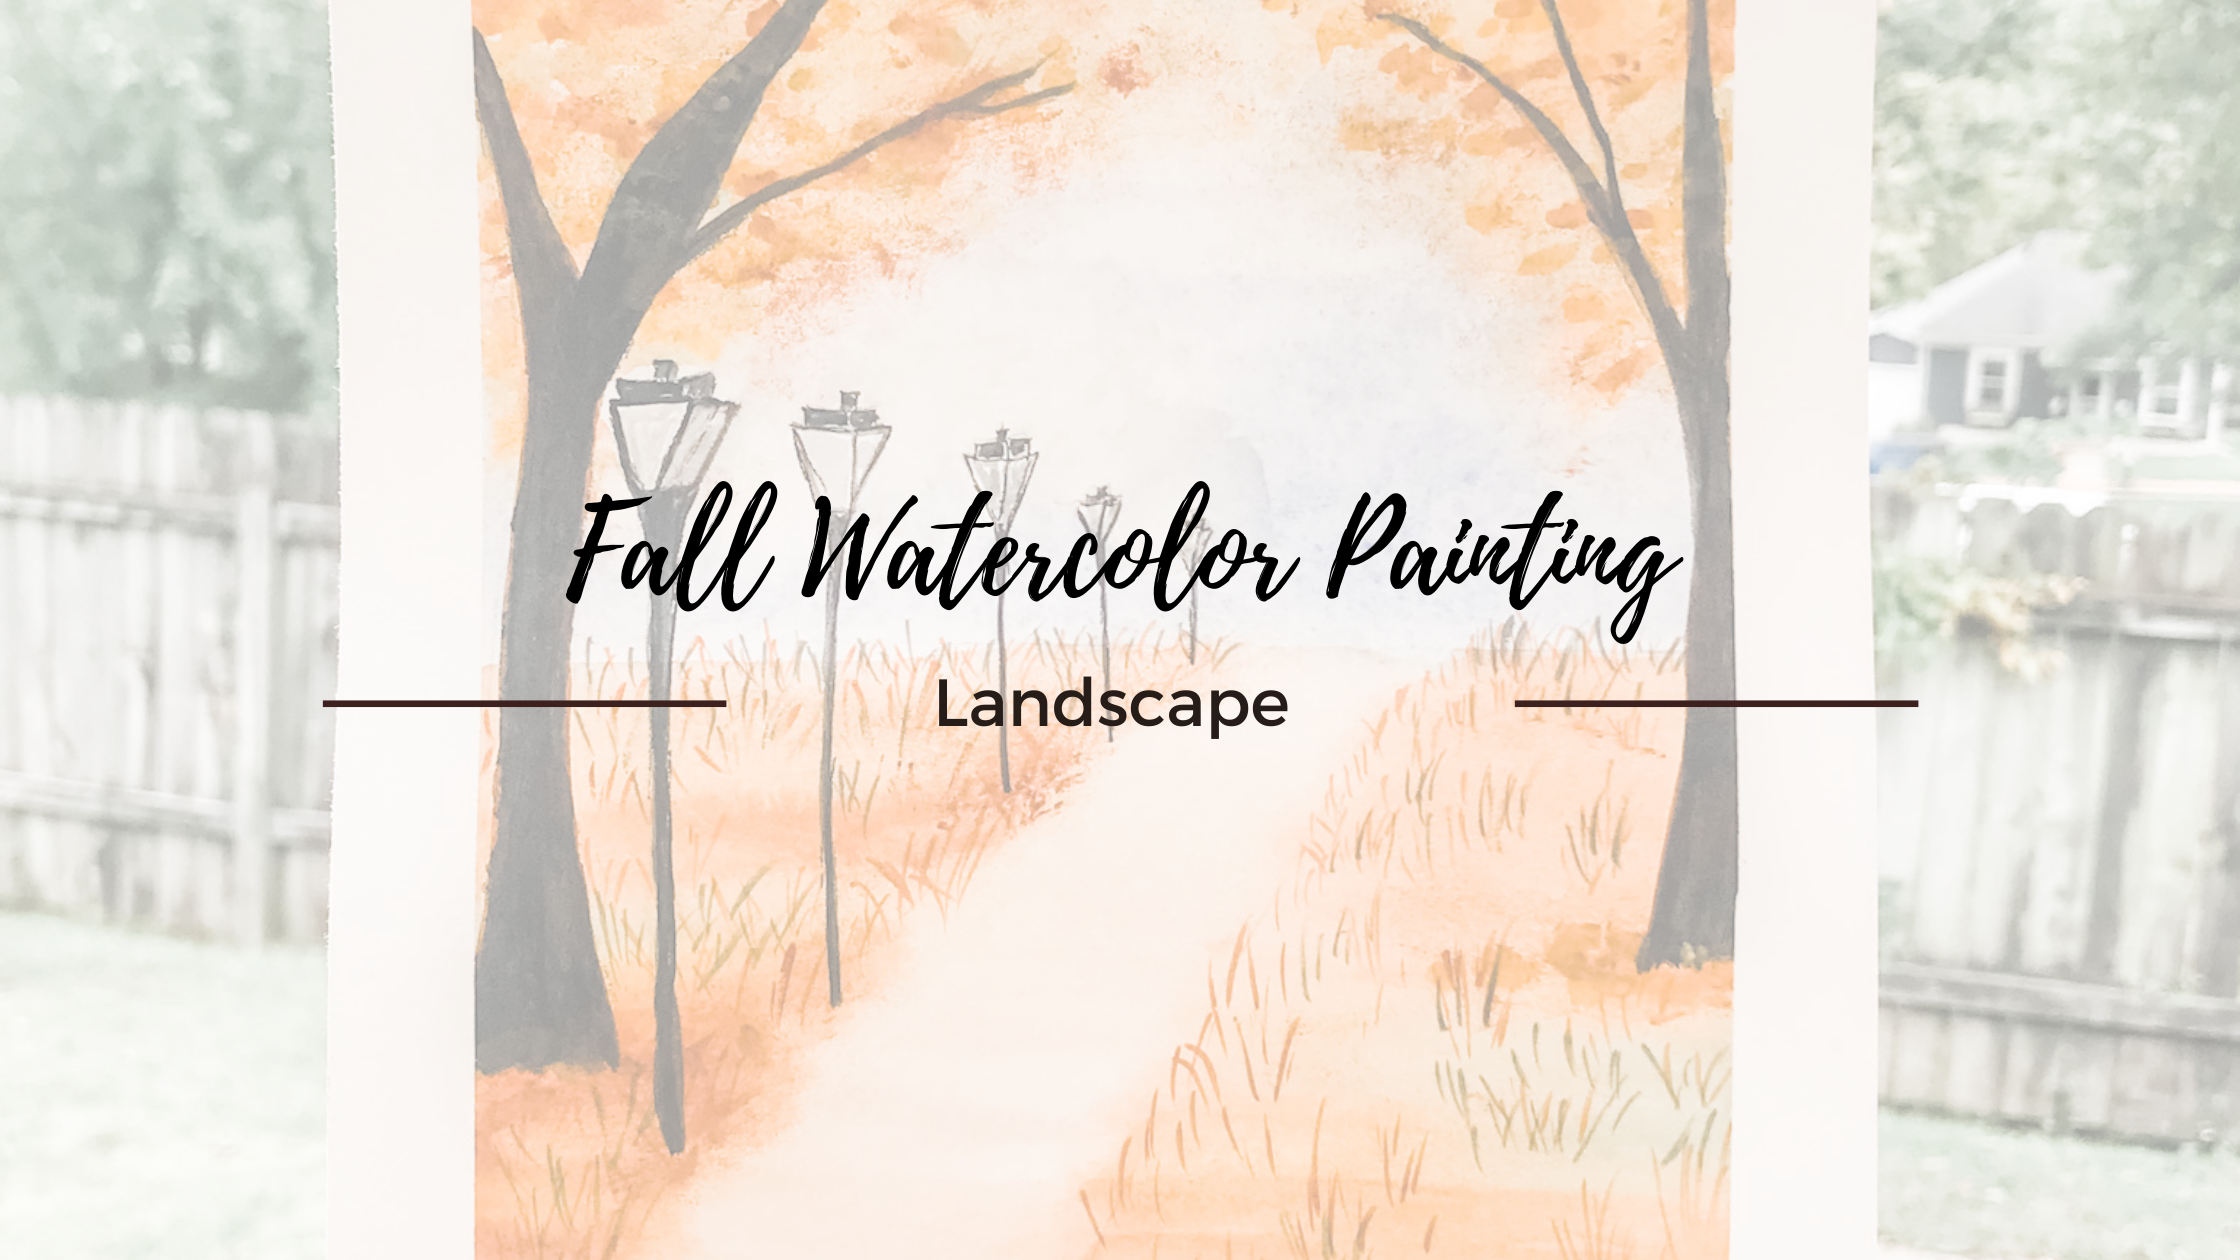
I’m really excited to share this painting with you today! I absolutely love how it turned out, and the best part is it was super easy. Any beginner at watercolor can paint this Fall Watercolor Painting.
Let’s get started!
Full time-lapse video at the end of this post!
What Supplies You’ll Need:
Watercolor Paper
Paint Brushes
Watercolor Paint
Painter’s Tape
Two Cups of Water
Waterproof Pen (optional)
Pencil
Tracing Paper and Stylist
If you would like to see all the art supplies I recommend, check out, “My Supply List” page. Click HERE to check it out!
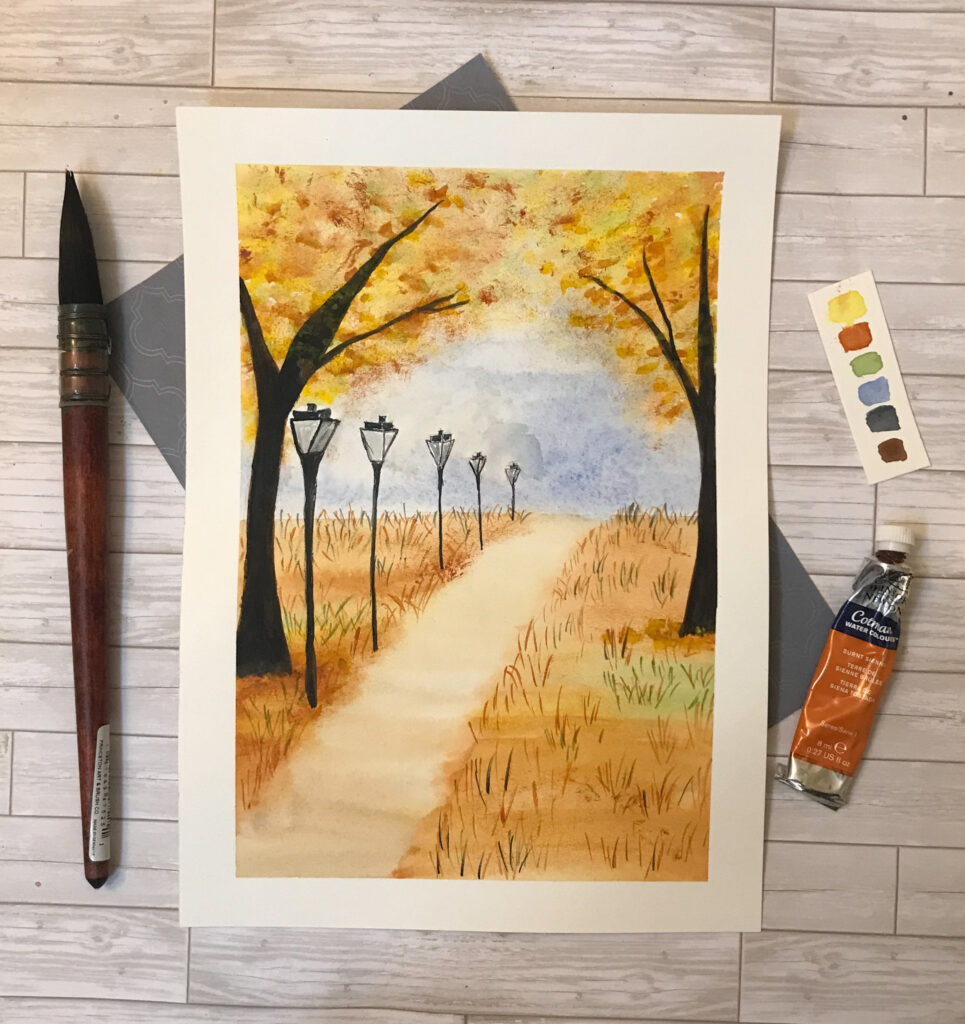
Specific Colors Used:
One reason this painting is so easy is there is absolutely no color mixing. You can use all of these colors straight out of the tube or pan to re-create this painting.
Cadmium Yellow
Burnt Umber
Payne’s Gray
Ultramarine Blue
Burnt Sienna
Sage Green
All of these colors can be found in this perfect beginner set of watercolor paints. This is the exact set I am using in the video above to create this painting. I highly recommend this product to you if you are looking for a beginner set of paints.
Step 1:
Begin by sketching out this picture very lightly onto a separate sheet of paper or onto your watercolor paper.
I recommend sketching out on a separate sheet of paper then transferring the sketch using transfer paper. You may want to check out, How to Trace a Picture onto a Canvas.
The reason for this is if you sketch and erase too much on watercolor paper it can ruin it. If you feel confident you won’t need to erase then you can go ahead and sketch straight onto your watercolor paper.
The most important areas to have sketched out are the horizon line, your two tree trunks, path, and the light posts.
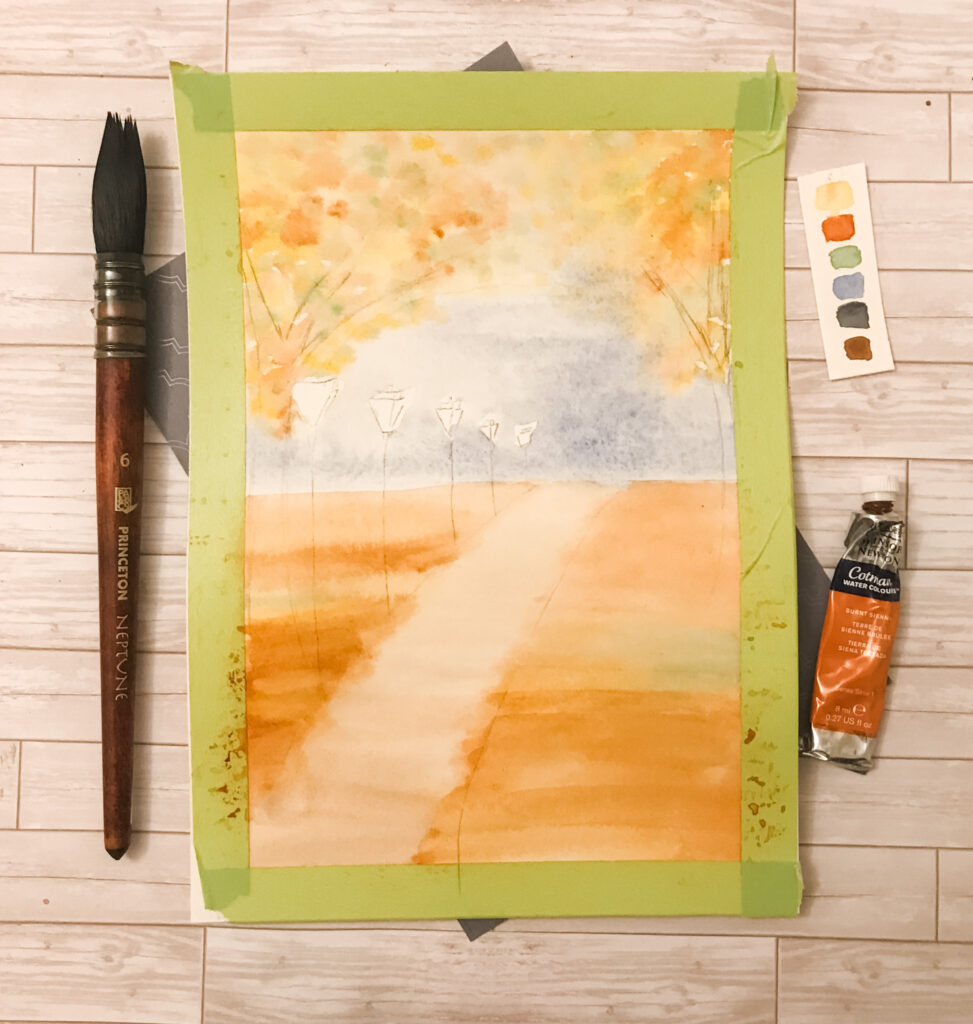
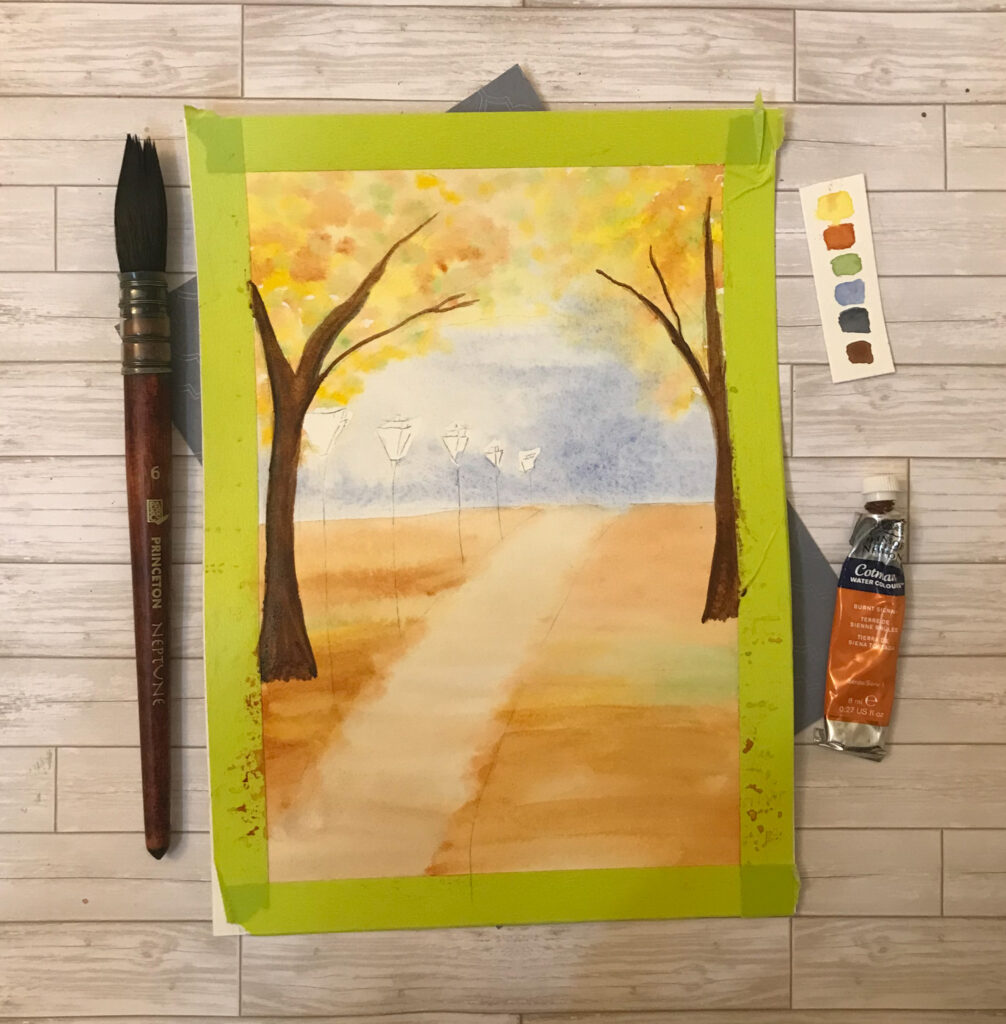
Step 2:
With our picture sketched out, we can begin painting by taking a large round brush and filling the entire sky area with clean water.
When you begin painting leave the tops of the light posts white.
While your sky is wet begin tapping in Ultramarine Blue paint at the bottom of the sky working up the middle of the sky.
Clean your brush and begin tapping Cadmium Yellow paint where you want your leaves to be. Leave some natural white space. Repeat this same step with the Burnt Sienna paint.
Wait for this layer to completely dry before moving on.
Step 3:
Take your large round brush again, and apply an even layer of clean water to the bottom half of the painting.
Now dip your brush into Burnt Sienna and apply a light wash to the horizon line, and paint toward the bottom of the paper. As you get closer to the bottom of the paper make your wash of Burnt Sienna darker. Keep the path area the lightest shade of Burnt Sienna.
While the Burnt sienna paint is wet, add Sage Green to a couple of random spots of the grass. Repeat this step using Cadmium Yellow. This will give your grass some depth.
Let this layer completely dry before going to Step 4.
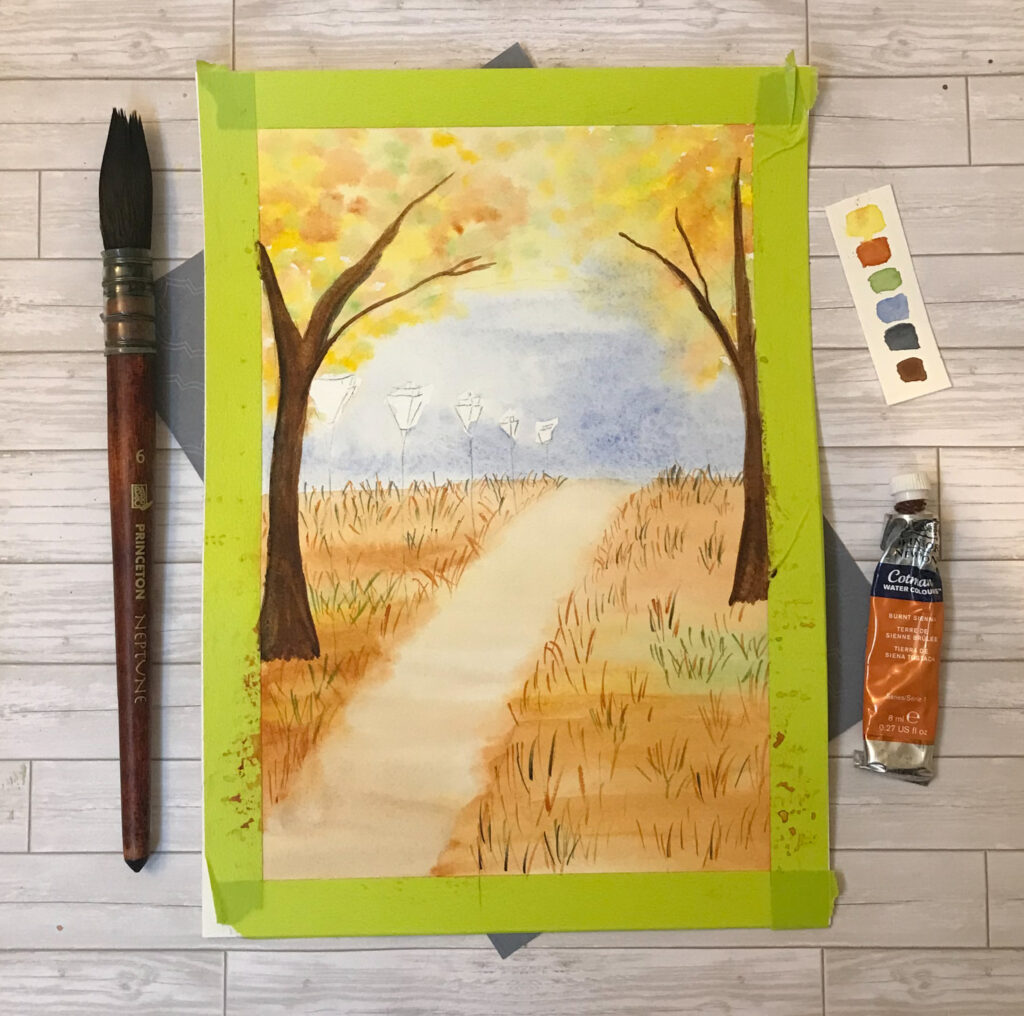
Step 4:
Using Burnt Umber fill in the trees we sketched out back in step 1.
Once they dry add a layer of Payne’s Gray over the first layer.
Step 5:
This step is a lot of fun and great watercolor practice.
We are going to add grass throughout the entire field area of this painting by using Burnt Sienna, Sage Green, and Payne’s Gray.
To create the grass, grab a small round brush, and only using the tip of the brush apply quick upward motions.
The grass should appear taller closer toward you and small as it gets closer to the horizon line.
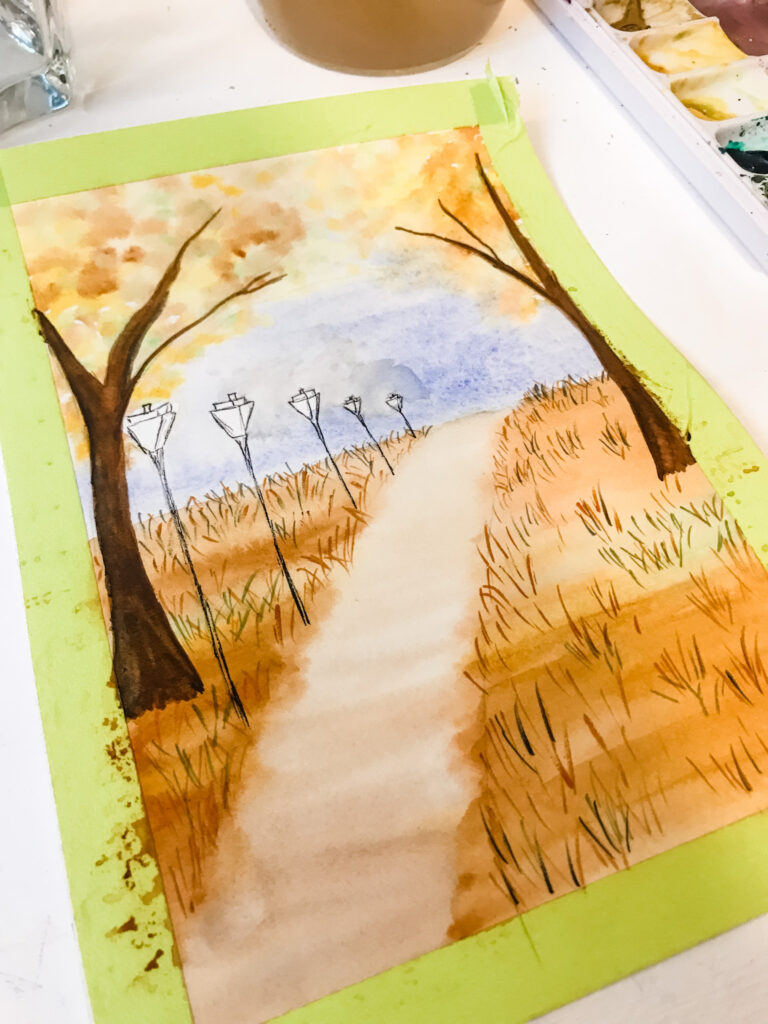
Step 6:
For a little bit more control and structure, I used a water-proof ink pen to outline my light posts.
This helped me not get too crazy with my Payne’s Gray paint. The beauty of this step is all you have to do now is fill in the outline with your paint. Doesn’t that make it easier!
Use a light wash of Payne’s gray to fill in the center area of the light post.
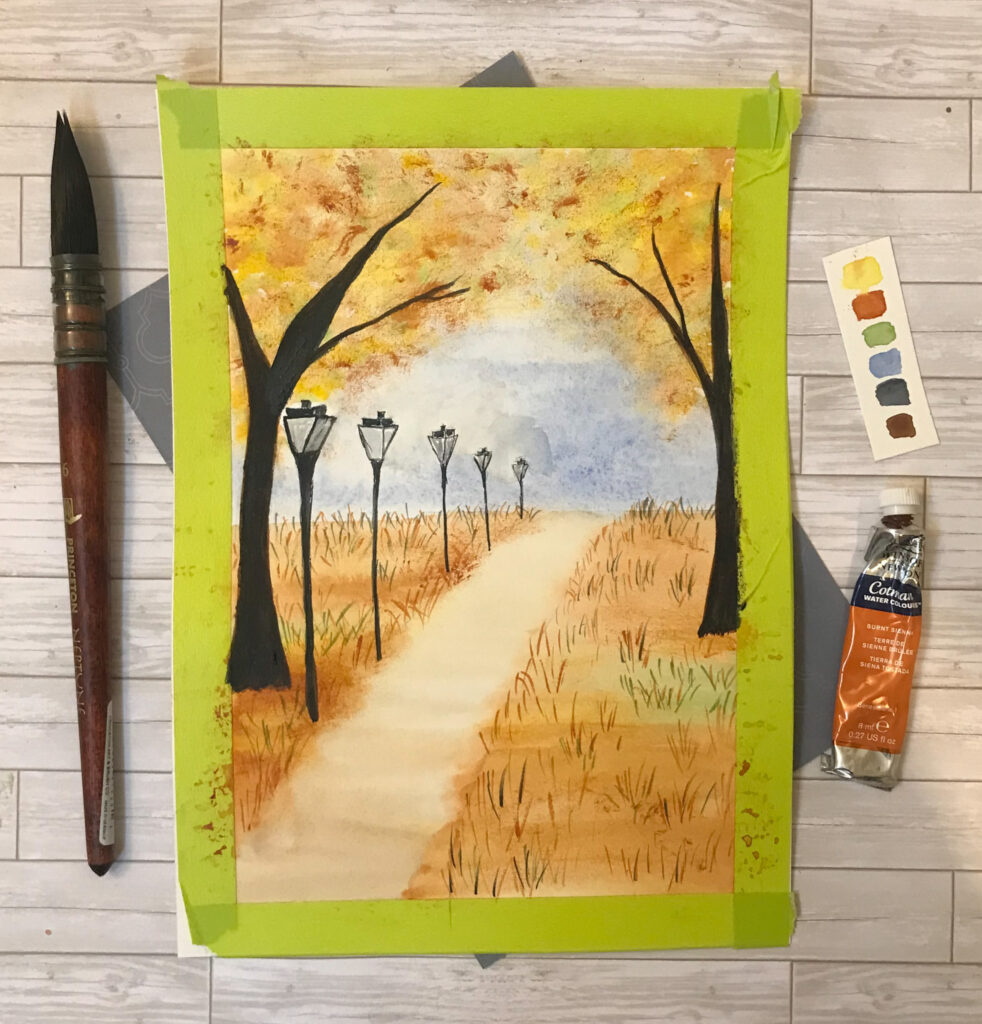
Step 7:
The last step that we need to do is using the dry brush technique to add a deeper tone of leaves to the top of our trees.
Using a thick wash of Burnt Sienna scratch in your leaves all over the top of the trees and around the base of the tree trunks.
In my older post “How to Paint a Pumpkin with Watercolor“, I go into detail on how to apply the dry brush technique.
Now, dip your brush into a thick wash of Cadmium Yellow and tap in thick yellow leaves all around the top of the trees.
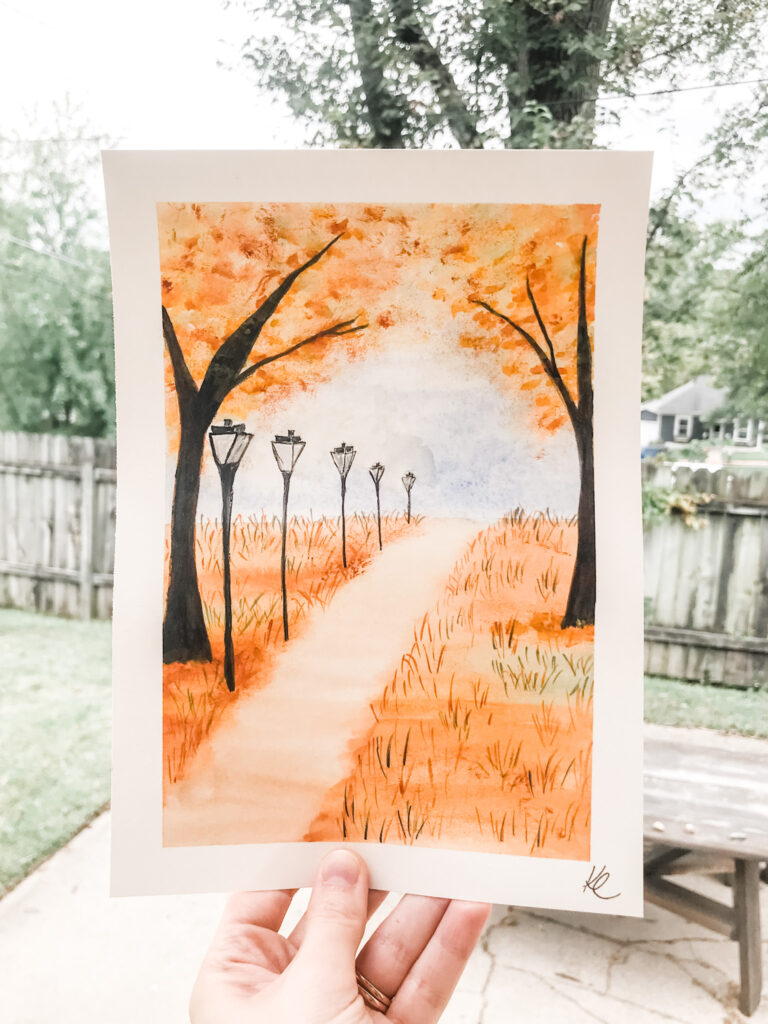
Let this layer dry, take your painter’s tape off, and you’re done!

Full Video Time-lapse
I hope you enjoyed painting this beautiful fall watercolor painting with me today, I know I did!
Before you go sign up for our free newsletter! In the future, we will send you a few emails a month on watercolor painting, DIY crafts, acrylic painting, and/or blogging tips. Let us know by selecting which ones you would be interested in. You can unsubscribe at any time by clicking the link at the bottom of every email.
Other Fall Paintings you may like, How to paint Fall Trees, Watercolor Fall Leaves, and Watercolor Fall Barn.