We may earn money or products from the companies mentioned in this post.
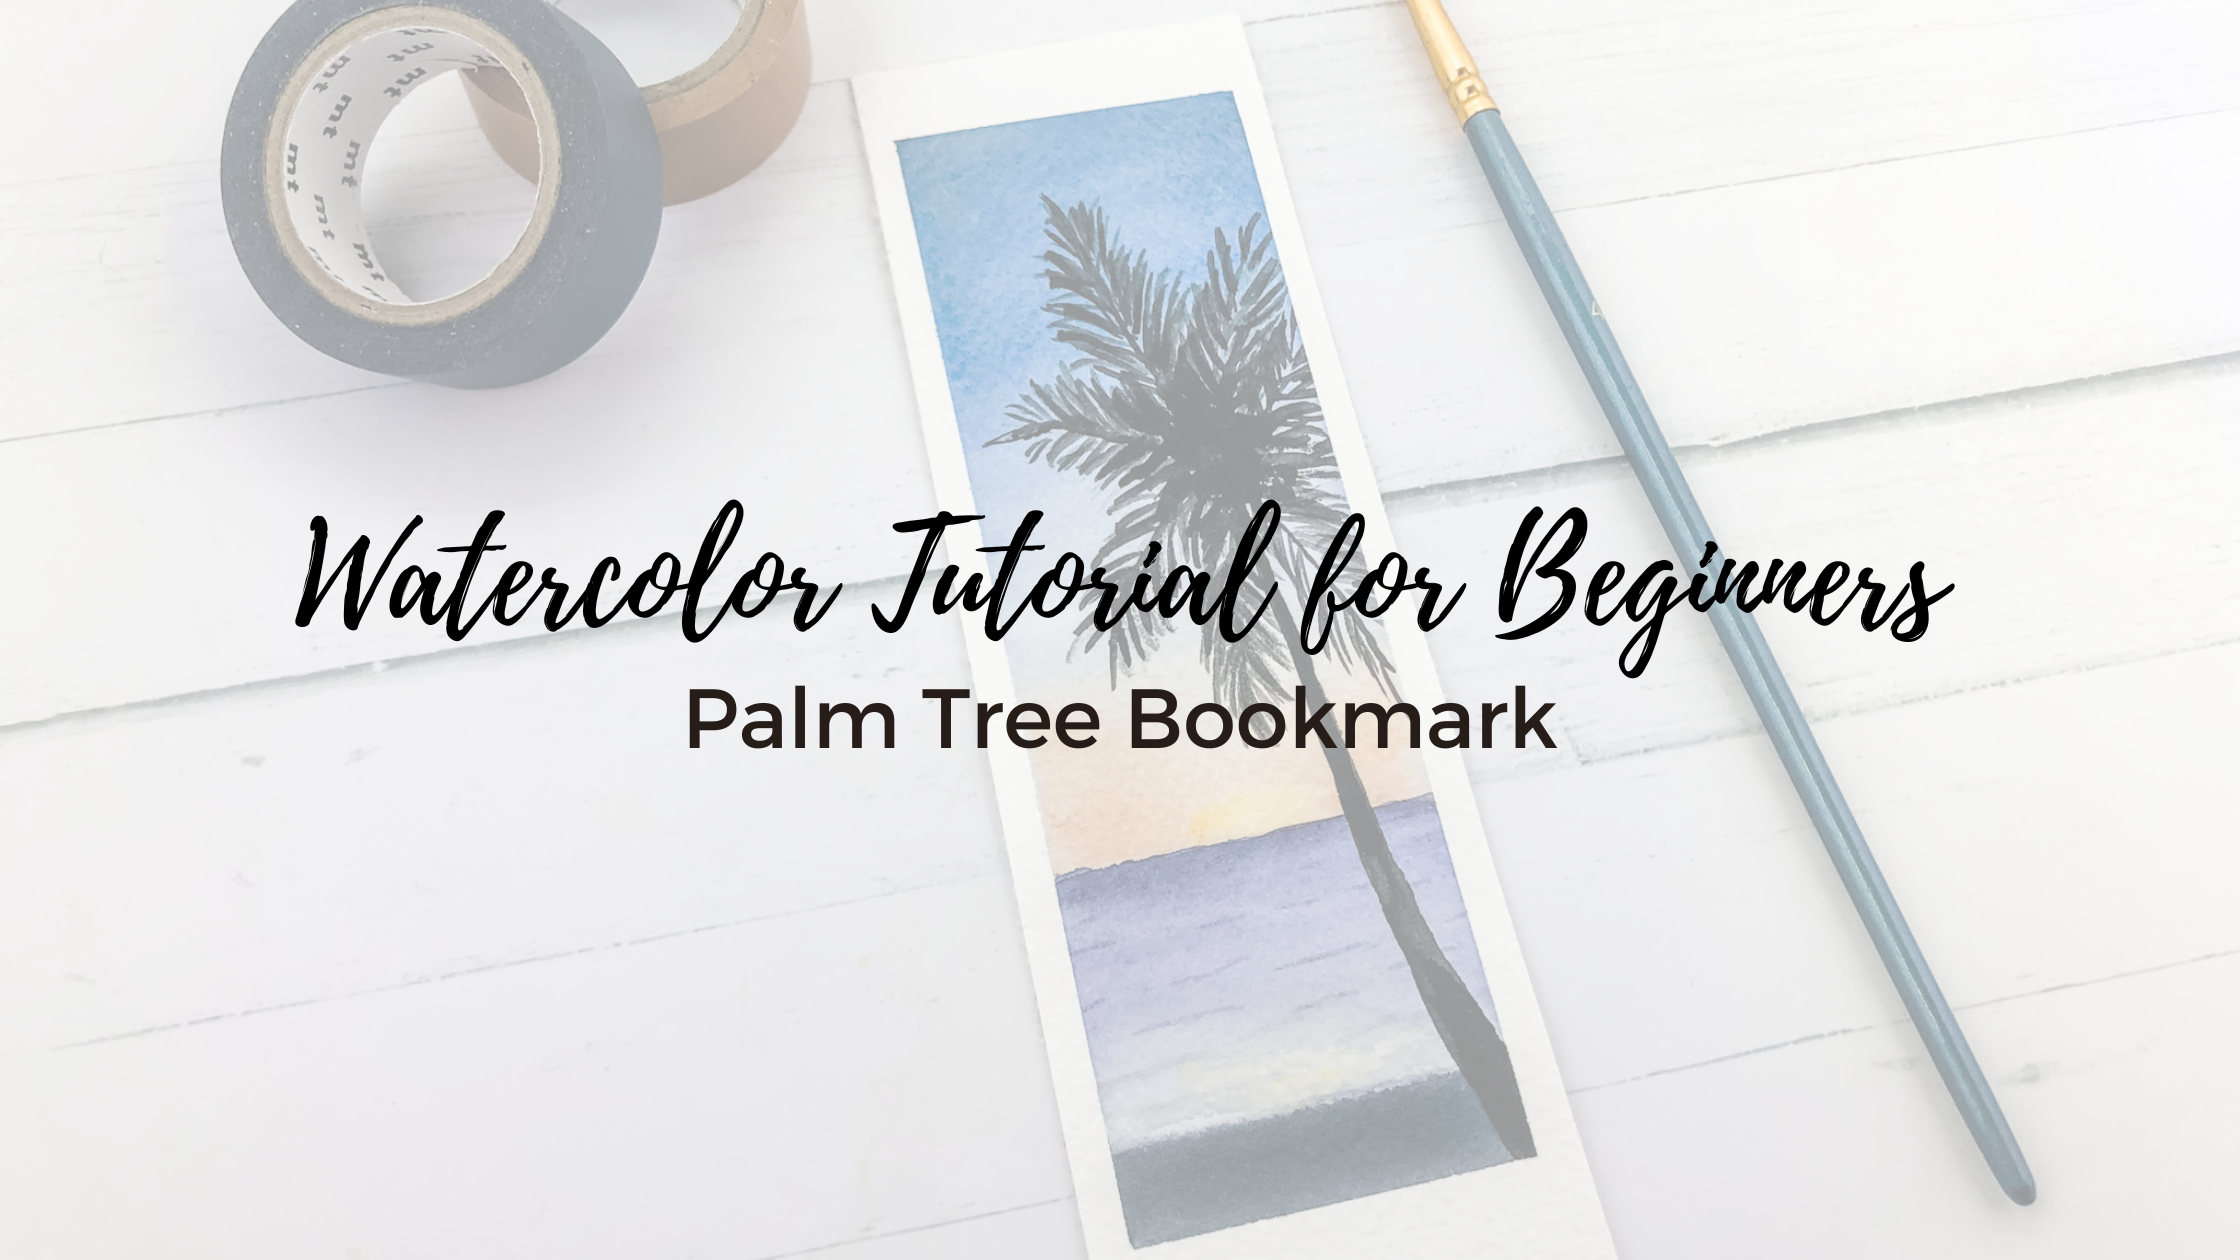
Hello friends! Welcome back my name is Kate and today we’re going to paint this beginner-friendly palm tree watercolor bookmark.
Let’s get started!
Full Video Tutorial
Colors Used:
Cadmium Orange
Cadmium Yellow
Ultramarine Blue
Violet Purple + Teal Blue
Black
Payne’s Gray
Supplies Used:
Watercolor Paint
Watercolor Cold-Press Paper
Rounded Tip Brush (size 12, & 2)
Masking Tape
Two Cups of Water
Paper Towel
I’m working with watercolor paper that is a 140 pound cold pressed.as well as a large round paint brush and a one smaller round brush, then you can use whatever watercolor paints you have.
I will have all of the specific paint colors and supplies I am using for this tutorial listed over on my blog if you would like to check that out. I’ll have a link in the description box below.
Step One:
To begin this painting I first tapped my bookmark down and placed my masking tape along my horizon line to create a nice clean straight line to separate my sky from my water.
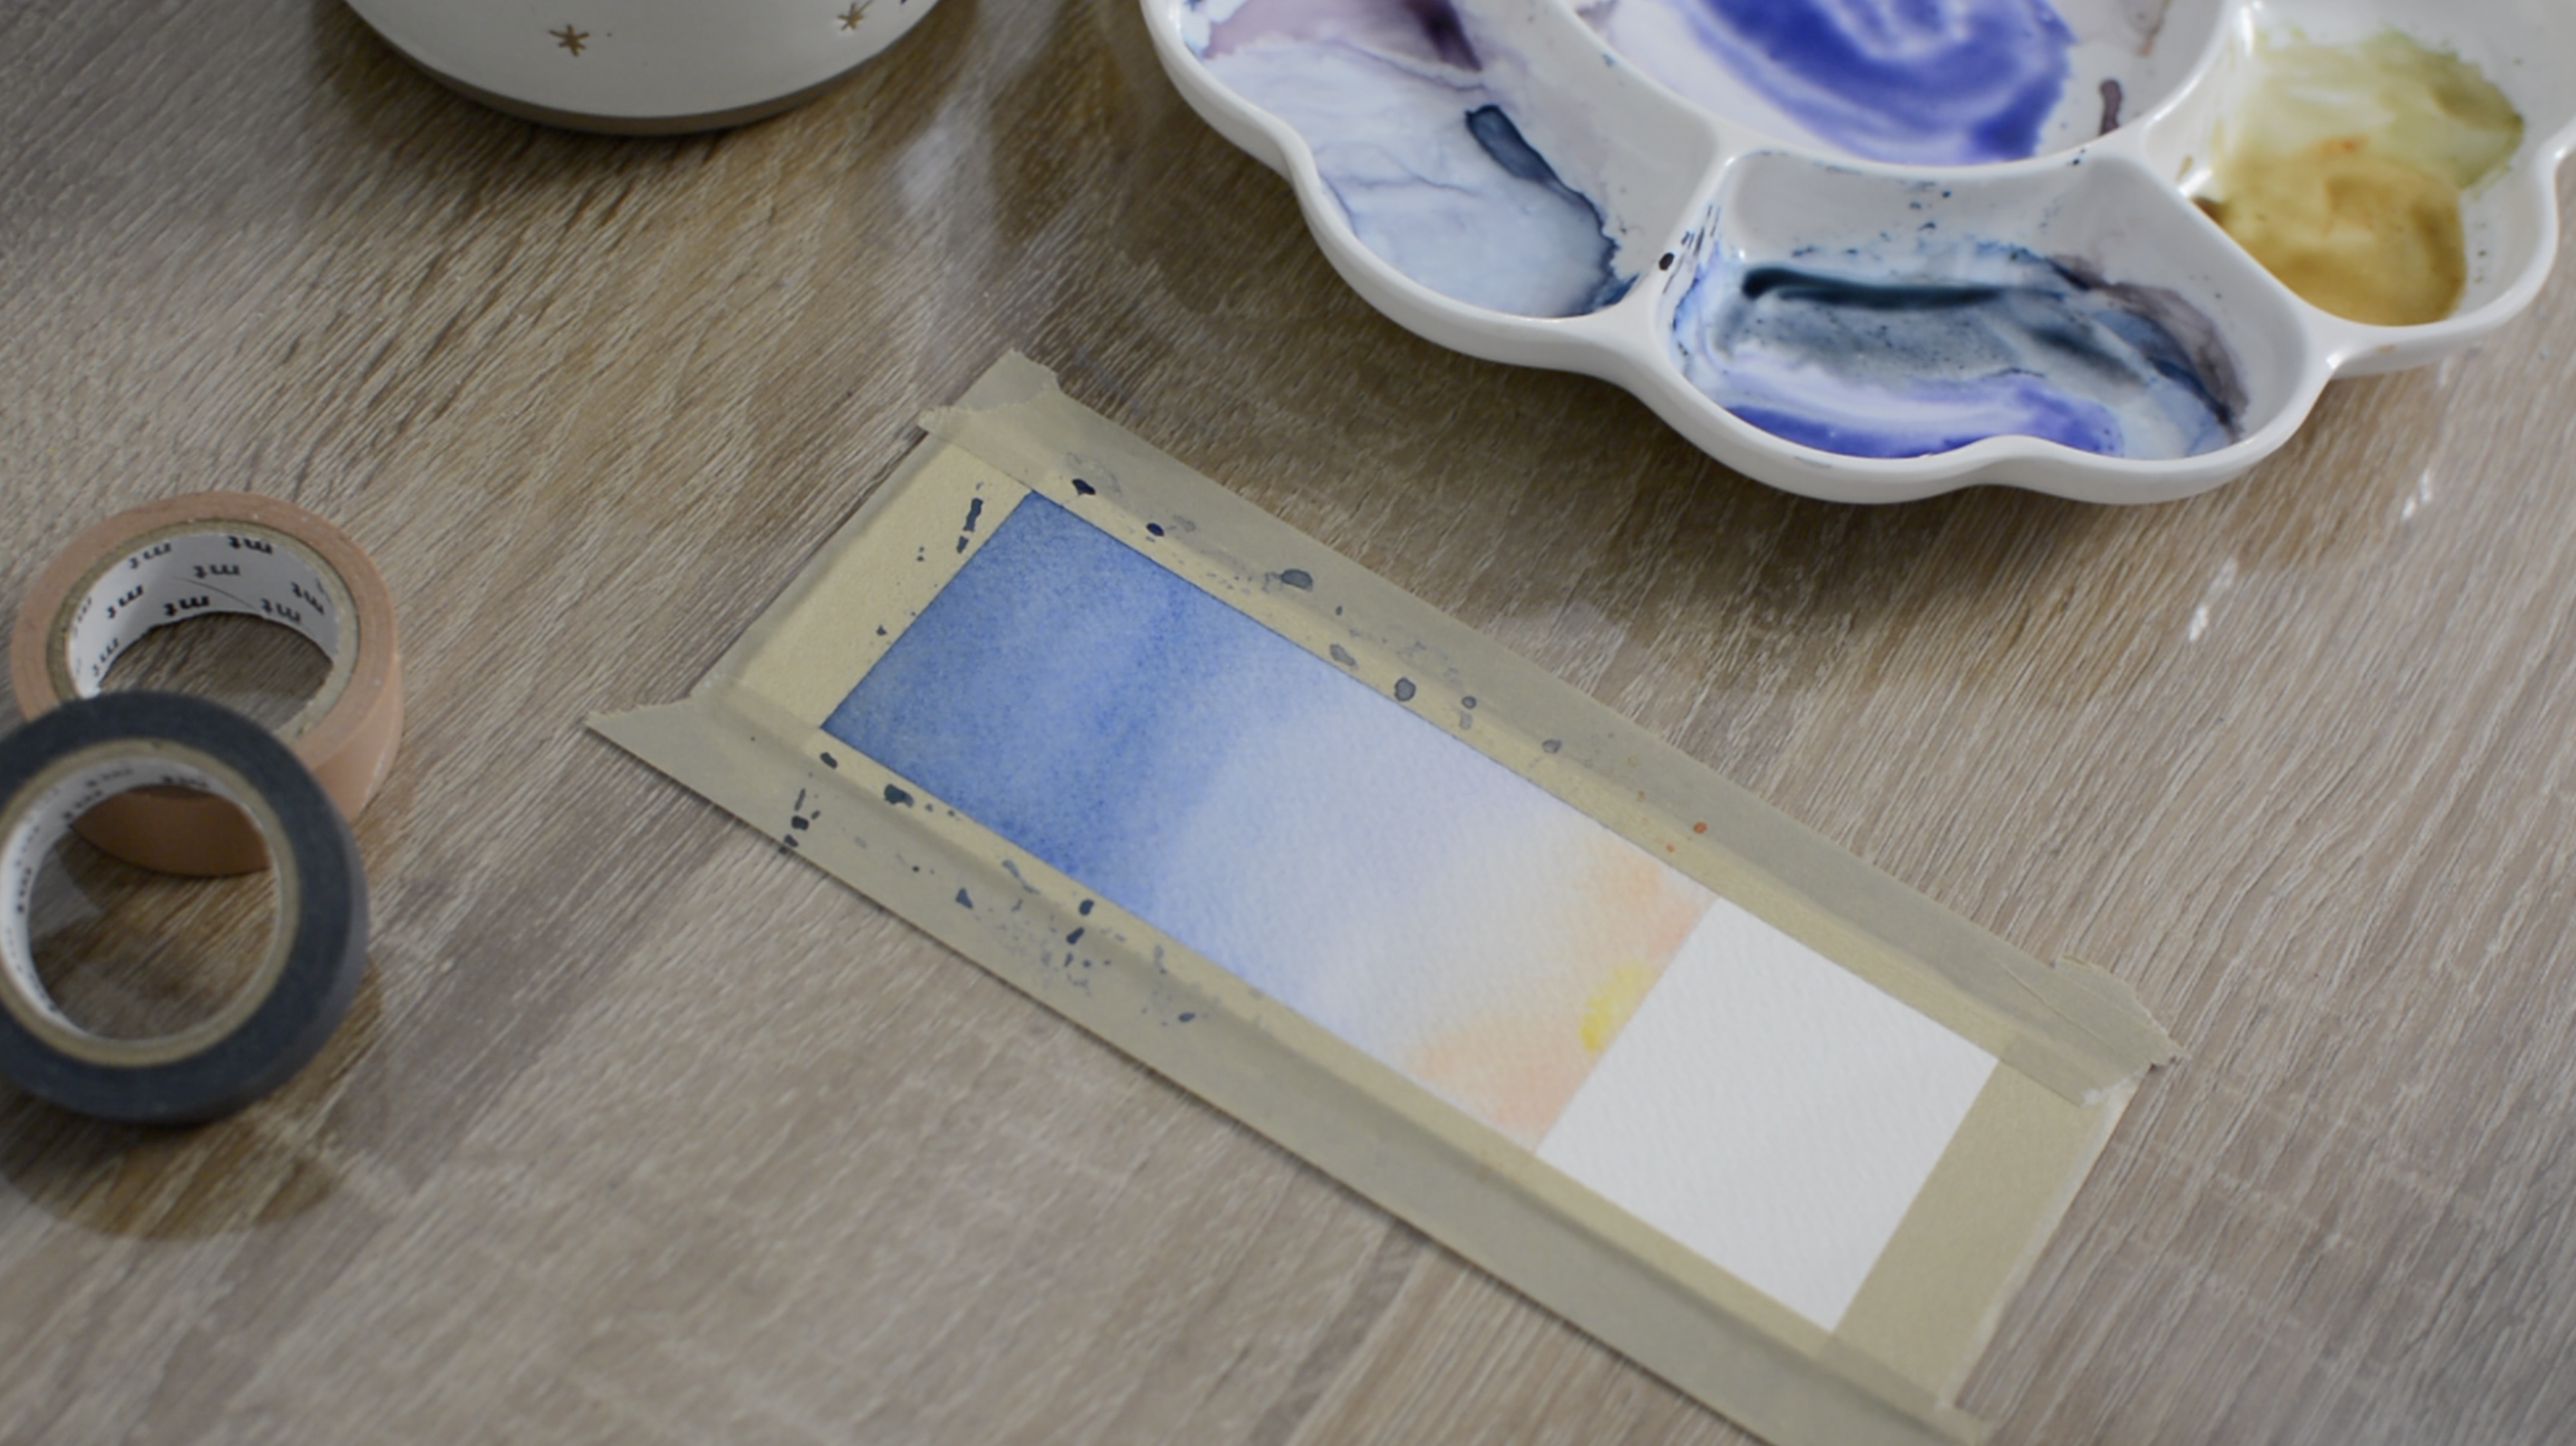
Next, I took my large round brush and filled the entire sky section of my painting with clean water.
I then began to paint in my sunset starting at the bottom with my orange paint mixture. I placed my first brush stroke of orange paint right against the bottom of the sky. I used a damp brush to smooth out the orange paint from seeping up into the rest of my watery sky.
Then with a completely clean and dry brush I picked up the orange paint from the bottom center section to make a space for my sun. Just grab some yellow paint and tap that paint into this section. If they area is too dry just use a little bit of water to blend it out.
I moved up the center section of the sky and began painting in my blue paint color. I left some a lot white space below this blue section, because I wanted to be really careful about blending my new colors in to the orange section because I didn’t want any of my colors to turn into a brown muddy mess.
So you’ll see me slowly blending the colors downward leaving white space in-between the orange section and the rest of the sky.
I added some darker pigment to my blue paint and filled in the top section of the painting. I messed around with the blue section of the sky for a while till I was happy with the overall color.
Next, I mixed together a light wash of purple and then began to paint this color in under the blue section and again leaving some white space between the new purple section and the orange section. I blended my purple paint upward into the blue section and added a little bit more vibrant blue paint to the top of the sky.
I added just a little bit more orange to the bottom of the sky, and then I took some clean water to carefully blend the orange paint upward toward the purple section.
Step Two:
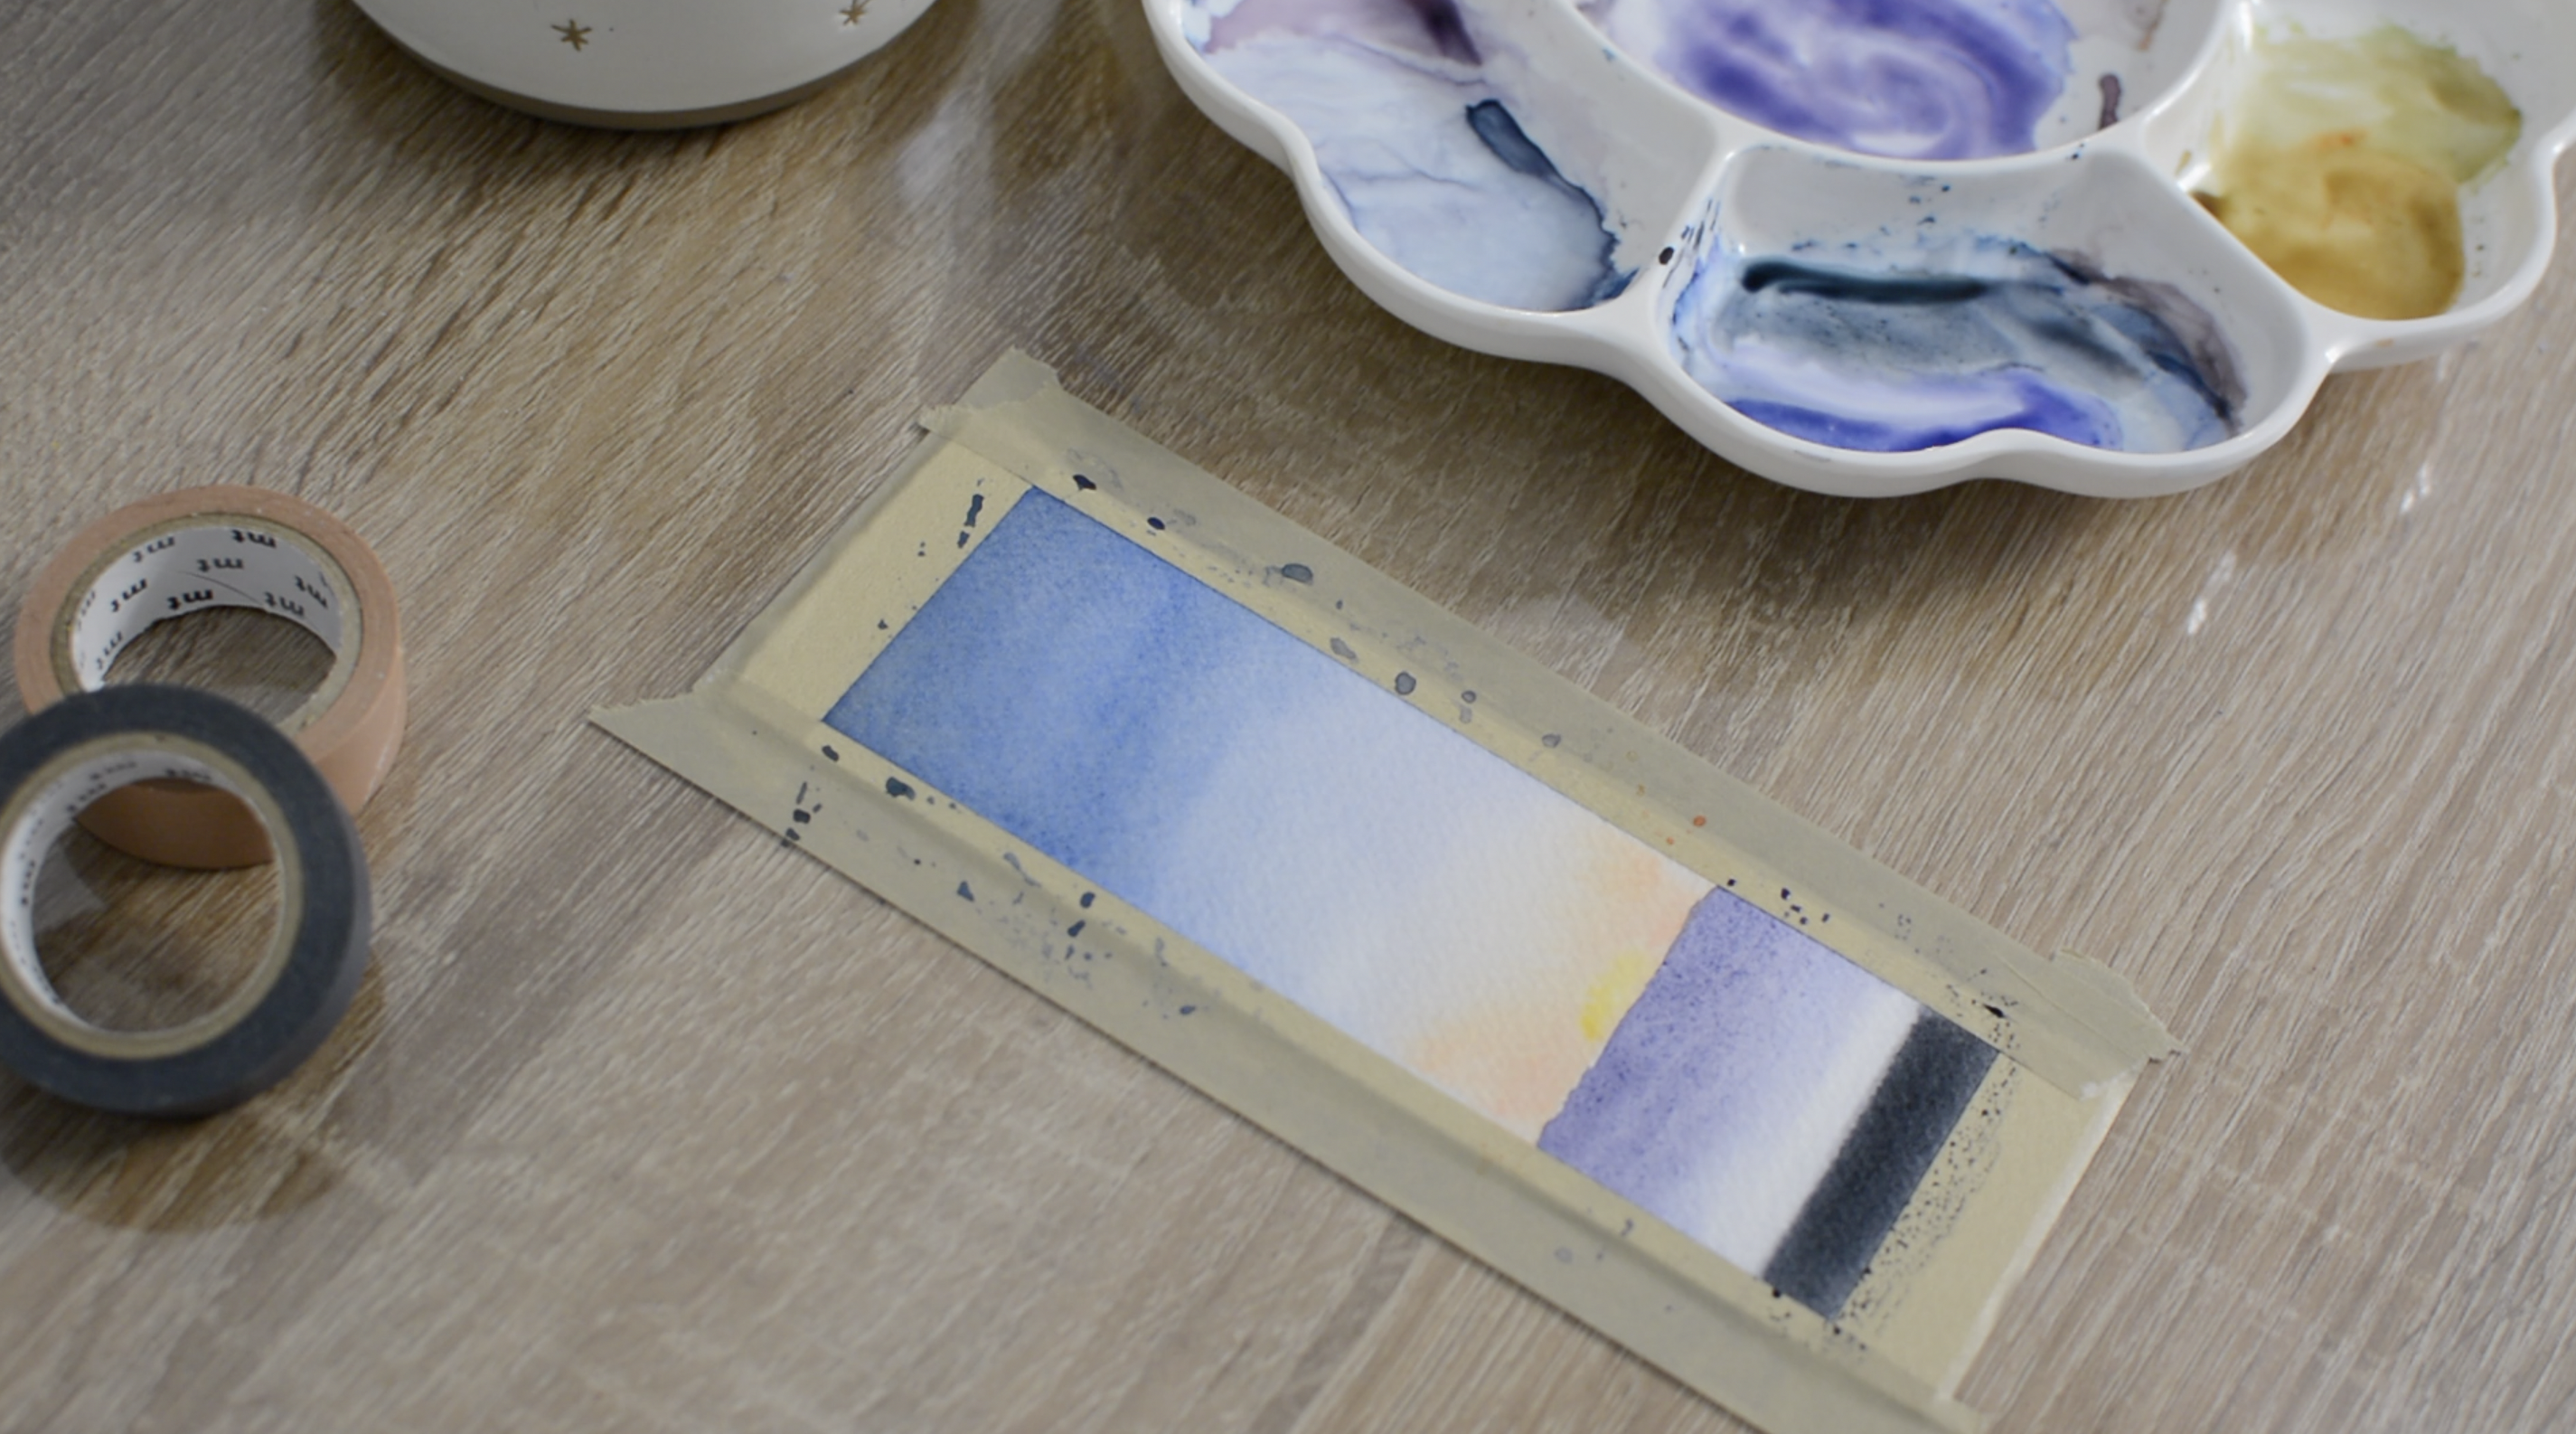
Once my sunset dried I began painting in my ocean. I used my large round brush filled with a purple-blue paint mixture.
I stopped my ocean right before I reached the bottom to leave room for my shore. I used a Payne’s Gray color for the shore. Then I took a dry clean brush and picked up the paint between the shore and the ocean to give a natural lightened look.
If you are enjoying this tutorial then you may also be interested in my watercolor seascape tutorial.
Step Three:
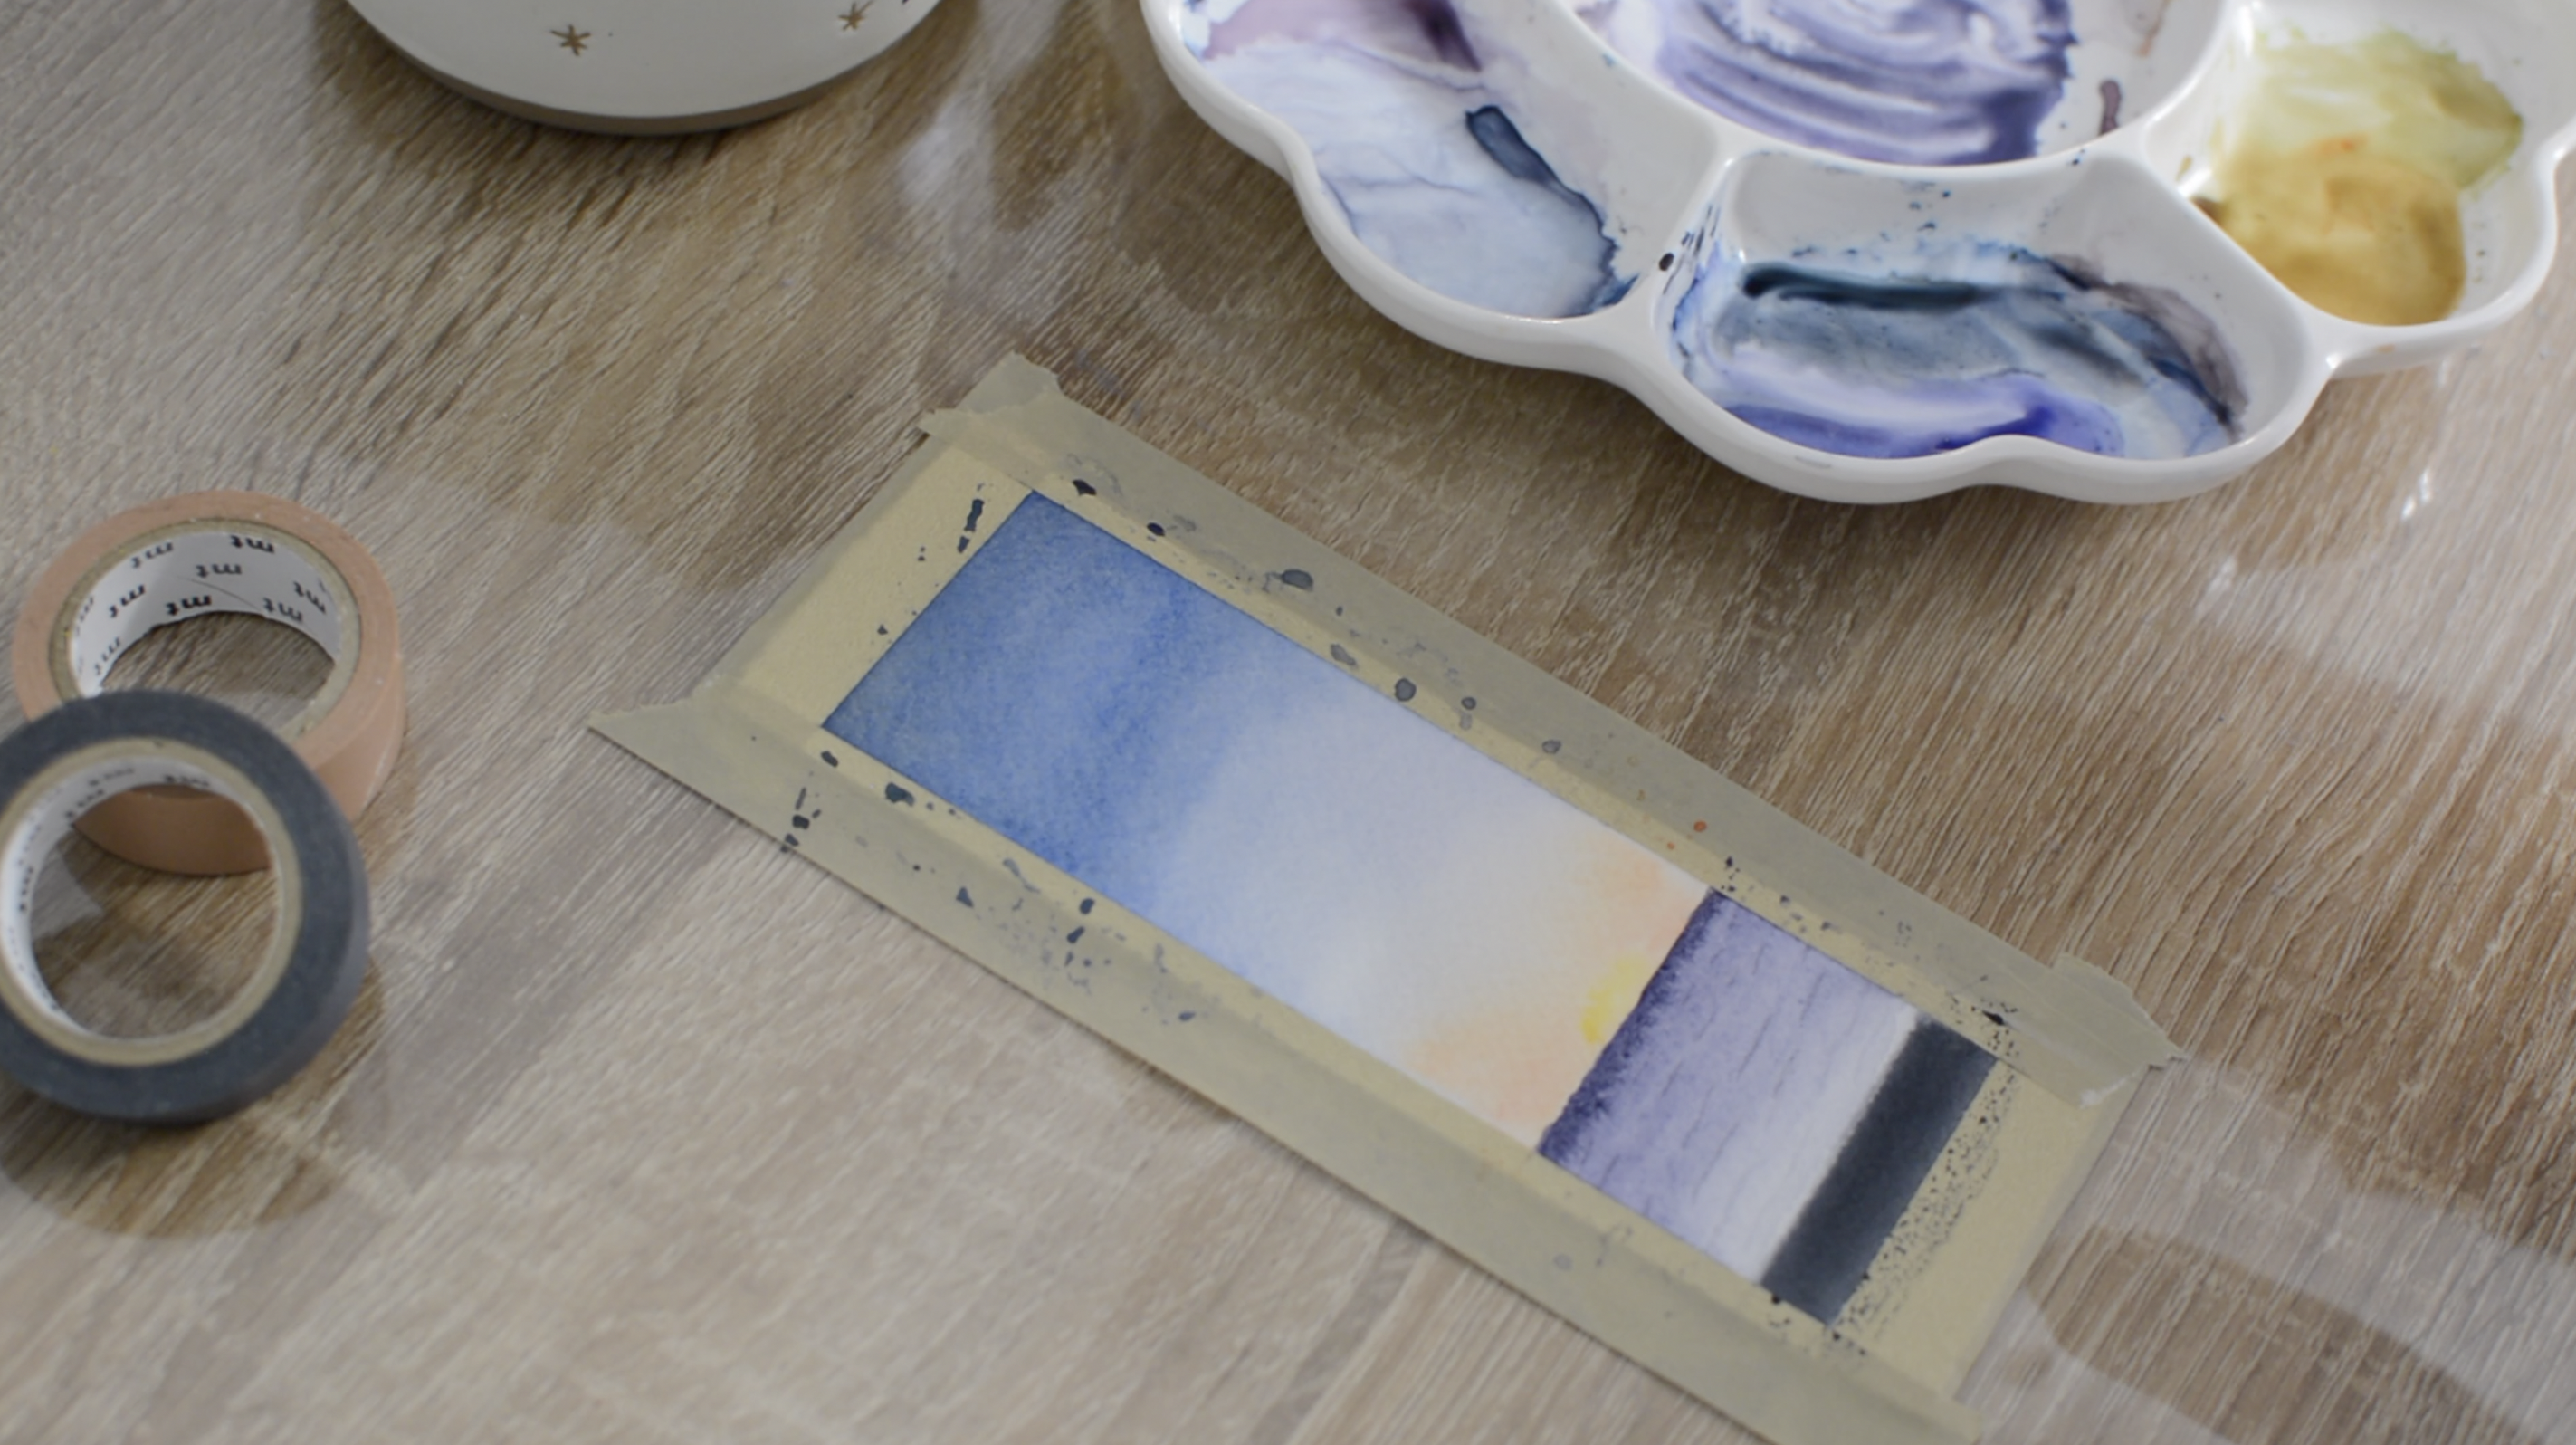
I waited for everything to dry and then I painted in my waves. I switched over to my small round brush and with the tip of my brush I painted in thin wavy lines using the same color I just used for the ocean. Then once my lines were in places I took a clean brush filled with water and blended out these harsh wave lines into the ocean. This will give the waves a natural soft look.
Step Four:
Lastly, I painted in my palm tree. I used black paint on my small round brush. I began by painting in a line to give me an idea of where the palm tree trunk would be then I continued to paint the full shape of the palm tree trunk. Next I used the tip of my brush to paint in the palm tree leaves. This step took a while because of painting each individual palm leaf. But all I did was paint in thin lines angling down away form the center of the palm tree. And as the first layer dried I would go back over the leaves with a second layer. At the very end I added a lot of black paint to the center of the palm tree to give some depth.
And there you have an easy beginner friendly bird watercolor painting. Perfect for a bookmark or just for some watercolor practice.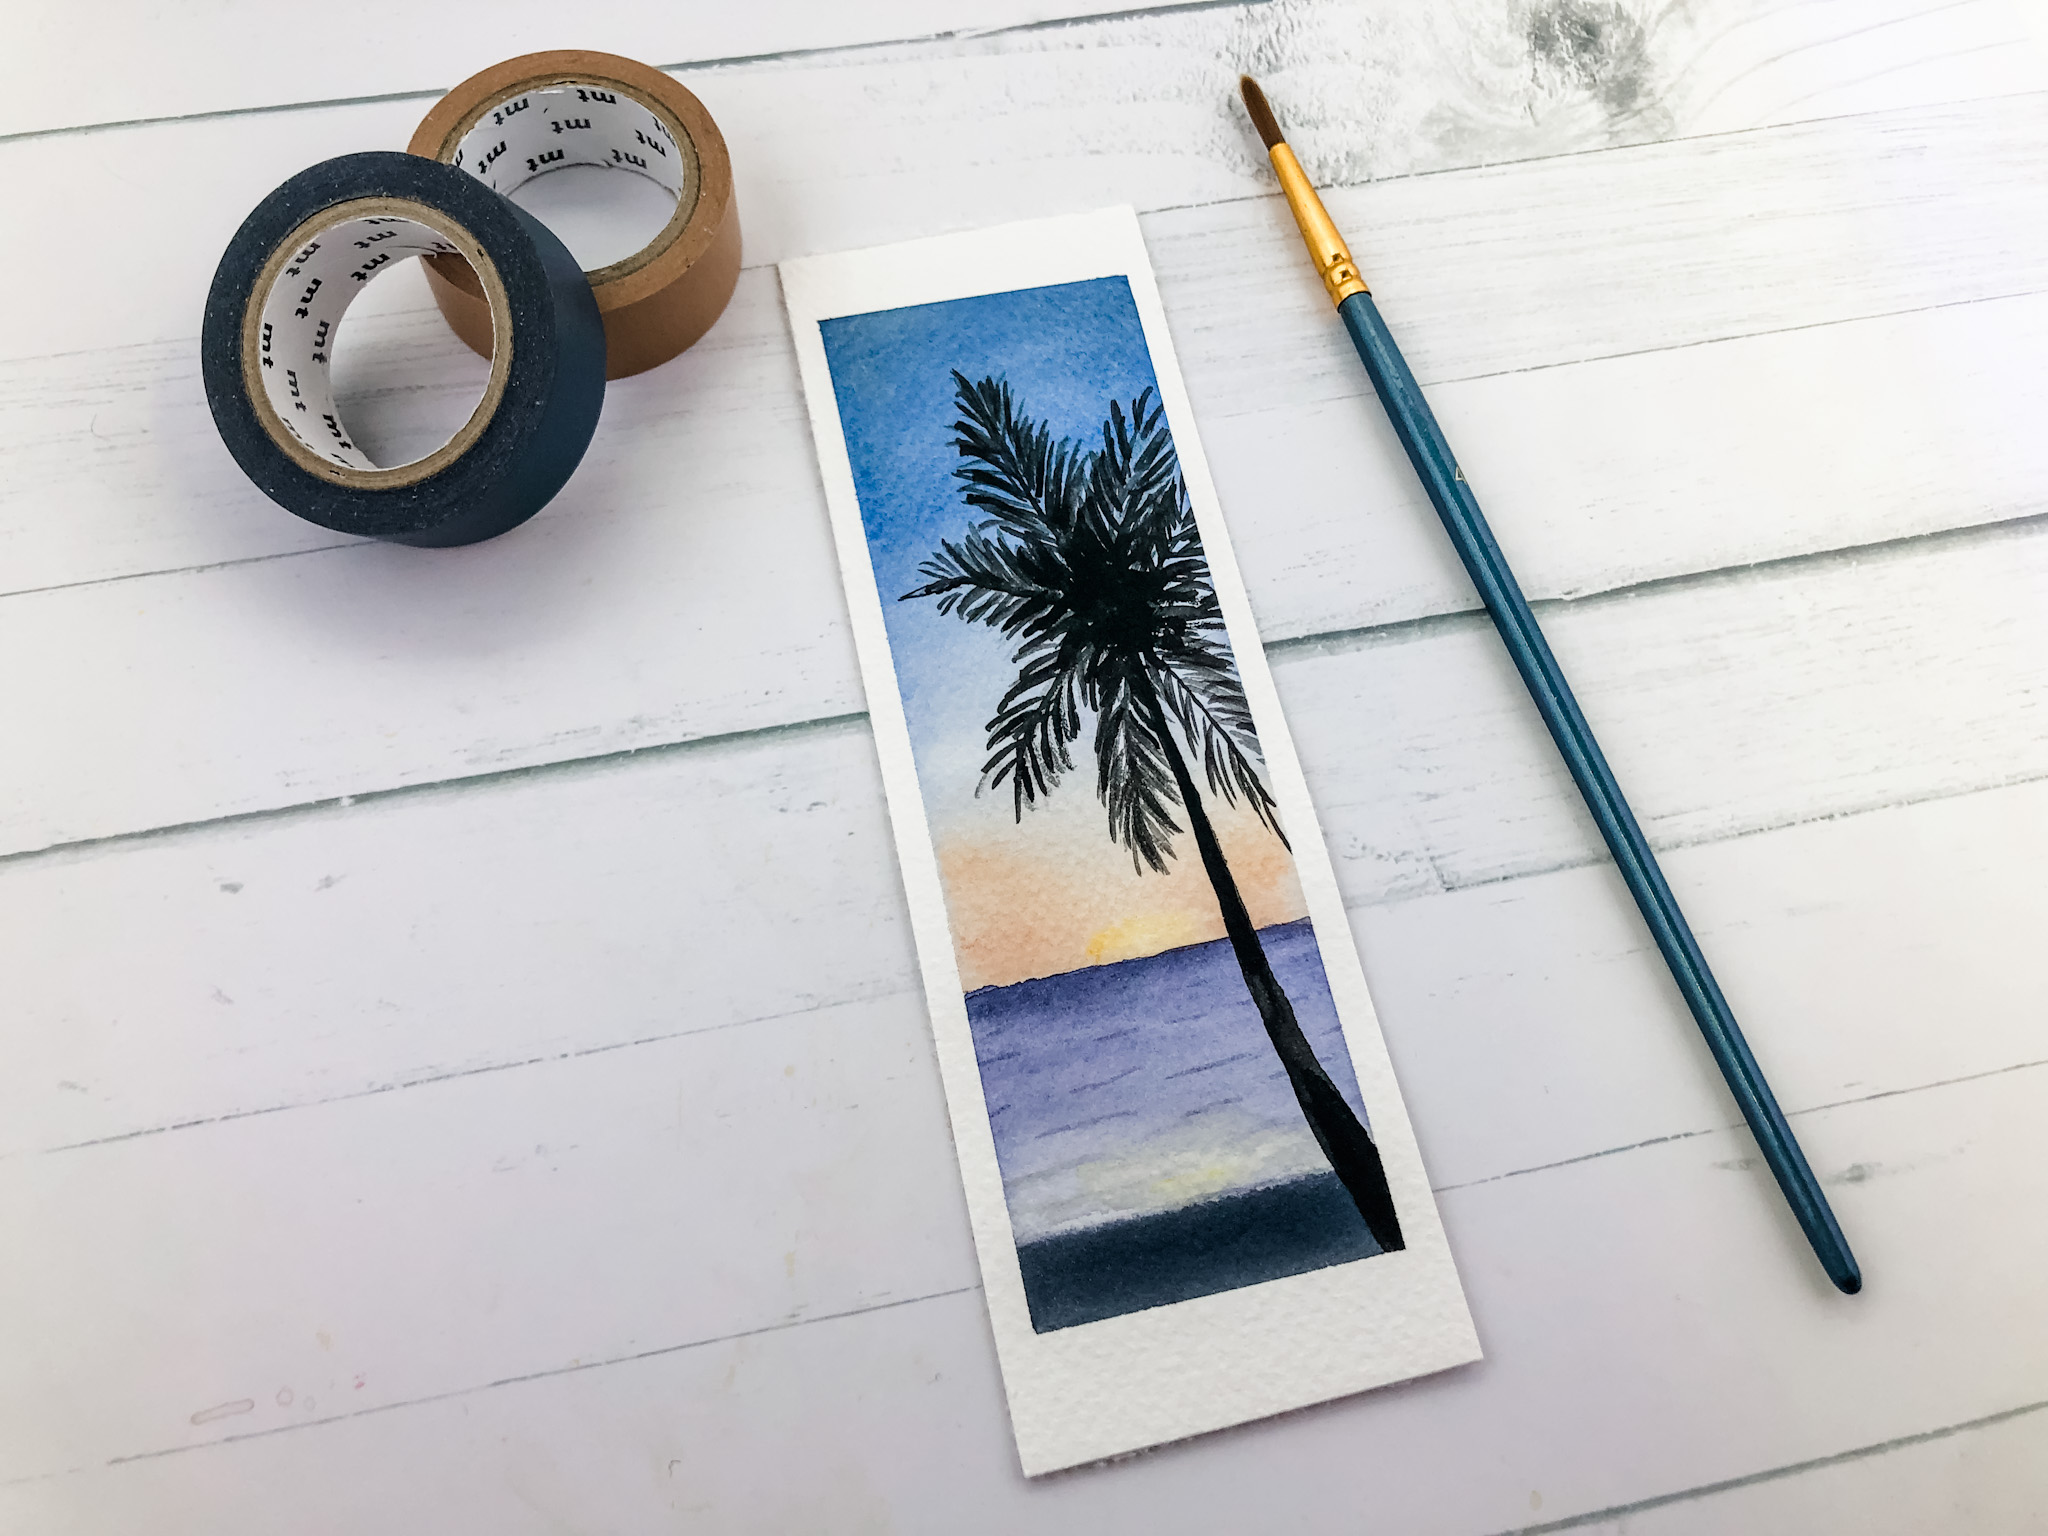
This bookmark will be for sale over on my Etsy Shop if you would like to check it out. I will have a link in the description box below. Thanks so much for following along! Here are a few more watercolor tutorials you may also like!
2 thoughts on “Palm Tree Painting Step by Step Tutorial”