We may earn money or products from the companies mentioned in this post.
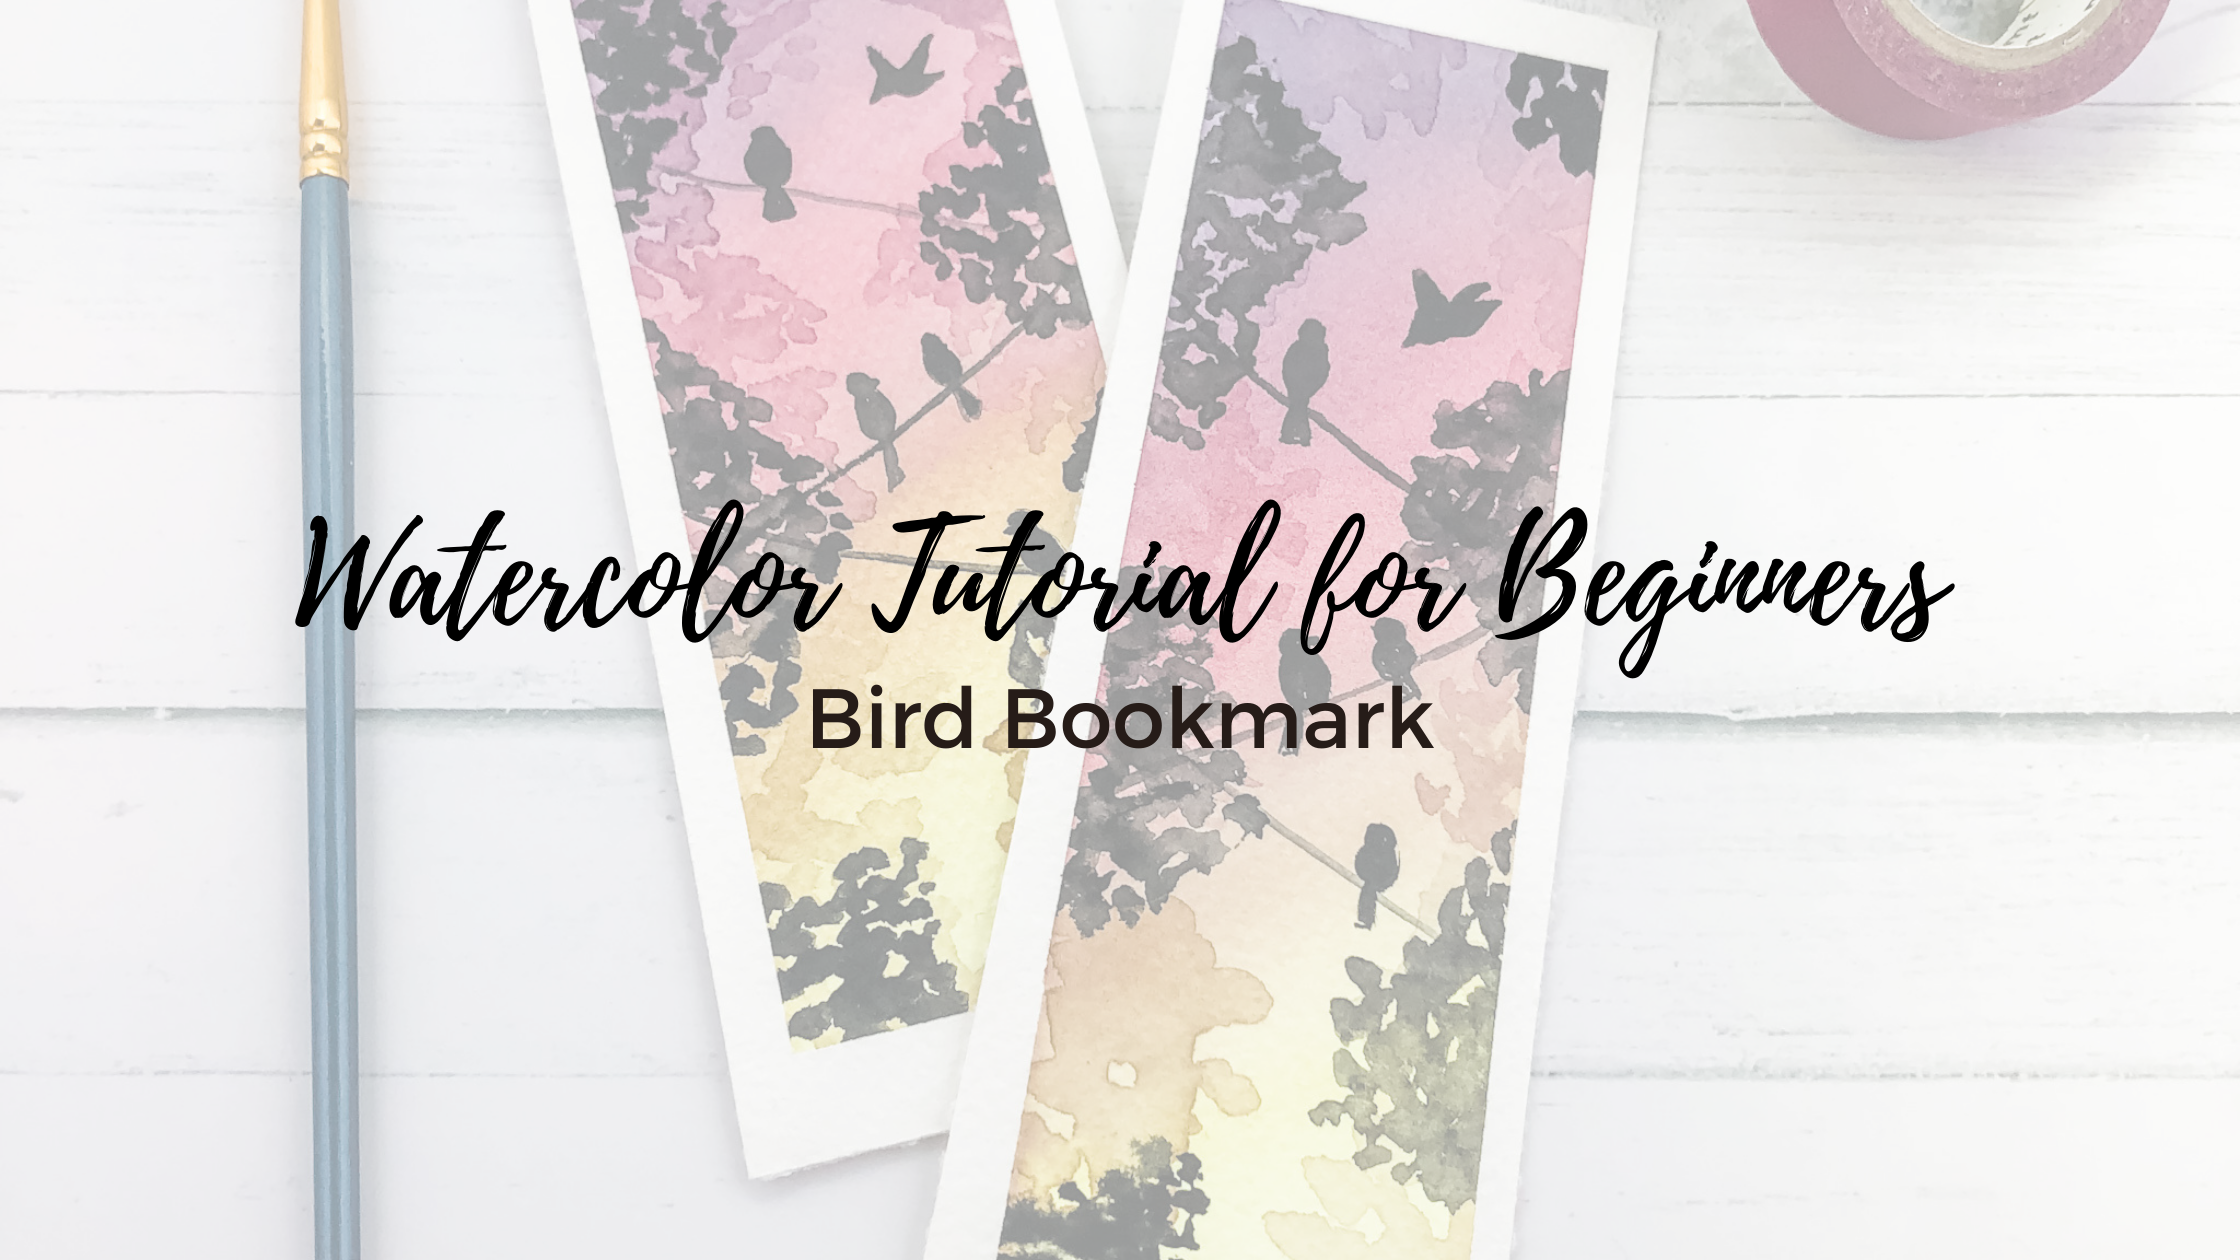
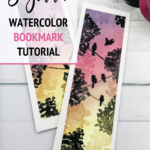
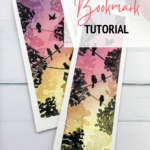
Hello friends! Welcome back my name is Kate and today we’re going to paint this beginner-friendly watercolor bookmark. This is perfect for anyone beginning to learn watercolors.
Let’s get started!
Full Video Tutorial
Colors Used:
Alizarin Crimson
Violet Purple + Teal Blue
Black
Lemon Yellow
Supplies Used:
Watercolor Paint
Watercolor Cold-Press Paper
Rounded Tip Brush (size 12, 6, & 2)
Masking Tape
Two Cups of Water
Paper Towel
I’m working with watercolor paper that is a 140-pound cold-pressed. It’s important to have proper watercolor paper as well as a large round paintbrush and a smaller round brush, then use whatever watercolor paints you have.
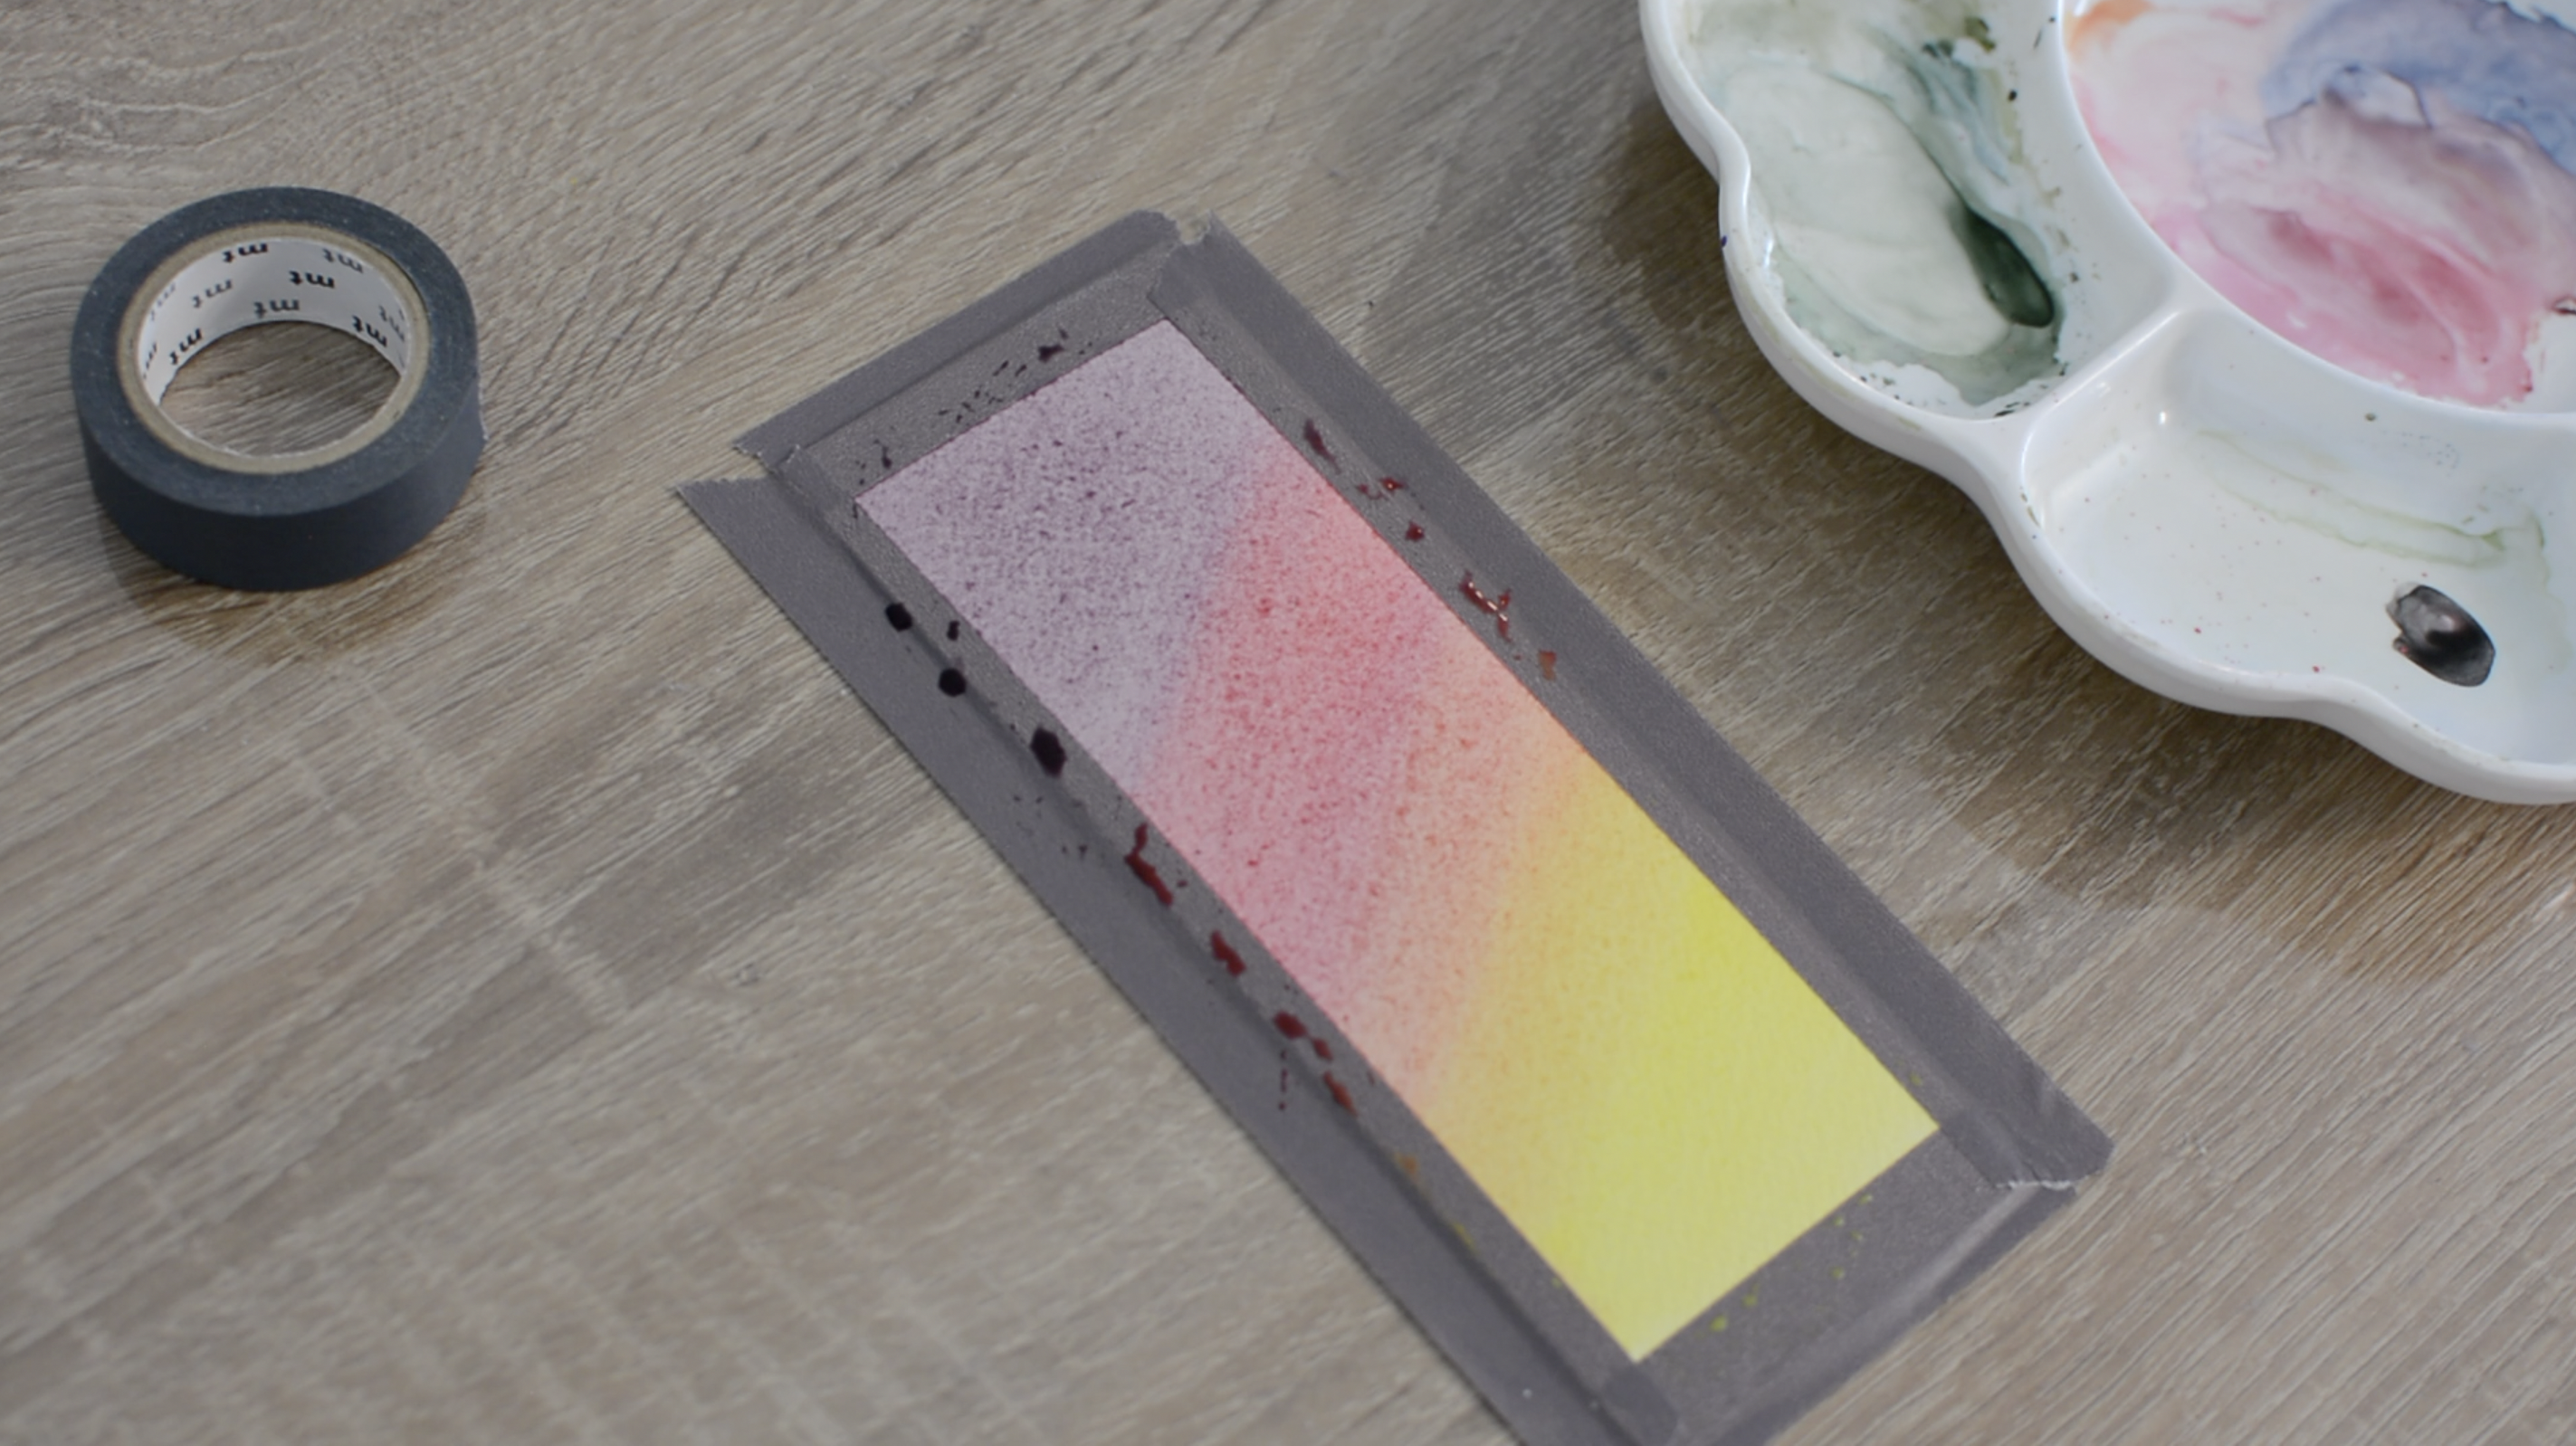
Step One:
For this painting, we are going to grab our large round brush and begin painting in a thick wash of yellow paint at the bottom of our page. (The key to this step is having a lot of water in your paint mixtures). Then switch over to a thick wash of red paint and begin painting this color in the middle section of the bookmark then blend it down to the yellow paint. Then lastly take a purple paint mixture and fill in the top of the bookmark and blend it into the red section.
This will create a very beginner-friendly sunset!
If you are enjoying this tutorial then you may also be interested in my watercolor poppy field tutorial.
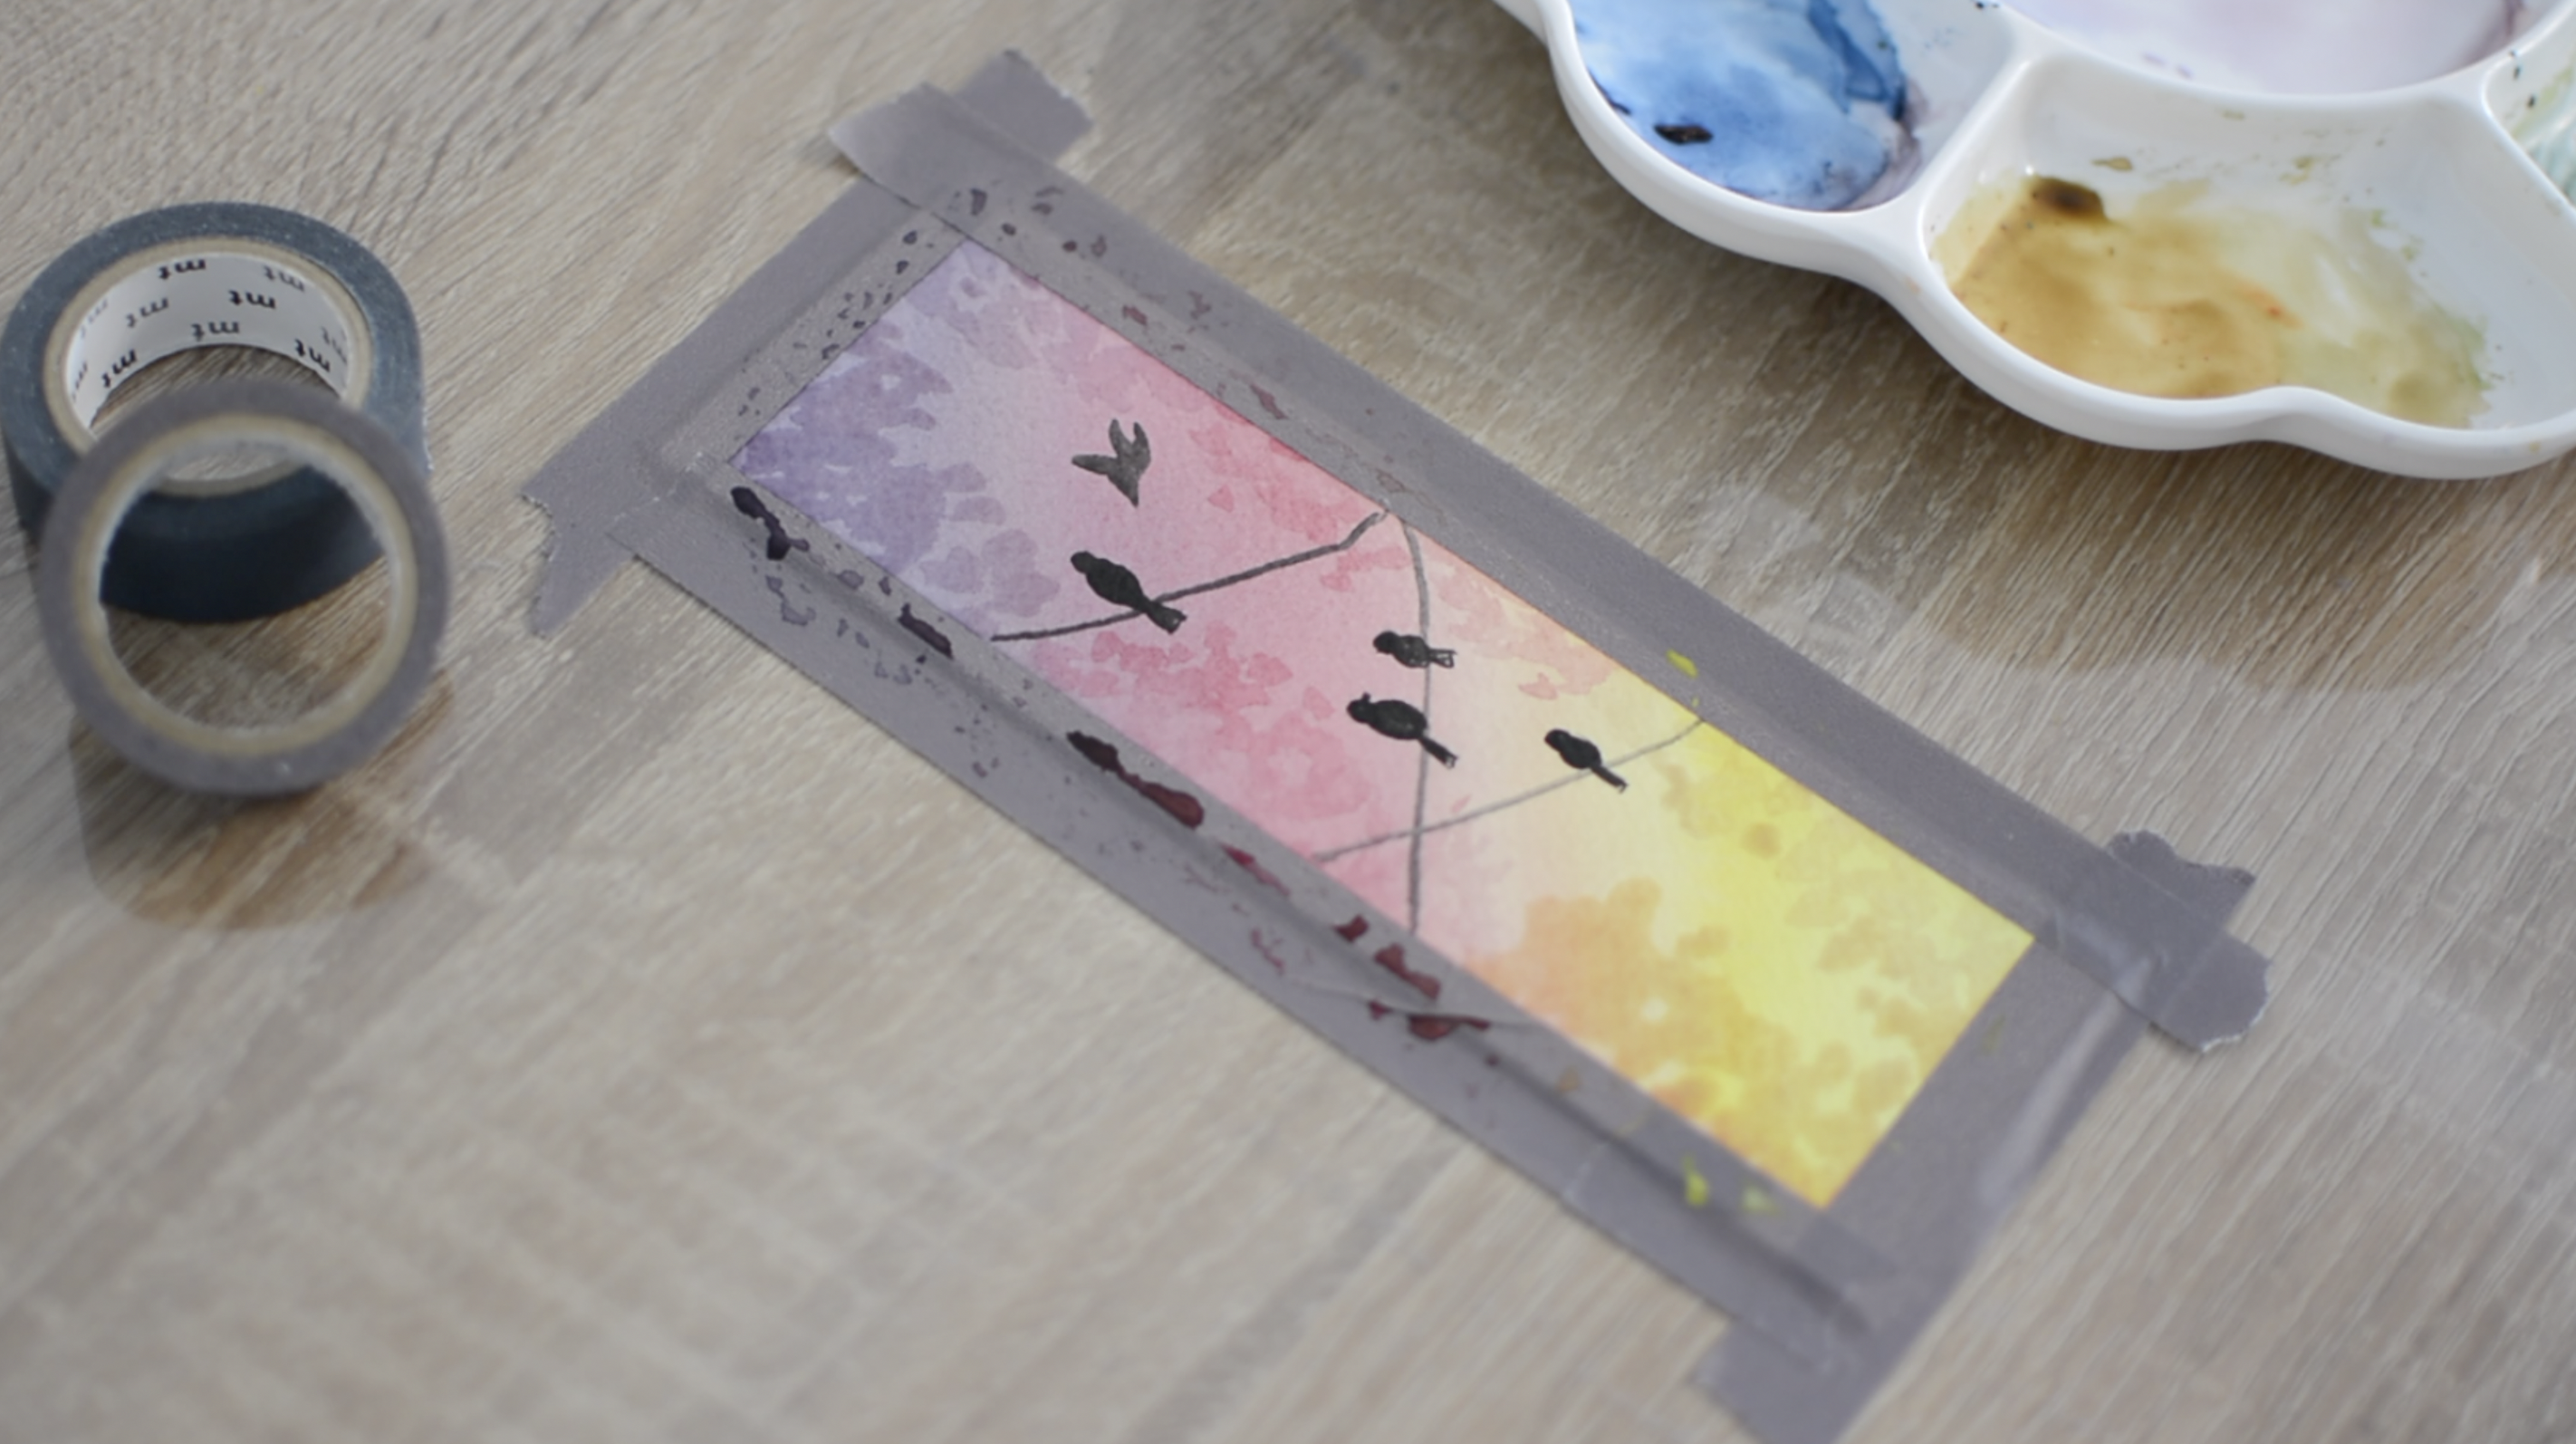
Step Two:
Once my sunset dried I took my small detail brush and I began to paint in the loose curved lines that will make up the phone lines my birds will be resting on.
I started at the top section of the bookmark and painted in my line to the middle of the bookmark. Then I painted a second line underneath the first, and the one more underneath the middle on. Again I just used a thick wash of black paint on the tip of my small detail brush.
All the lines will end up being in the middle section leaving some space on the top and bottom of the bookmark open.
I then continued to paint my birds on the telephone lines. Each bird is made up of a small circle for the head, a large circle for the body, and a triangle for the tail.
The only bird that will take a little more effort is the bird flying toward the telephone line.
The first wing is a triangle then I added a circle with a point at the bottom left of the first wing for the head, then I painted another triangle for the second wing, then I created a tail underneath the last wing.
All of the other birds just rest on the phone line with the basic circle and triangle shapes.
I wanted to paint my birds first so I made sure that my tree leaves wouldn’t overtake the painting.
So once all the birds were painted I began painting the first layer of tree leaves using the same colors we used for the sunset. I just took the same paint color on top of its matching color on the sunset and tapped in the shape of leaves on trees.
I was random about the pattern and just focused on not letting the trees touch the birds. As I painted downward I would clean my brush and switch to the correct color for the leaves.
Step Four:
When the first layer of trees dried I took a thick wash of black paint and I tapped in trees in the top right corner, where the phone line started on the sides of the painting, and in the bottom left-hand corner.
Adding these last few sections of trees will not only hide the start of our telephone lines it will also create depth to the painting.
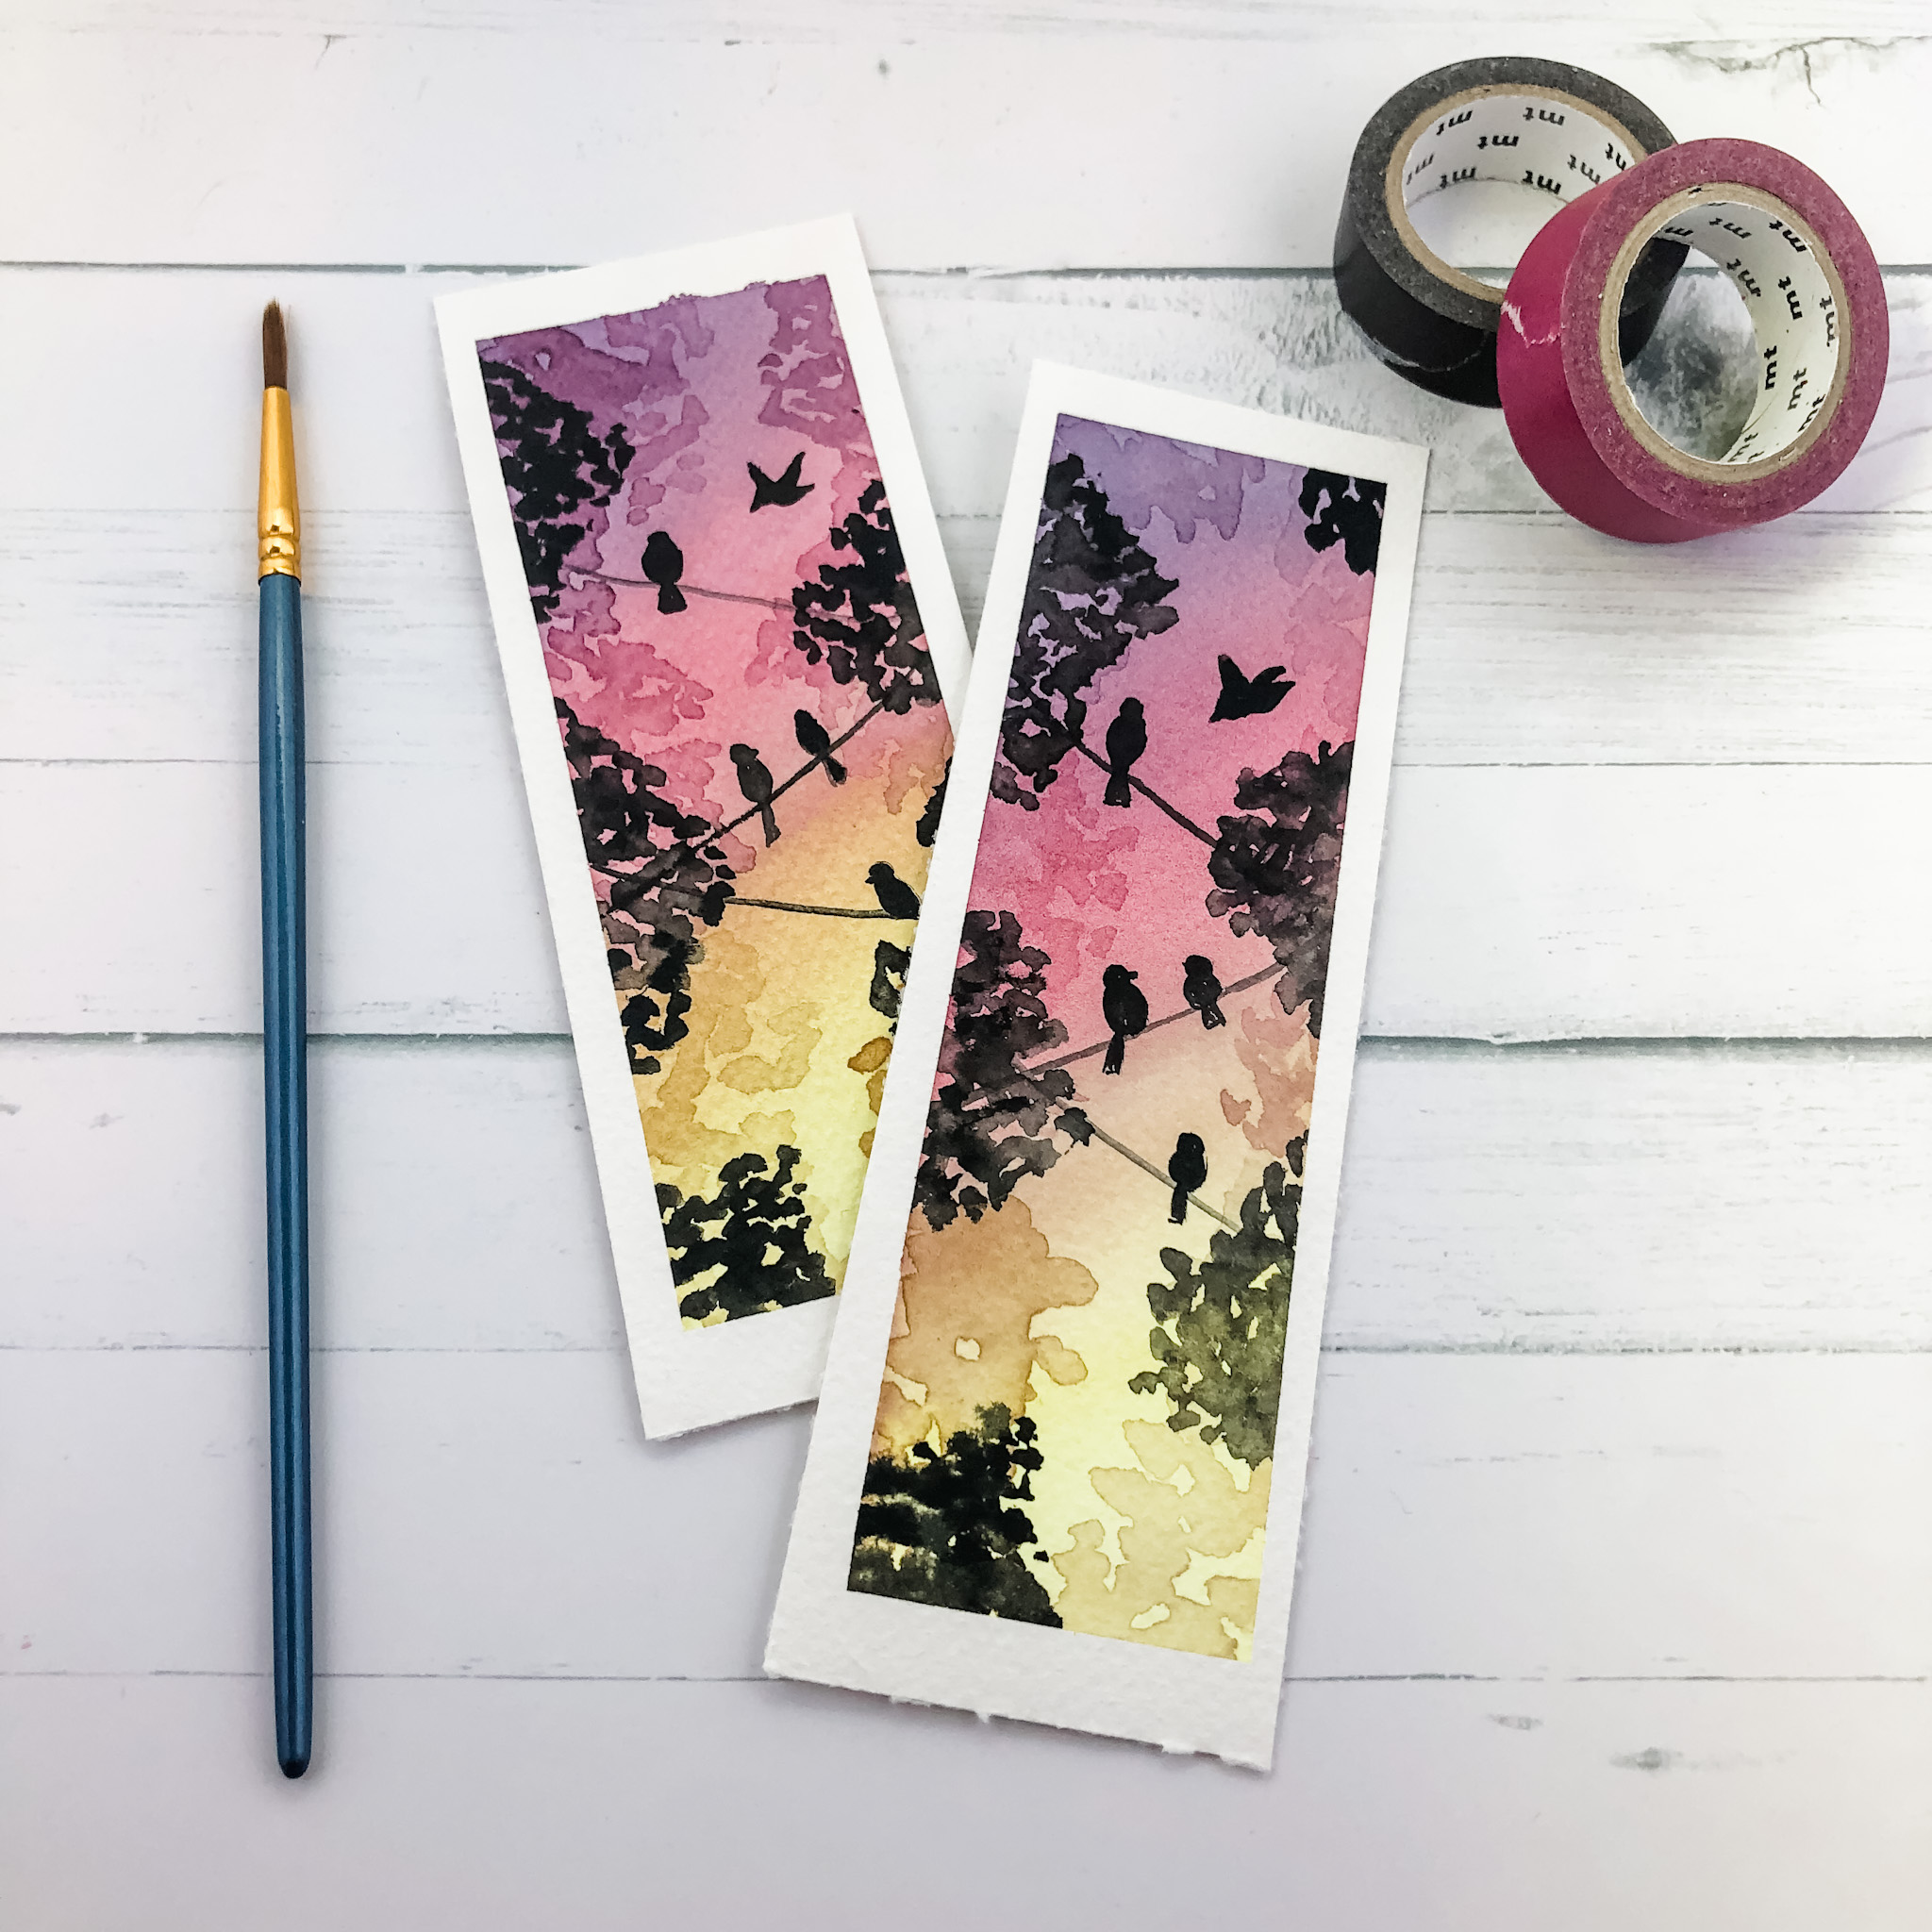
And there you have an easy beginner-friendly bird watercolor painting. Perfect for a bookmark or just for some watercolor practice.
This bookmark will be for sale over on my Etsy shop if you would like to check it out. I will have a link in the description box below. Thanks so much for following along! Here are a few more watercolor tutorials you may also like!
Watercolor Poppy Field Bookmark Tutorial
Watercolor Cloudy Night Sky Bookmark Tutorial
2 thoughts on “Beginner-Friendly Watercolor Bird Tutorial”