We may earn money or products from the companies mentioned in this post.
Hi! Welcome to my blog! I am so excited you found this watercolor tutorial. I am excited to walk through this painting with you step-by-step. Let’s dive in and see how it’s done.
If you are completely new to watercolor I recommend checking out my FREE Watercolor Basics Class First.
Here is what you will need for this painting.
- Watercolor Paper
- Watercolor paint – Payne’s Gray, Violet, Burnt Sienna, Yellow Ochre, and Black
- Large Round Paintbrush
- Small Rounded-tip Paintbrush
- Cup of clean Water
- Paper towel or Cloth
- White Gel Pen (white acrylic paint)
Full Video Tutorial at the End of this Post
Step One:
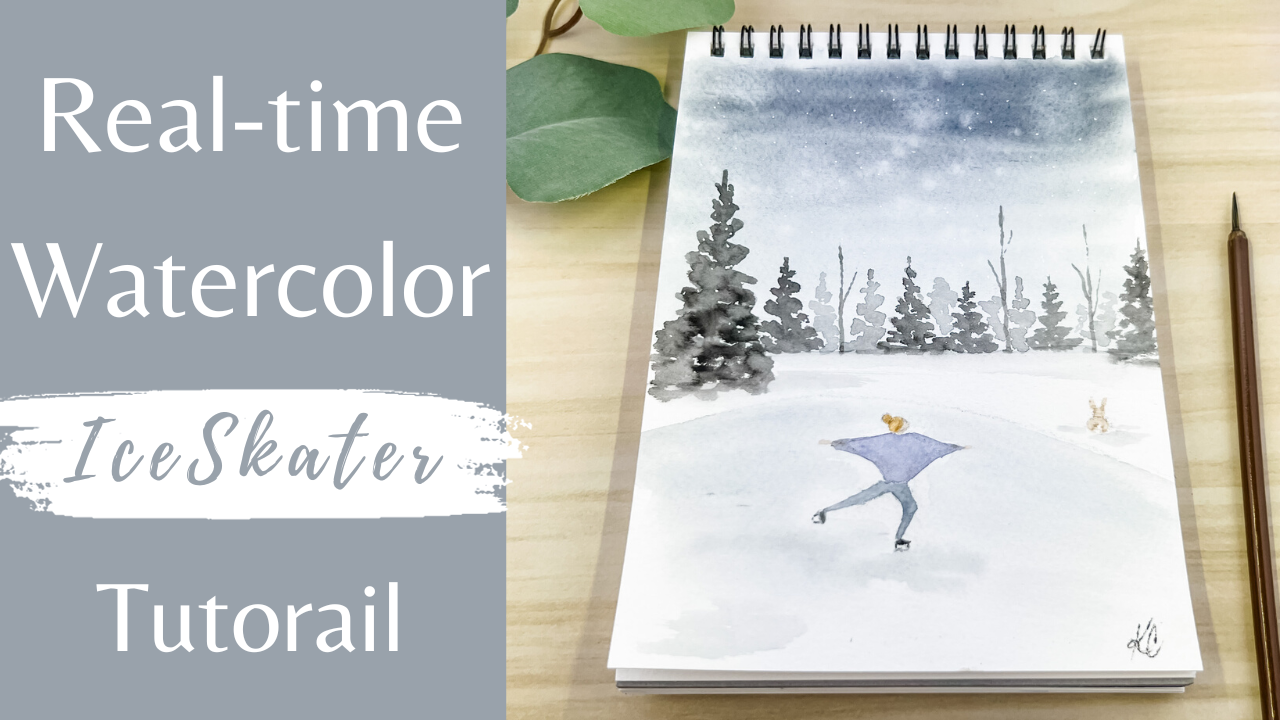
Let’s first draw out our sketch. Start by drawing a horizon line in the center of your page. Next add a half curved line a fourth of the way down from the horizon line – this will be the ice pond. Now, draw a circle with a slight point for the skater’s head, then add a long triangle-ish shape underneath the head. Then add to lines to where the legs should be (use reference photo below). Then add the leg shape around the legs lines. Lastly, add a circle off the side to create a cute little bunny, then add a smaller circle on top. Add two long oval shapes to the top for the bunny ears.
Now we are ready to start painting!

Step Two:
Take your large round brush and fill it up with clean water. Then apply the water to the entire sky area of the painting. While everything is still wet we are quickly going to grab our Payne’s gray paint and apply it all over the sky. Try your best to keep the top part of the sky lighter than the bottom.
Again, while everything is wet drop clean drops of water onto the sky. You can also splatter the clean water onto the sky as well. When this technique dries it will look like a subtle snowfall in the background.

Step Three:
Once the sky has completely dried we can paint in the horizon line of trees. Take your small rounded-tip brush and fill it up with black paint. Next, use the tip of your brush to tap in the shapes of the trees along the horizon line. Head over to this post for more detail on how to paint the trees. Use the reference photo below for the placement of the trees.

Step Four:
For the next step we are going to add shadows to our iced lake. Take a light wash (A light wash is a little bit of paint and a lot of water to get a very light shade of the paint.) using Payne’s Gray paint and apply it to the edge of the lake, and underneath the figure skater’s feet. While you have this paint on your brush also apply shadows under the trees and the bunny.

Step Five:
Now we are going to fill in our figure skater and our bunny drawing. This step turns into more like a coloring book section. All you have to do is fill in the sections with the right colors.
For the bunny – use the burnt sienna to fill in the bunny, leaving only a small circle section white for the tail.
For the Skater – Use the yellow ochre for the hair. Violet for the sweater. Payne’s Gray for the pants. Black for the skates. And an extremely light wash using yellow ochre with a hint of burnt sienna in it for the face and hands.
The biggest thing to remember when painting your figure skater is to wait for each section to dry before adding in another wet paint color. If you put two colors on next to each other you will more than likely end up with a weird bloom or blend of the paint colors.
Step Six:
Last take your white gel pen and tap in the white snowflakes all over the sky. And just like that you’re done! Congrats on finishing this watercolor painting!

If you haven’t already signed up to be a part of my email list to be notified when new tutorials come out. You can do that anywhere on my website. Hope to have you come back for more watercolor tutorials! Bye!
One thought on “Watercolor Ice Skating Tutorial”