We may earn money or products from the companies mentioned in this post.
Ready paint some easy watercolor pumpkins in 5 minutes?
Let’s get started!
Full Video Tutorial
Supply List:
- Pencil
- Eraser
- Watercolor Paper
- Round Watercolor Paintbrush
- Watercolor Paint (Ultramarine Blue, Burnt Sienna, & Burnt Umber)
- Two Glasses of Water
- Paper towel
If you would like to see all the art supplies I recommend, check out, “My Supply List” page. Click HERE to check it out!
Mixing Paints!
Mix Ultramarine + Burnt Sienna. Use more Ultramarine than Burnt Sienna to create a grey-blue.
Mix Burnt Sienna + Ultramarine. Use a very small amount of both Burnt Sienna then Ultramarine with a lot of water to create a translucent grey. This color will make one of our pumpkins appear to be white. Test this color out on a separate sheet of paper to make sure it’s not too dark.
Mix Burnt Sienna + Ultramarine. Use an even amount of both Burnt Sienna than Ultramarine with an even amount of water to create a dark-grey.
Have a light wash of Burnt Umber in your pallet. Use more water than paint to create a light wash of brown.
Have a light wash of Burnt Sienna in your pallet. Use an even amount of water and paint to create an orange paint mixture.
Let’s Paint!
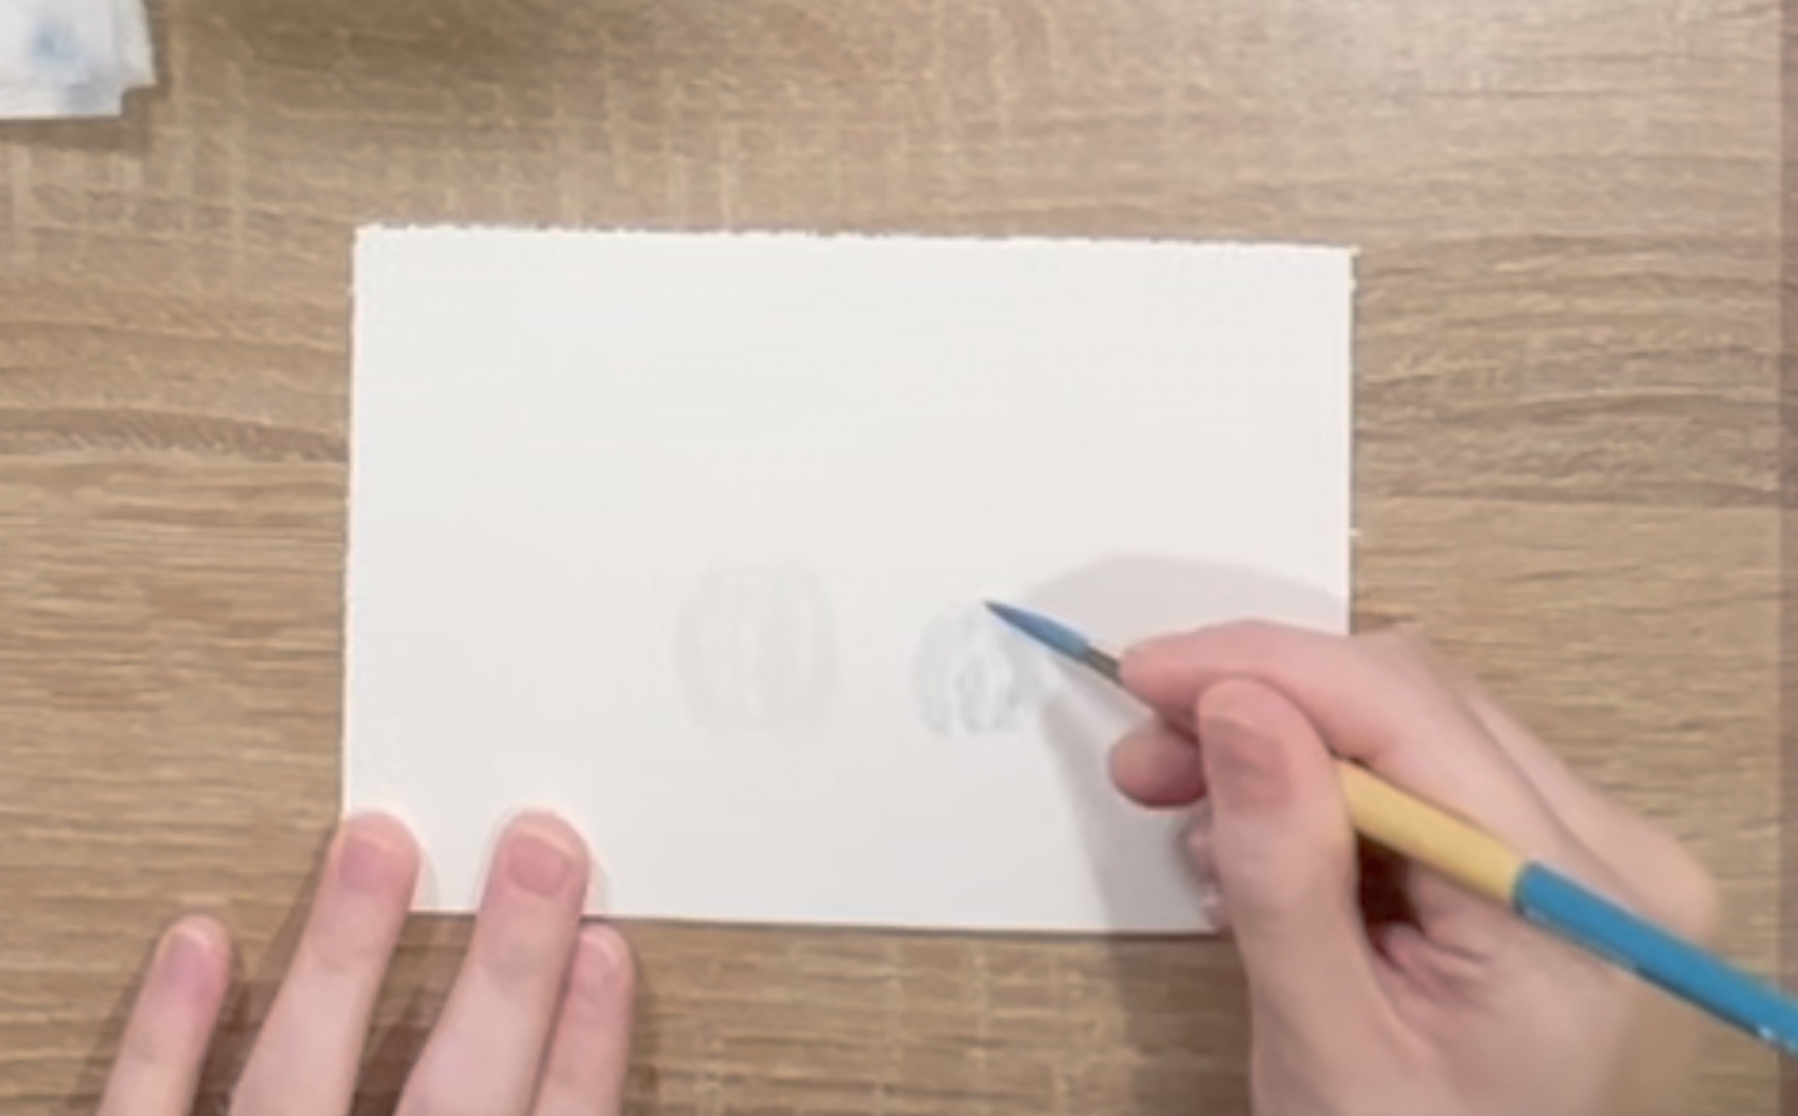
Step One:
Grab your medium round brush and dip it into the “white” paint mixture. Let’s begin by painting the left pumpkin.
Start on the left side of the pumpkin, begin painting by touching the tip of the brush at the top of the pumpkin. Then as you paint downward press the brush down using the belly of the brush. Then end your brushstroke by lifting it ending with only the tip of the brush.
Use this same technique three times across your pumpkin, leaving a little bit of space in between.
Repeat the above instructions on the right pumpkin, using the grey-blue paint mixture.
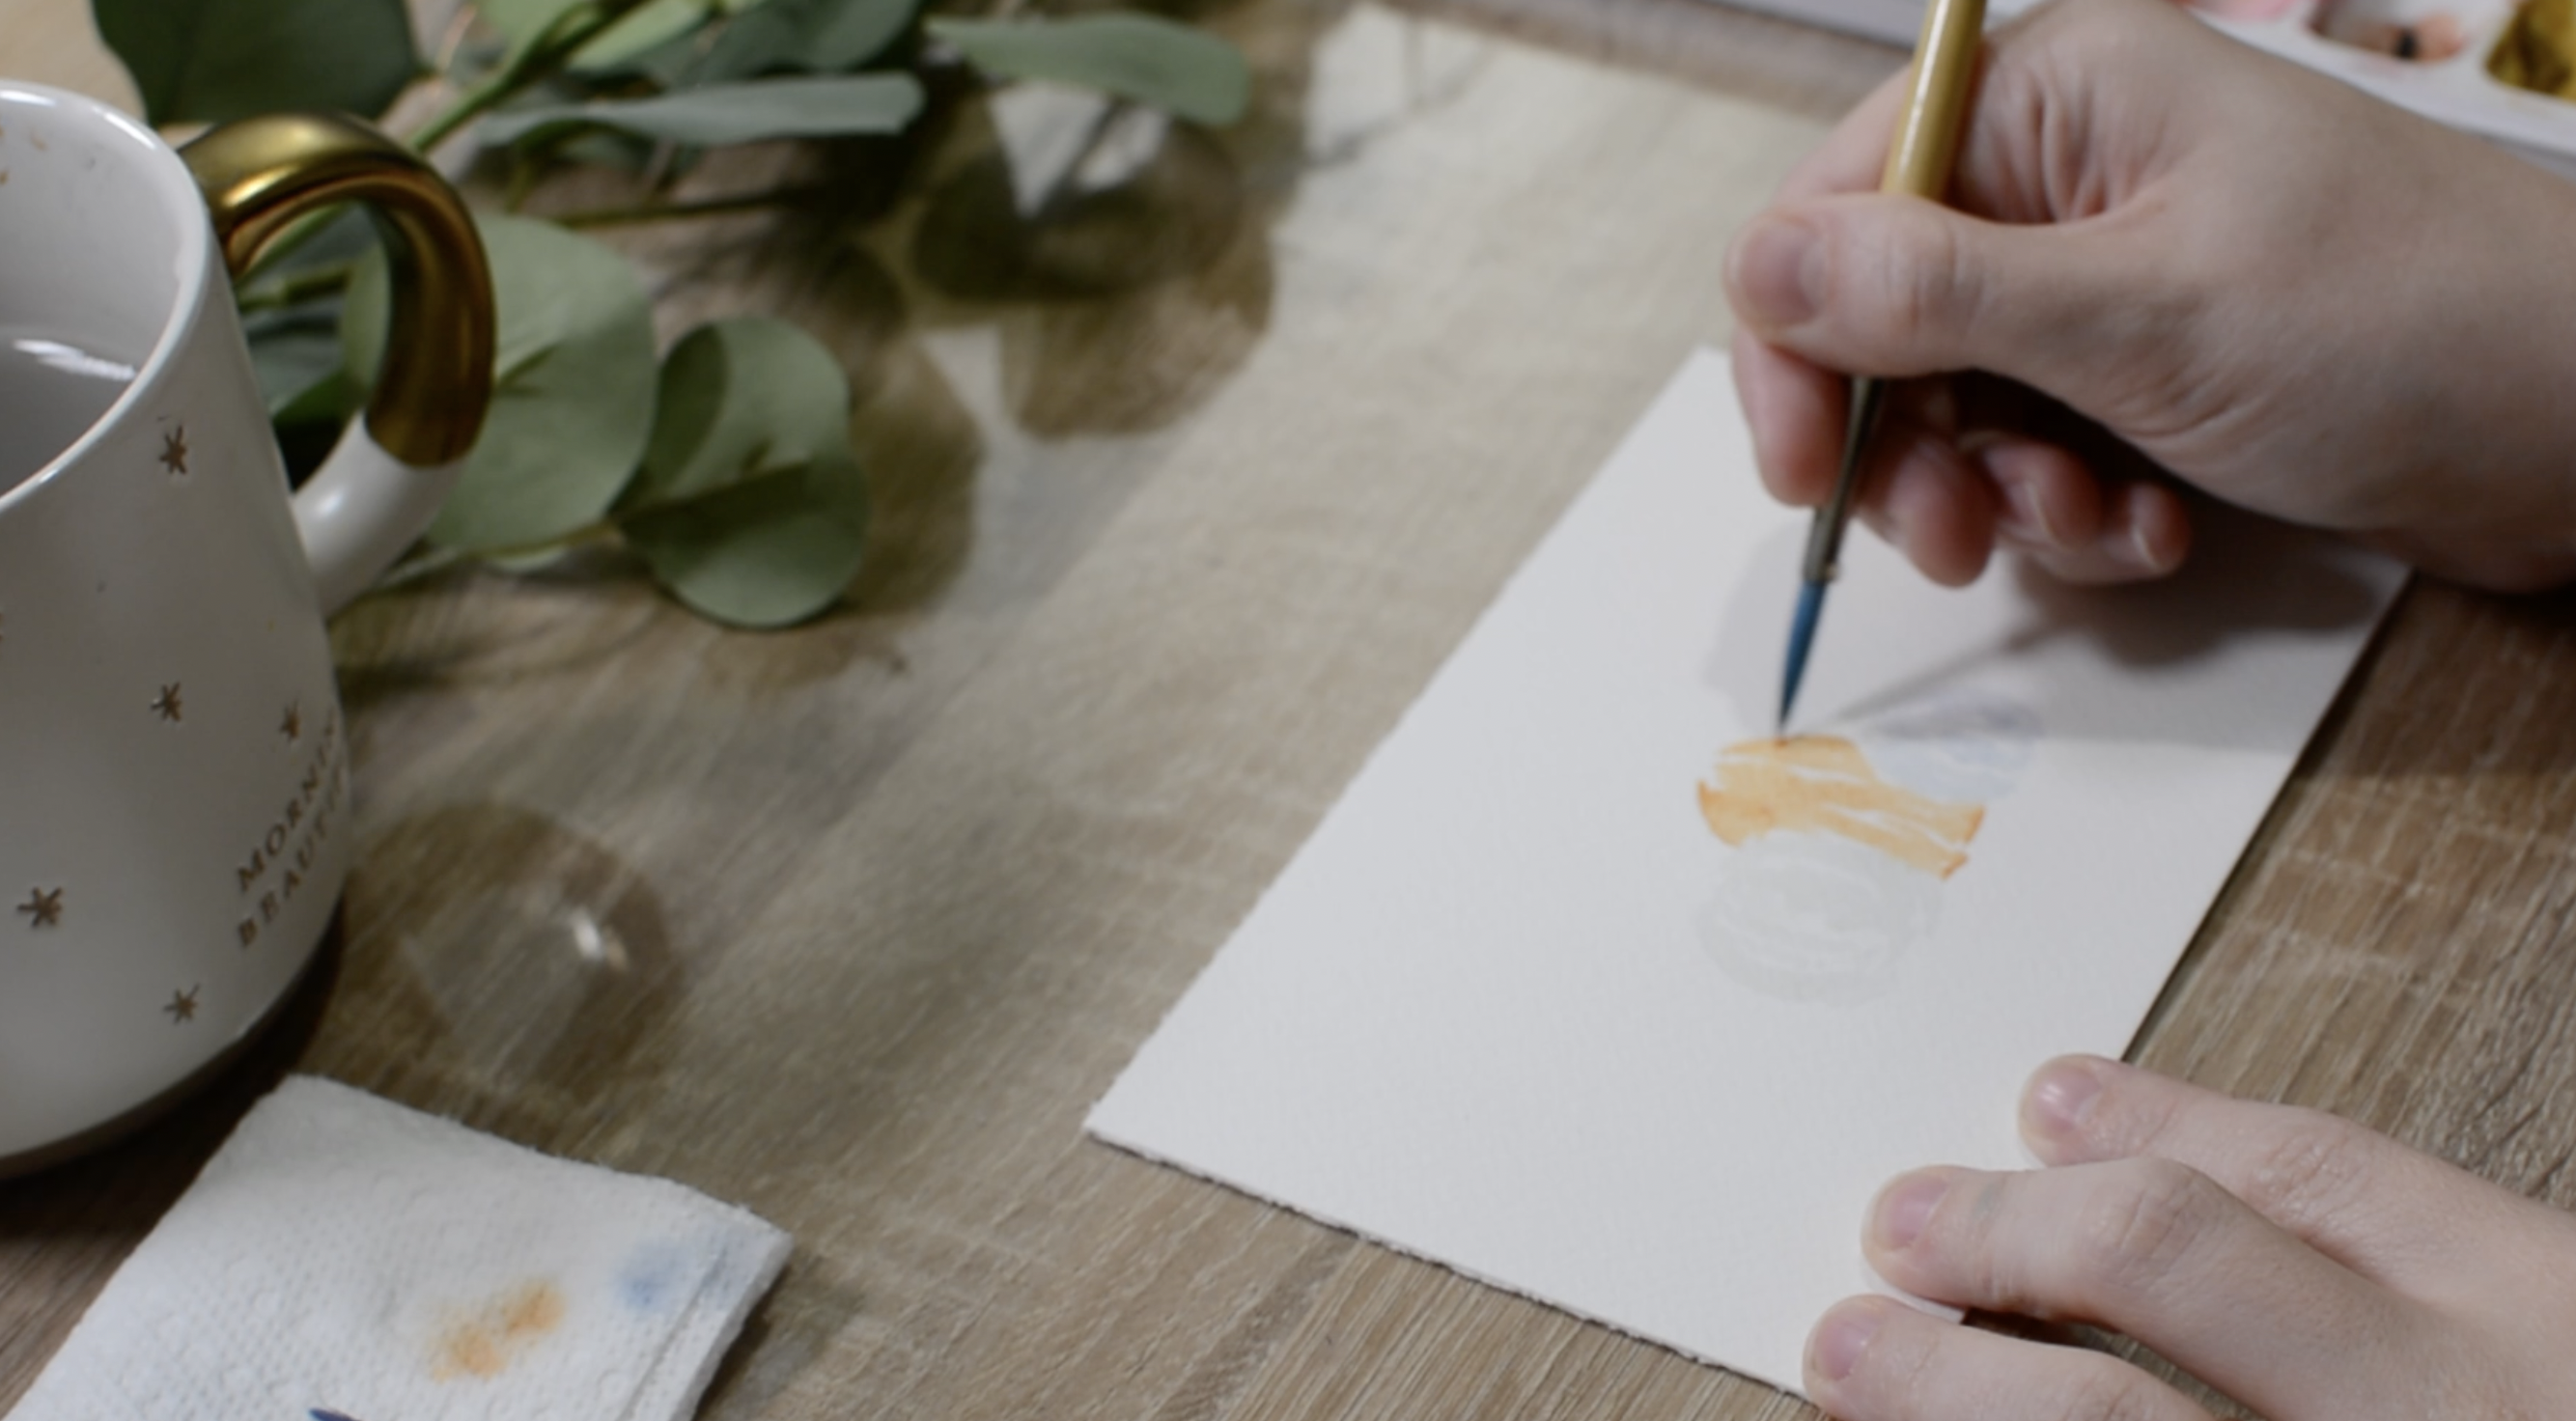
Step Two:
Grab your brush and dip it into the orange paint mixture. Use the same techniques described in step 3 to paint in the middle pumpkin.
Be careful as you paint next to the previously painted pumpkins. You want the paint to be close with no white space, but you DON’T want the orange to glaze over the other pumpkins. You can use the video below to help guide you.
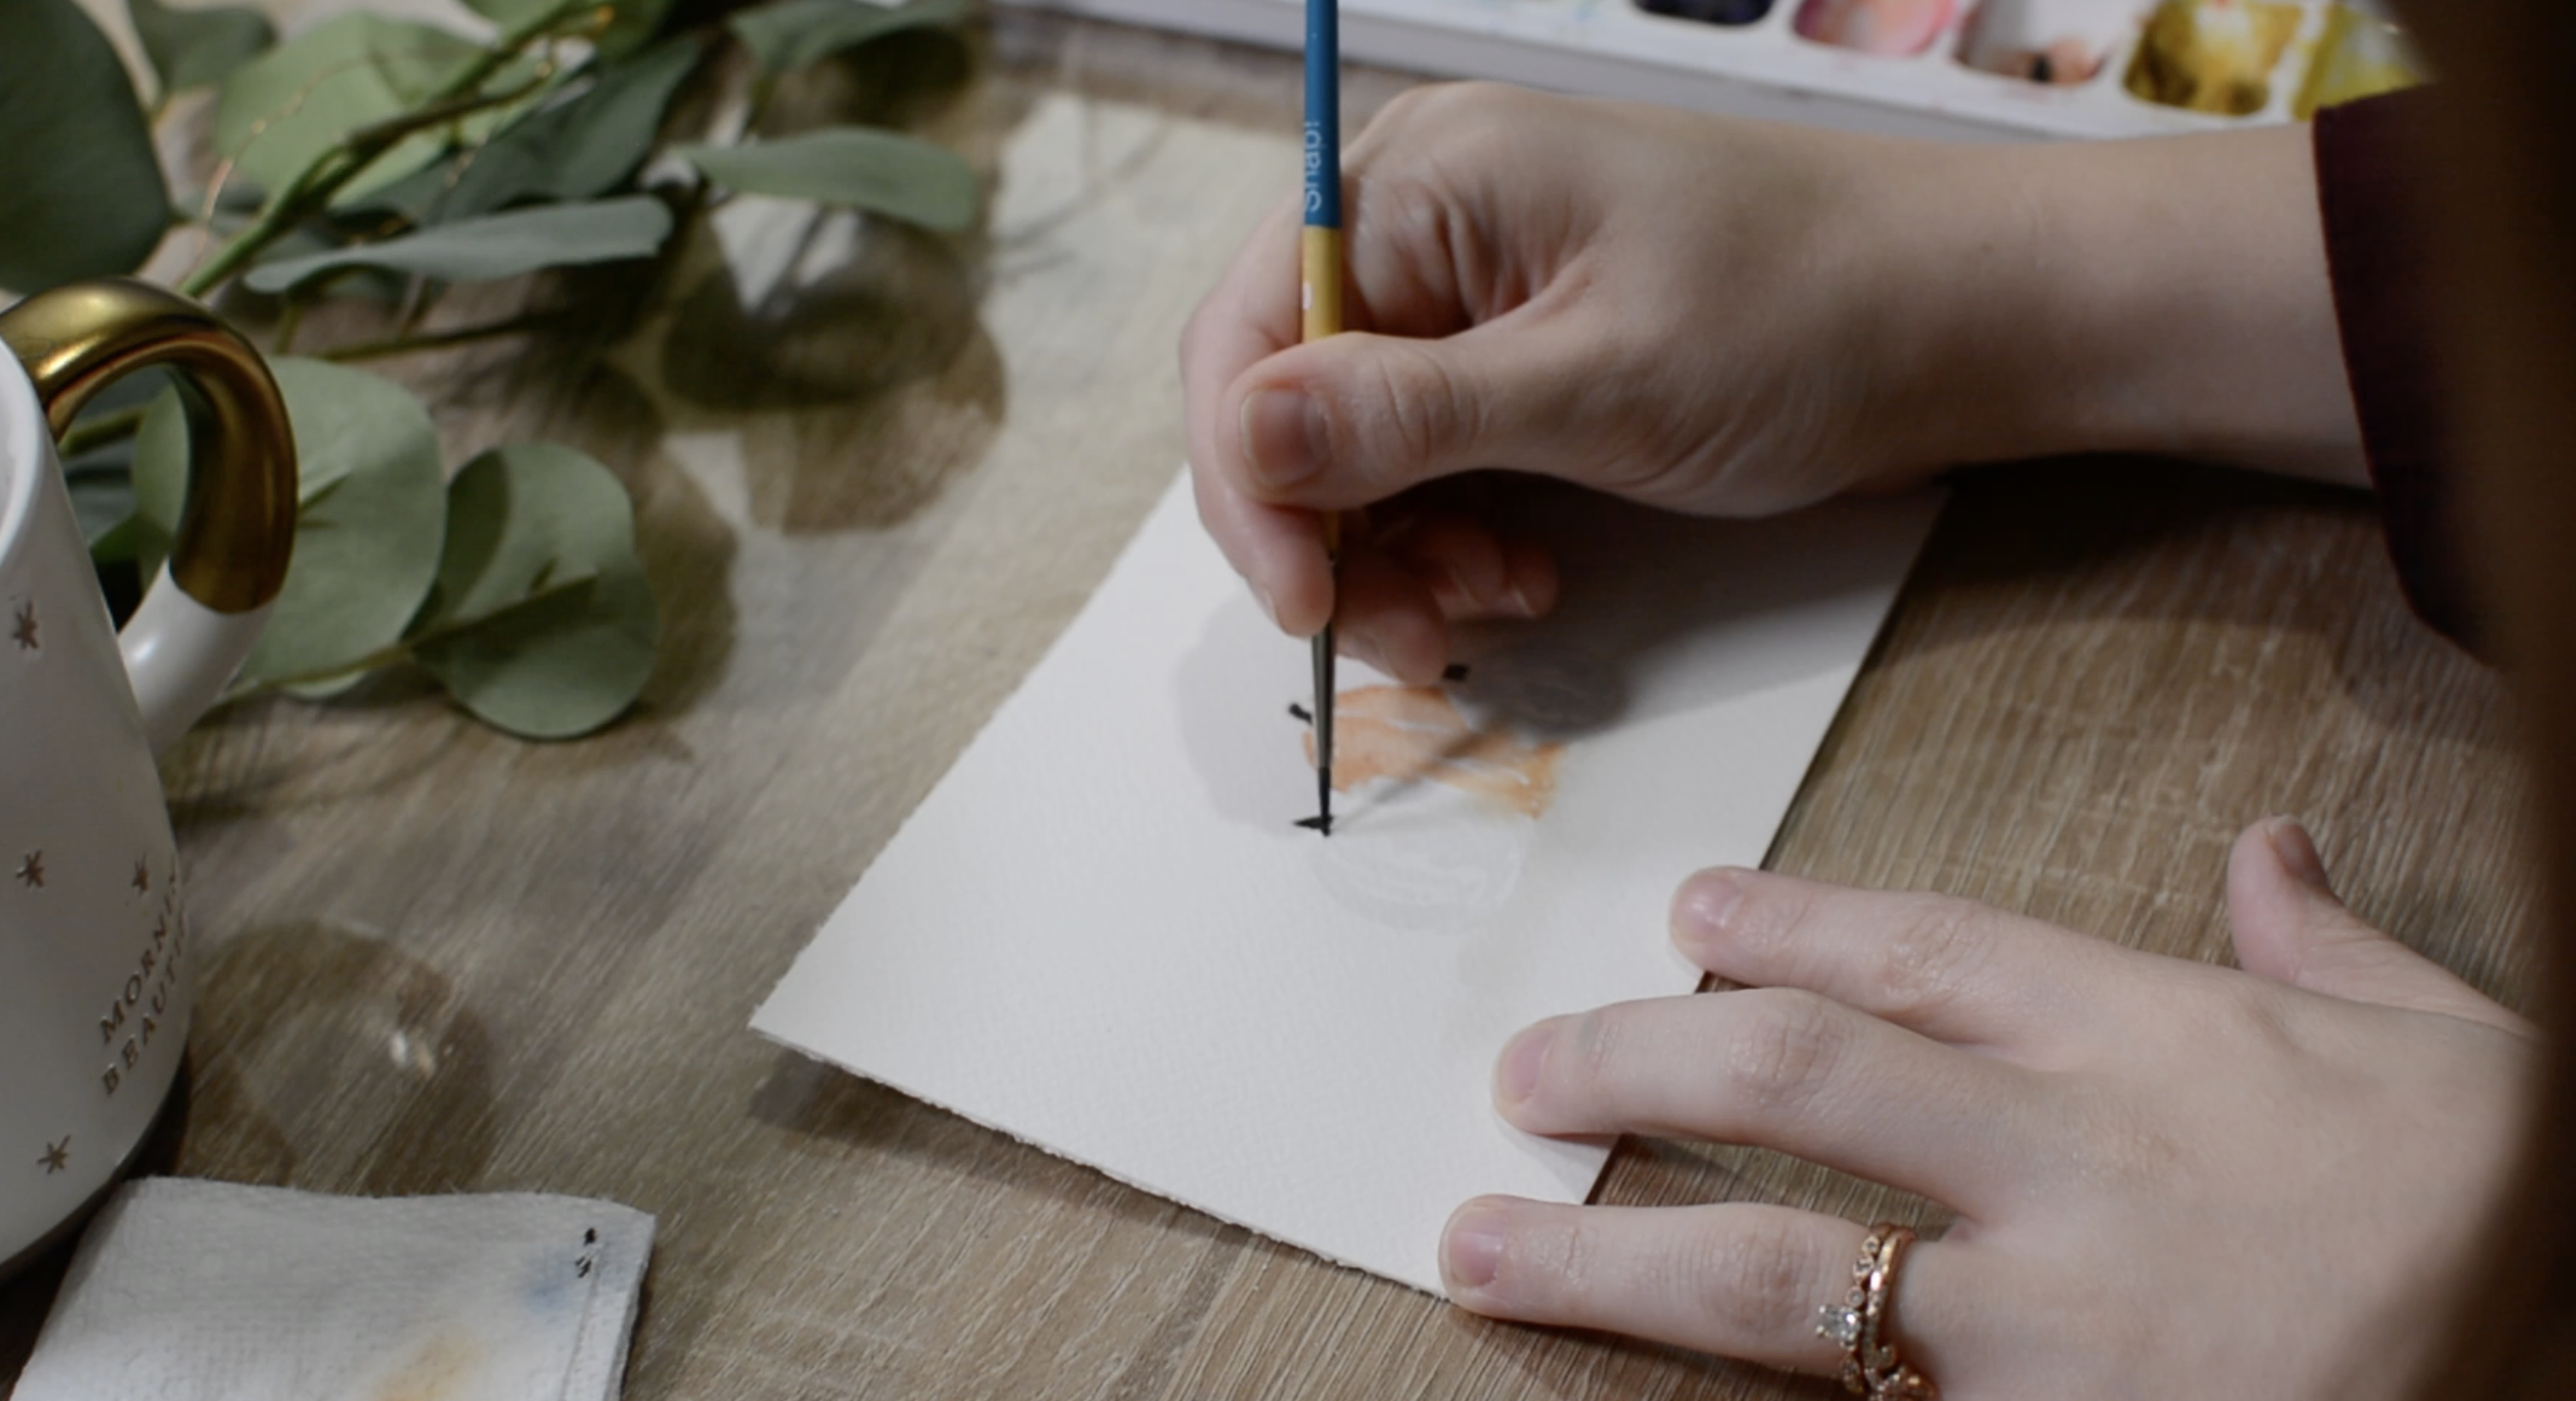
Step Three:
Use a black-brown paint color to paint in stems on top of each pumpkin. Vary the size and shape of each stem to give the composition some variety. You can even add some swirly twigs coming off the pumpkin stems if you want.
Step Four:
Dip your brush into the dark grey paint mixture, and paint in a staggered shadow line under the pumpkins. Begin on the side of the white pumpkin, paint forward going underneath all three pumpkins.
NOTE: Do not make it a complete even line across. Paint directly underneath each pumpkin almost like an outline. End your shadow on the side of the blue pumpkin. Use the picture below as a guide.
Step Five:
Now for my favorite part! Let’s add splatter to our painting, to really bring it to life.
First, cover the pumpkins with a scrap piece of paper, to protect them from the paint we are going to splatter. Now, load your medium brush up with the orange paint mixture, then tap the brush on your finger over your painting and watch the paint splatter everywhere!
Repeat this step with the grey-blue paint mixture.
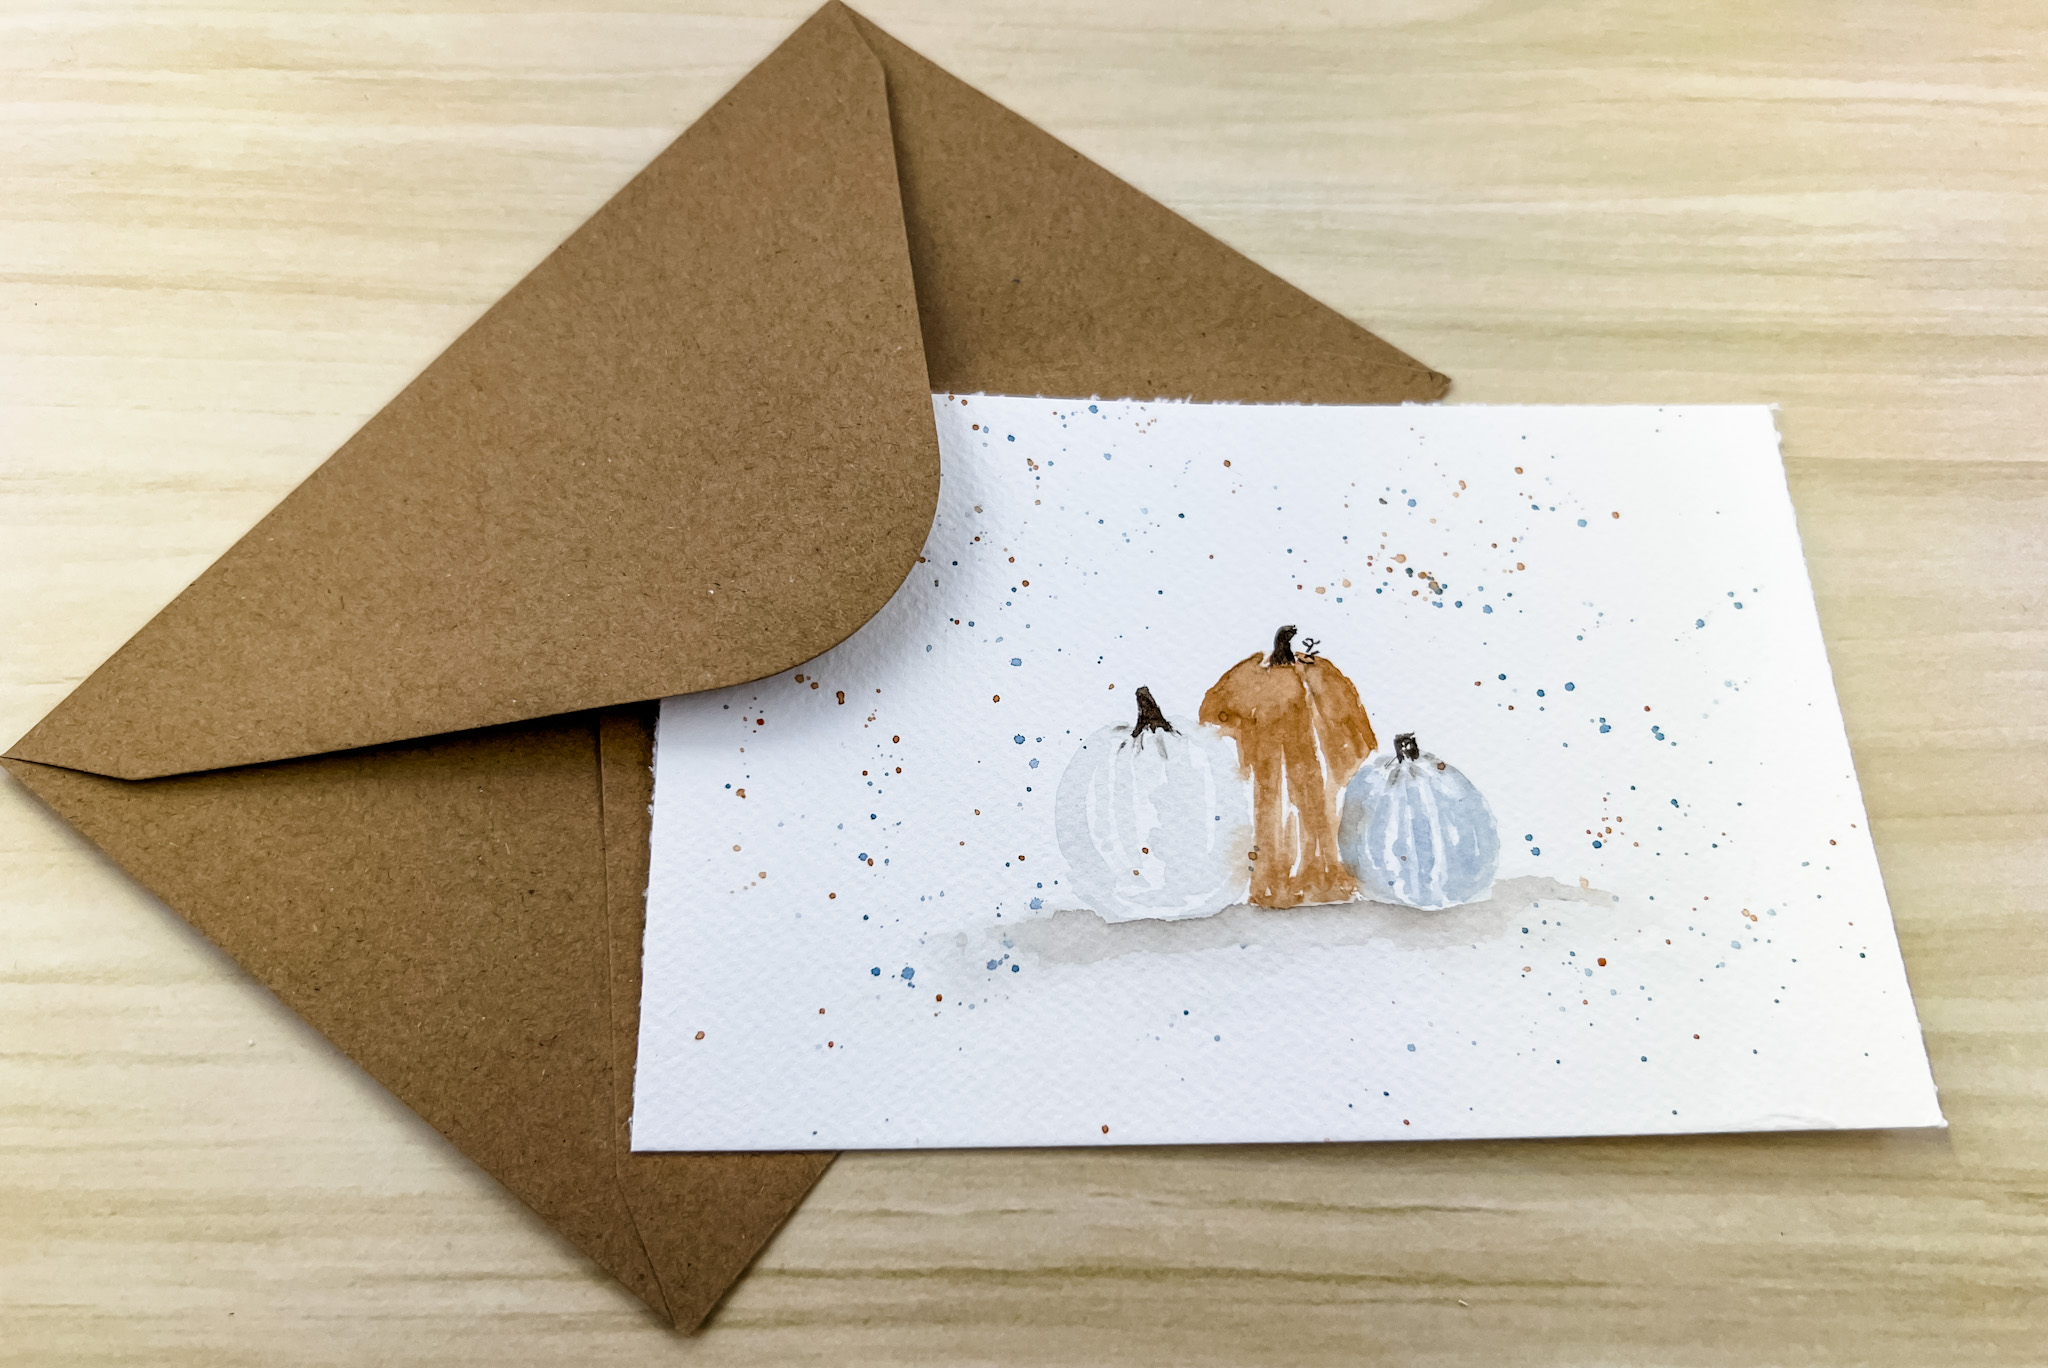
That’s it! You’re Done!
I hope you enjoyed painting with me today. If you would like to paint more fall decor or season cards, you should check out, Easy Watercolor Landscape.
Don’t forget to sign up for our weekly newsletter if you haven’t already. If you enjoyed this post, please consider sharing it on Pinterest!
Great post. I love detailed DIY’s like this. The paint mixing and technique were especially nice. Thank you for posting such a great fall idea!!
I absolutely love this idea! Maybe the hubby(super artistic) and I(not super artistic) can make a date night out of this <3 they'd be cute framed in our little boy's room!
That’s an awesome idea!
I look forward to following your site and painting along with you. I am an avid painter/crafter so this was an enjoyable post.
I’m so glad to here that!
I’m so glad to hear that!
So Cute! The colors are great and I love the look of paint splatter.
I enjoy your posts and projects. The information is well presented and easy to understand. I feel like I could actually do this! Thanks so much. Appreciate how you are encouraging us to be artful!
Love the pumpkins and the time lapse painting!
Nice and simple almost anyone can do it.
I’m glad you enjoyed the video!