
We may earn money or products from the companies mentioned in this post.
Hello friends! Welcome back my name is Kate and today we’re going to paint this beginner-friendly cloudy night sky bookmark. This is perfect for anyone starting out with watercolors.
Let’s get started!
Colors Used:
Chinese White
Teal Blue
Black
Supplies Used:
Watercolor Paint
Watercolor Cold-Press Paper
Rounded Tip Brush (size 12)
Masking Tape
Two Cups of Water
Paper Towel
I’m working with watercolor paper that is a 140-pound cold-pressed. It’s important to have proper watercolor paper as well as a large round paintbrush and a smaller round brush, then use whatever watercolor paints you have.
I already have a dark and light blue paint mixture ready to go on the side. I will have all of the specific paint colors I used listed over on my blog if you would like to check that out. I will have a link in the description box below.
Step One:
Before we begin you first need to have your paper taped down to create a nice white border.
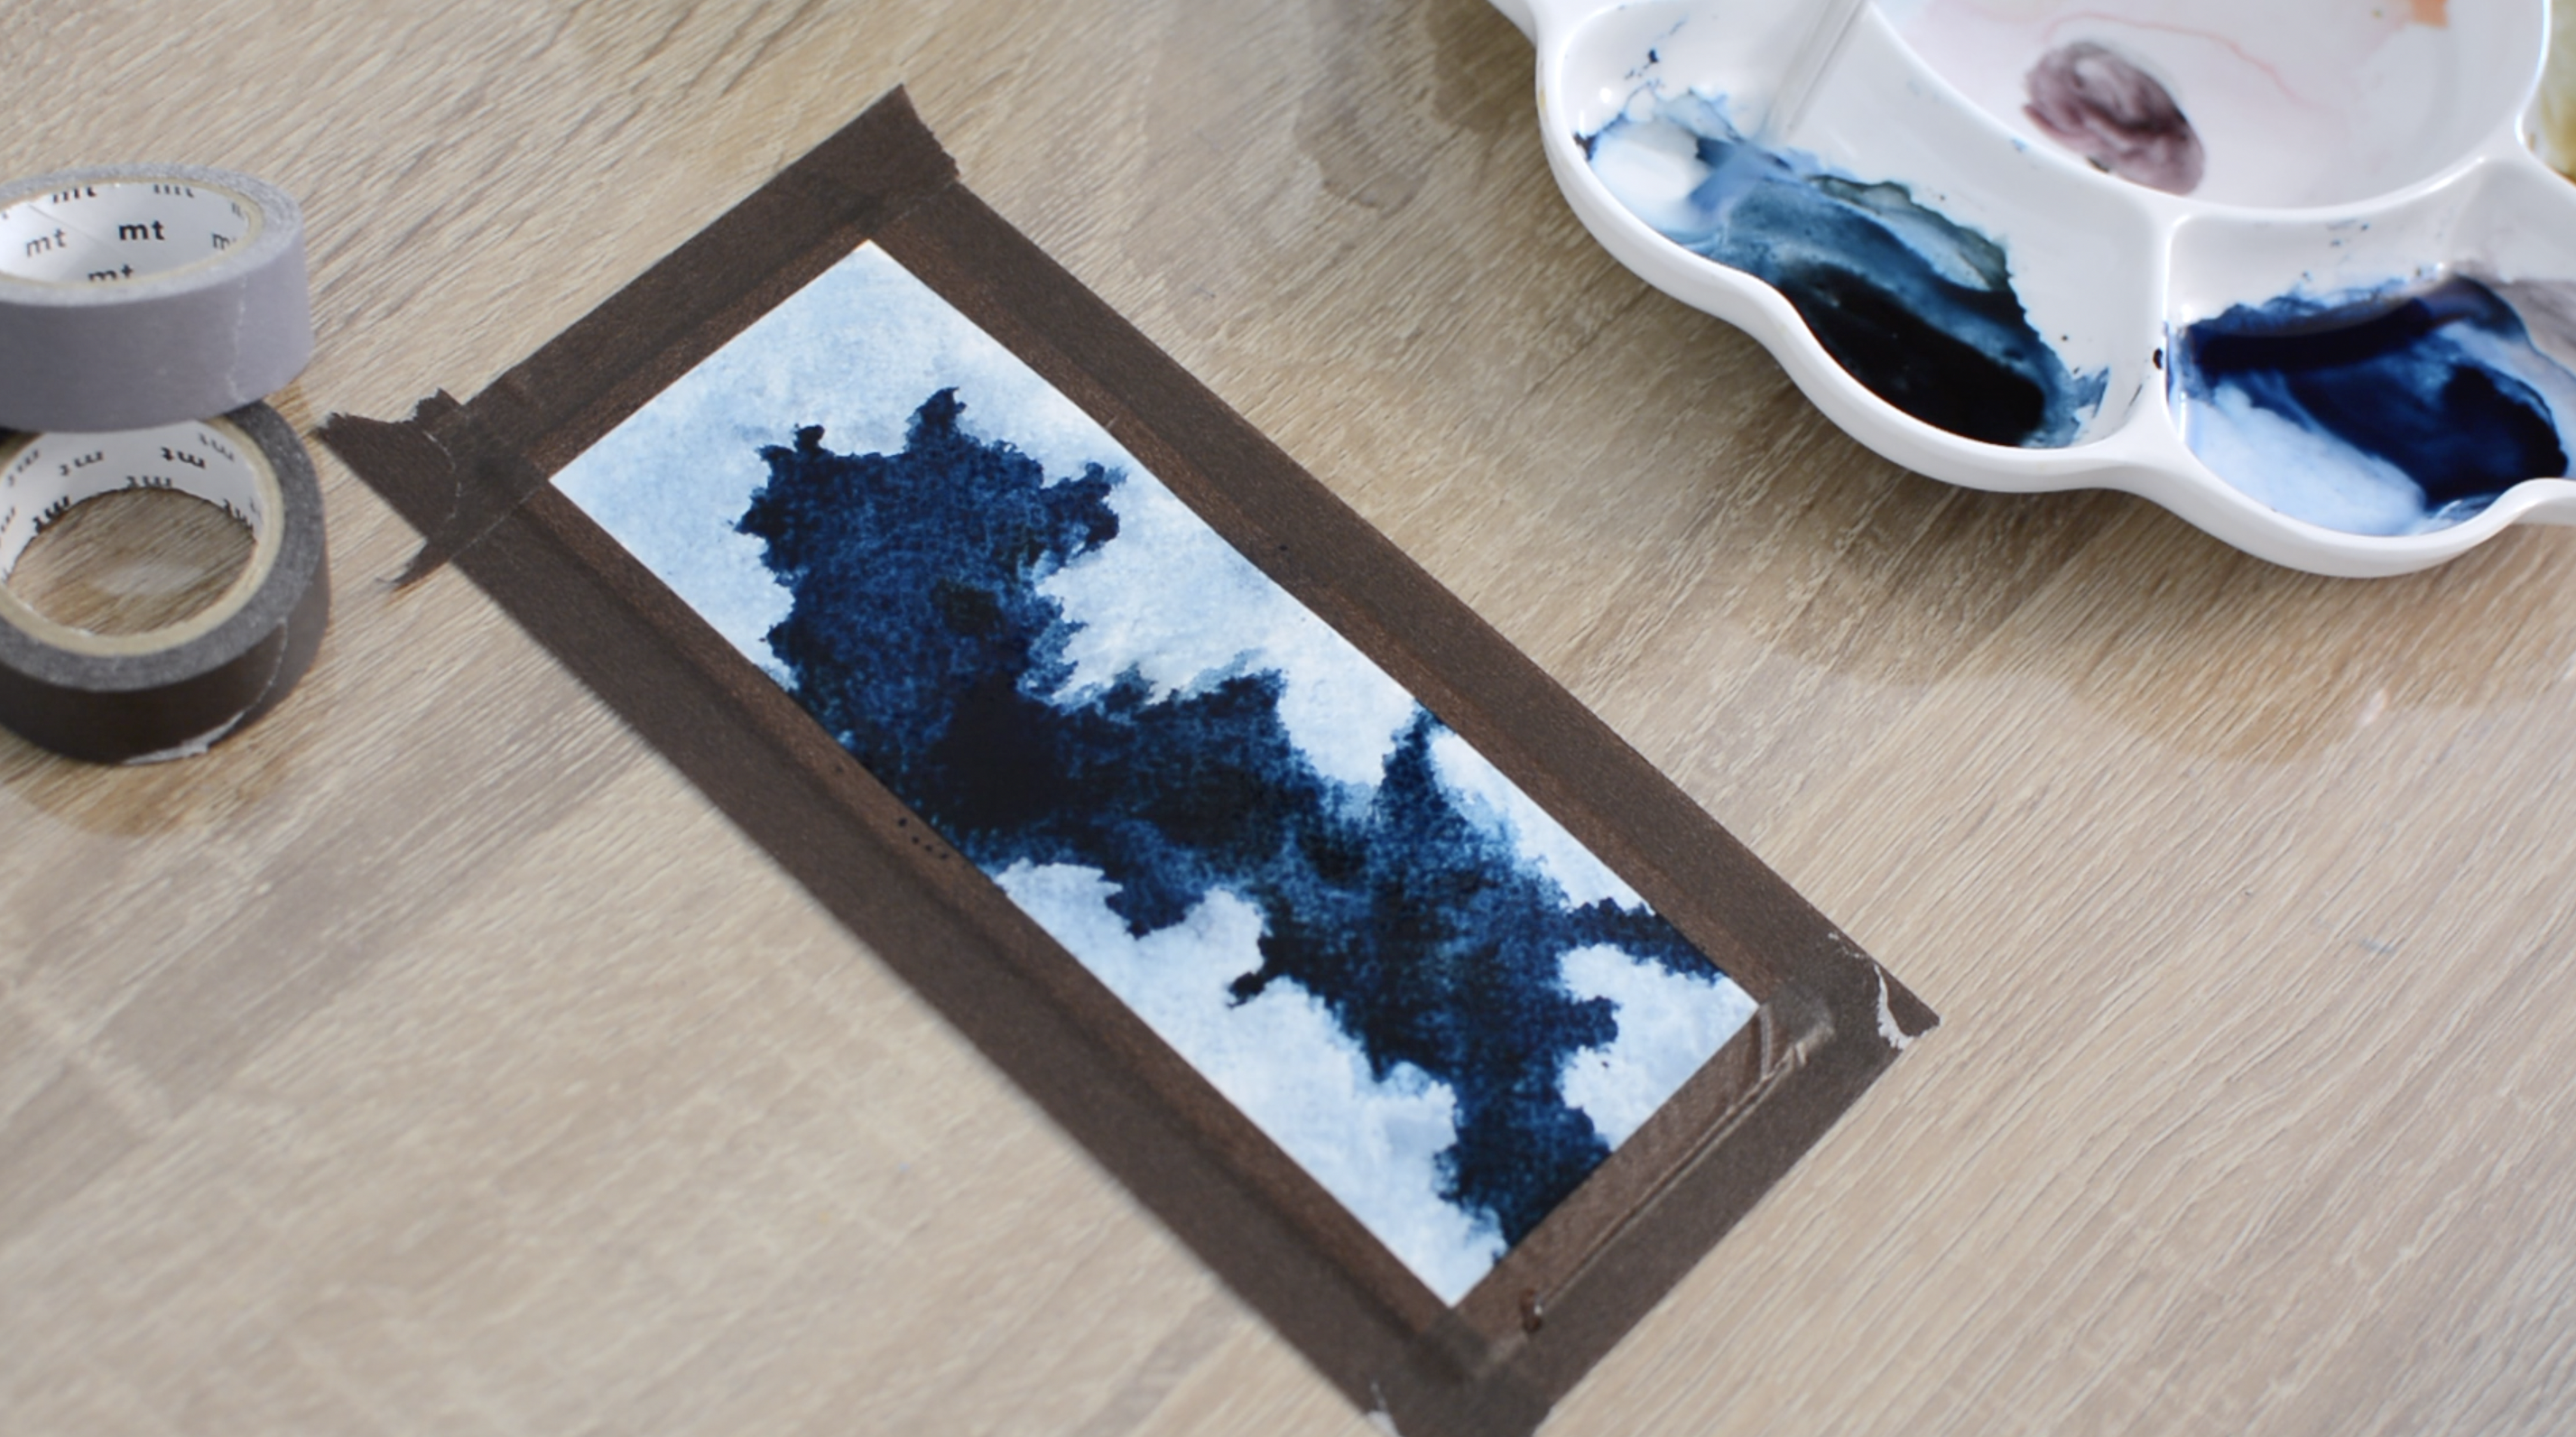
Now for step one, we’re going to take a round brush filled with water and then use it to cover the entire page. Then take a light wash of blue paint on your brush and begin filling in the majority of bookmarks. A light wash means you have more water than paint in your paint mixture. Then begin painting in a darker blue paint and a dark blue paint with some black added in. I tried to be random about where I placed my paint so that when the paint would dry the paint would leave more of a texture instead of being flat and even.
Then while everything is still wet, take a dry piece of paper towel and start dabbing away at the edges of the bookmark to create the shapes of clouds. You’ll need to rotate the paper towel as you dab away at the paint to use a fresh side of the paper towel to pick the paint up.
This is one of the easiest ways to create clouds with watercolors! It’s so satisfying to see these clouds take shape!
Once my clouds were all in place a took some more dark paint on my brush and tapped in some darker color around my clouds. Adding a little bit more paint is really going to help these fluffy clouds stand out!
If you are enjoying this tutorial then you may also be interested in my watercolor moon tutorial. Click HERE!
Step Two:
For our next step, we are just going to take a very light wash of blue paint ( a lot of water and a little bit of blue paint) and fill in the center of the clouds. This will help give the allusion to depth and shadowing. We want to keep the edges of the clouds as white as possible.

Step Three:
We are now going to add a second layer on top of the sky area, avoiding the clouds. I decided to add a break in the clouds at the top middle section of the painting. I took a dark wash of the blue paint and created a loose shape to add separation between the top clouds.
Then I went to the middle section of the bookmark and added some darker areas around the clouds and then I used clean water to blend the paint around the entire sky. I made sure my painting was completely dry before I added more paint and water to the sky so my original layer would be reactivated easily and blend together.

Step Four:
Next, I took a thick wash of white watercolor paint on my brush and I smoothed out the edges of my clouds. I just lightly applied the paint and painted it along the edges of the clouds.
This will help the clouds seem fluffy and bring out the shadowing we added to our cloud earlier.
Step Five:
Once the entire painting dried I took some more white watercolor paint on my brush and I splattered it all over the bookmark. This will give a natural appearance of stars! Any white splatter that got on my clouds I just took a clean damp brush and blended it out in the clouds.

And there you have a simple starry night sky bookmark.
This bookmark will be for sale over on my ETSY SHOP if you would like to check it out. Thanks so much for following along! Here are a few more watercolor tutorials you may also like!
Watercolor Simple Bookmark Tutorial
Watercolor Rose Bookmark Tutorial


2 thoughts on “Watercolor Starry Night Sky Tutorial”