We may earn money or products from the companies mentioned in this post.
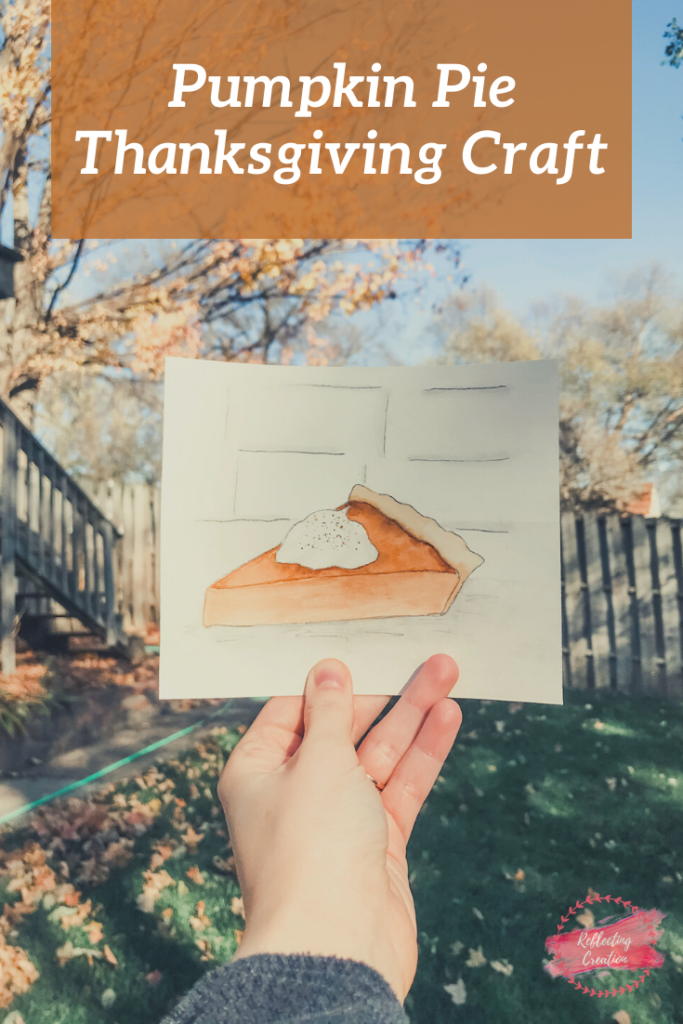
Looking for a Thanksgiving Craft?
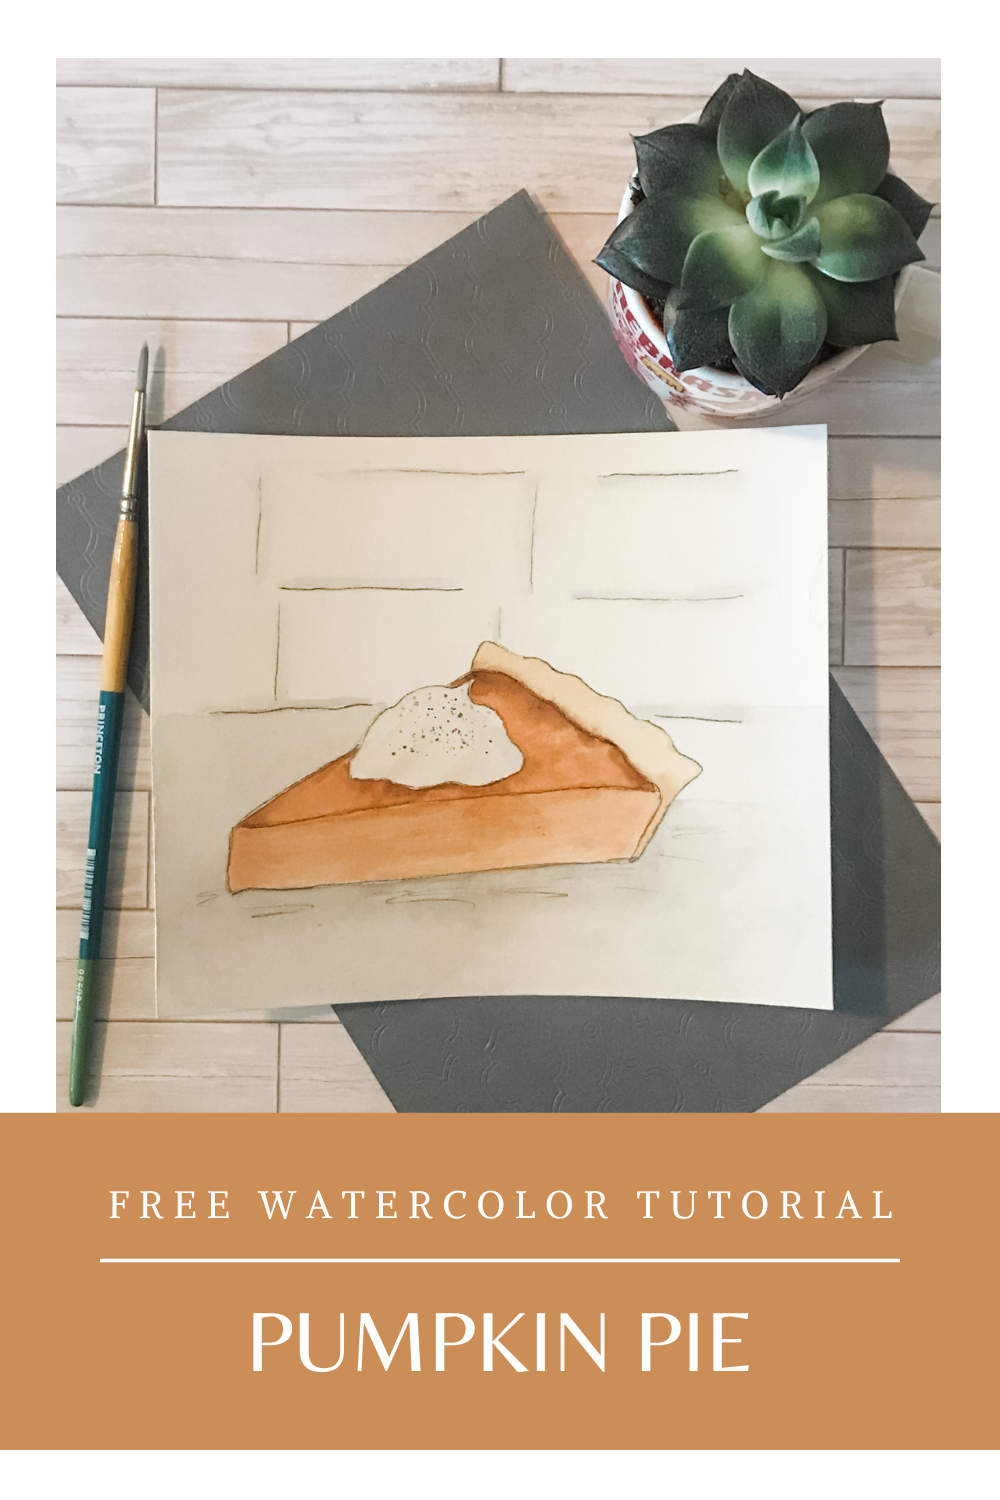
Look no further I have the perfect craft for you to do! On Thanksgiving Day what could be a better Thanksgiving craft than painting a yummy watercolor pumpkin pie. This is perfect for any beginner looking to create the perfect Thanksgiving masterpiece.
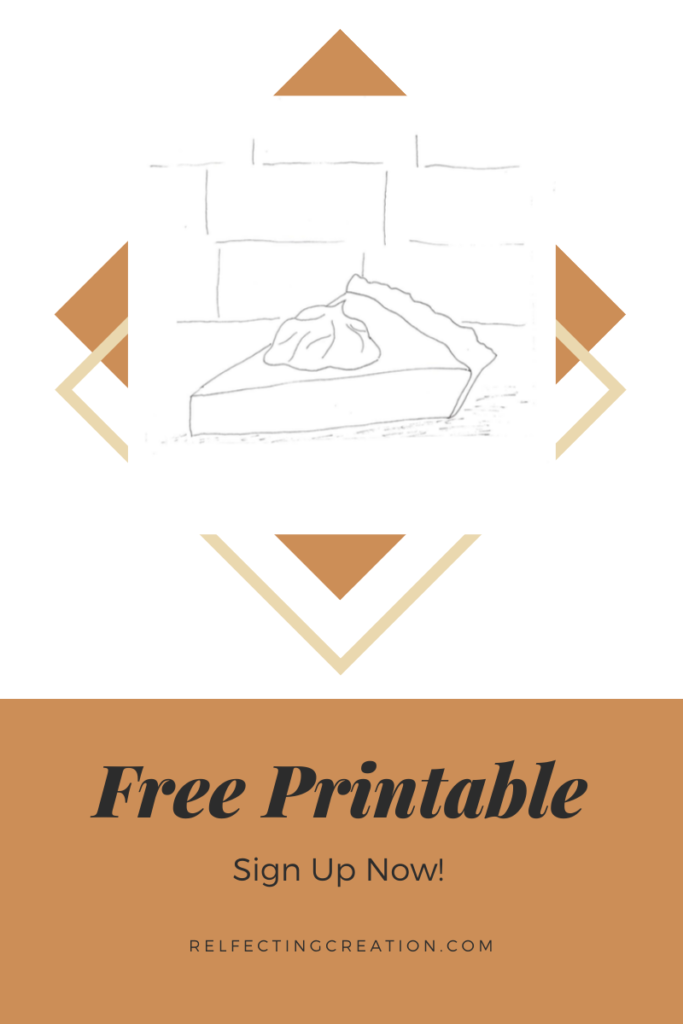
If however, you don’t have the time to take on a full drawing/painting on Thanksgiving day I will provide for you a FREE DOWNLOADABLE COLORING SHEET for the kids table.
The free coloring sheet can also be used to trace the drawing of the pumpkin pie onto a canvas for painting. This way you can enjoy painting and don’t have to worry about sketching out the perfect piece of pumpkin pie. If you’d like to learn how to Trace a Picture onto a Canvas, click HERE!
Sign up here for the FREE printable & weekly newsletter!
Full Video Tutorial!
Keep reading below for more details and products used.
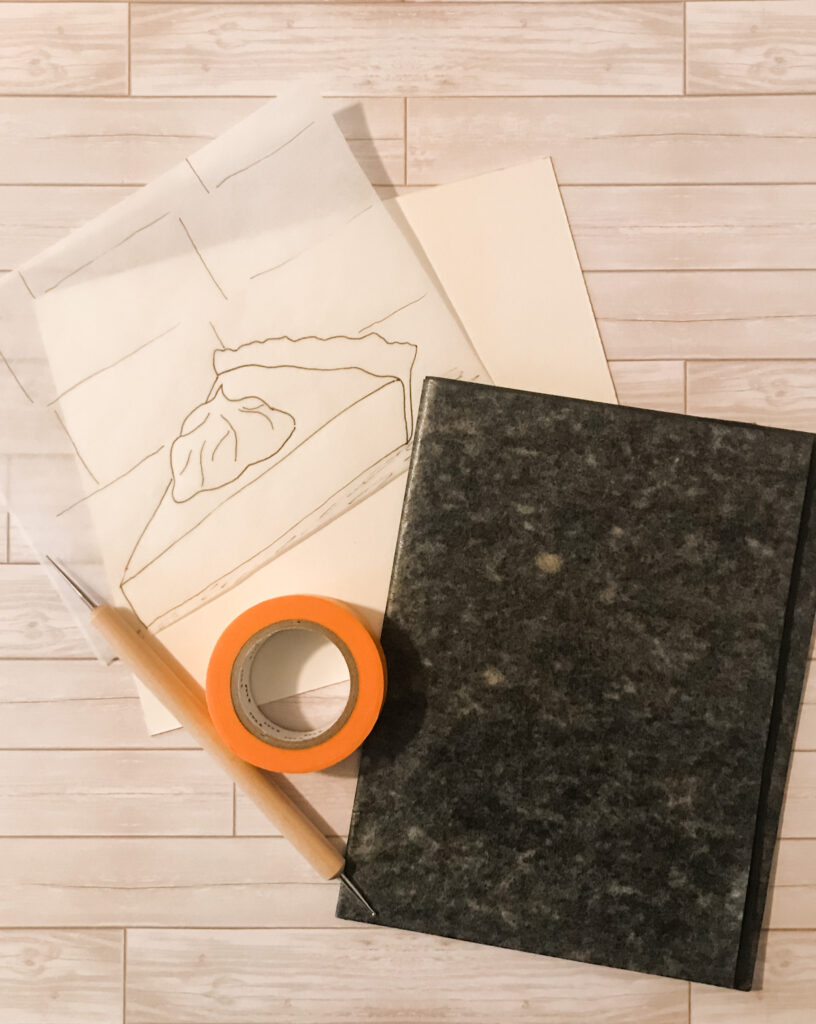
Supplies You’ll Need
Supply List:
- Tracing Paper
- Graphite Paper
- Watercolor paper
- Round paintbrush
- Flat paintbrush
- Watercolor paint (yellow, burnt sienna, burnt umber, & ivory black)
- Washi/Painters tape
- Two cups of water
- Paper towel
If you would like to see all the art supplies I recommend, check out, “My Supplies” page. Click HERE to check it out!
Let’s Mix our Paint!
Before we begin painting we need to get our paint ready and into our mixing pallet.
- Create a wash of Yellow + Burnt Umber in your pallet. Using water mix a small amount of burnt umber with yellow to create a tan paint mixture.
- Create a wash of Burnt Sienna in your pallet. Use an even amount of water then paint to create an orange paint mixture.
- Create a wash of Burnt Umber in your pallet. Use an even amount of water then paint to create a brown paint mixture.
- Create a thick wash of Black Ivory in your pallet. Use more water than paint to create a light grey paint mixture.

Let’s Trace!
Step 1:
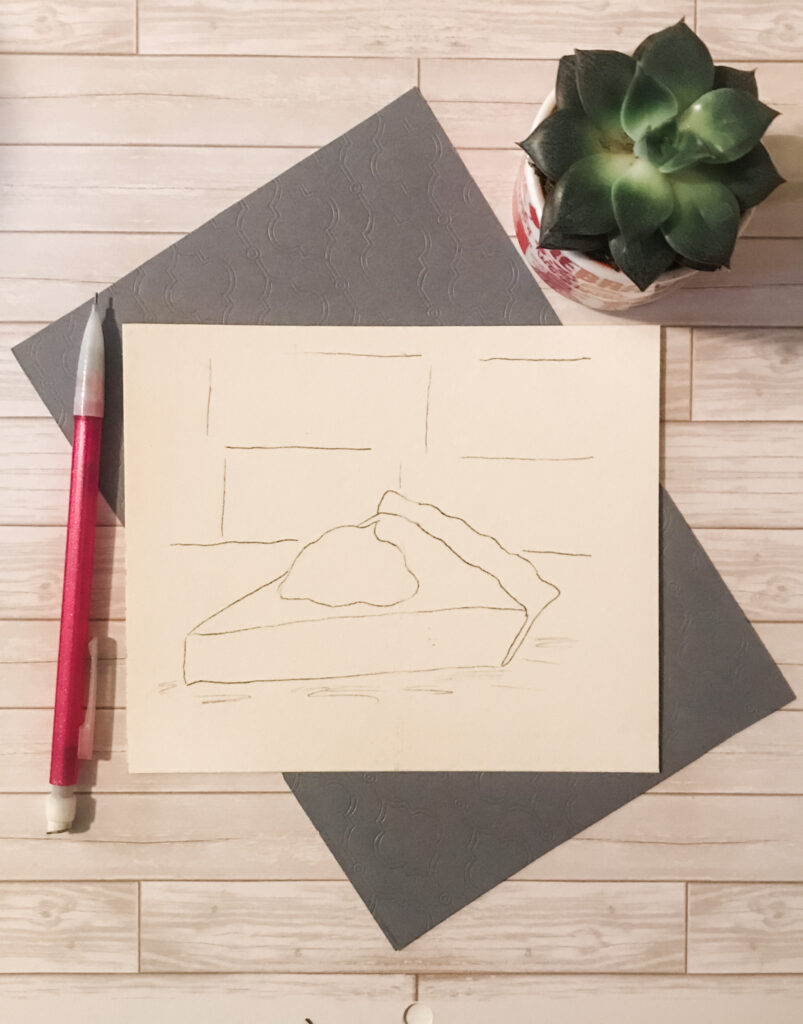
Grab your tracing paper, graphite paper, and stylists and trace your pumpkin pie sketch onto the canvas. If you haven’t transferred a sketch onto a canvas before, check out, Trace a Picture onto a Canvas. This post will teach you all the steps you need to know to trace your picture onto a canvas.
This is what your canvas should look like after you’ve traced your picture onto it. Now we are ready to Paint!
Step 2:
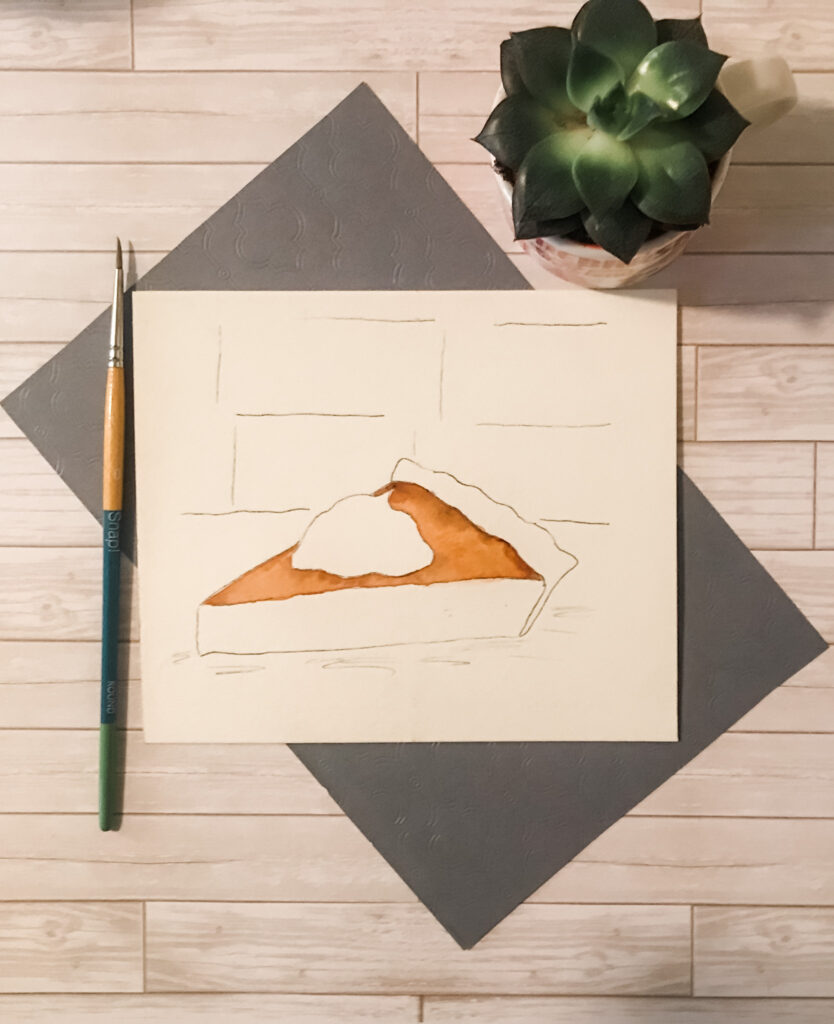
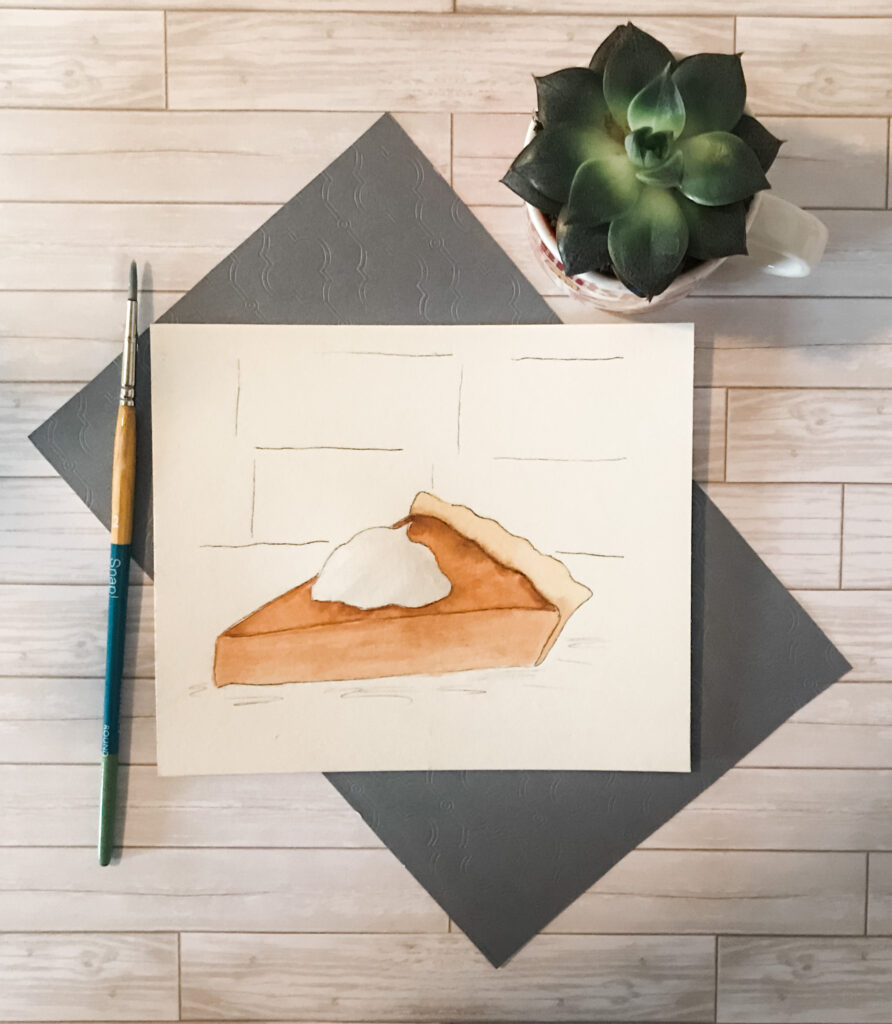
Take your round brush, dip it into the orange paint mixture, and begin painting in the top part of the pumpkin pie. Start and the tip and work your way to the crust. Once the entire top part of the pie is covered and while the paint is still wet, take a small amount of the brown paint mixture and tap the paint in along the crust line and along the bottom of the whipped cream. This will add shadows to our pumpkin pie. Use the picture below as a guide.
Wait for this layer to completely dry before moving on.
Step 3:
For our next step we are going to lighten our orange paint mixture. Add a little bit more water to the already existing orange paint mixture. This will dilute the color making it appear lighter. After you’ve mixed in the water test it out on a separate piece of paper to make sure there is a difference.
Now that we have lightened our orange paint mixture, dip your round brush in and begin painting the entire bottom part of the pumpkin pie.
Wait for this entire step to dry before moving on.
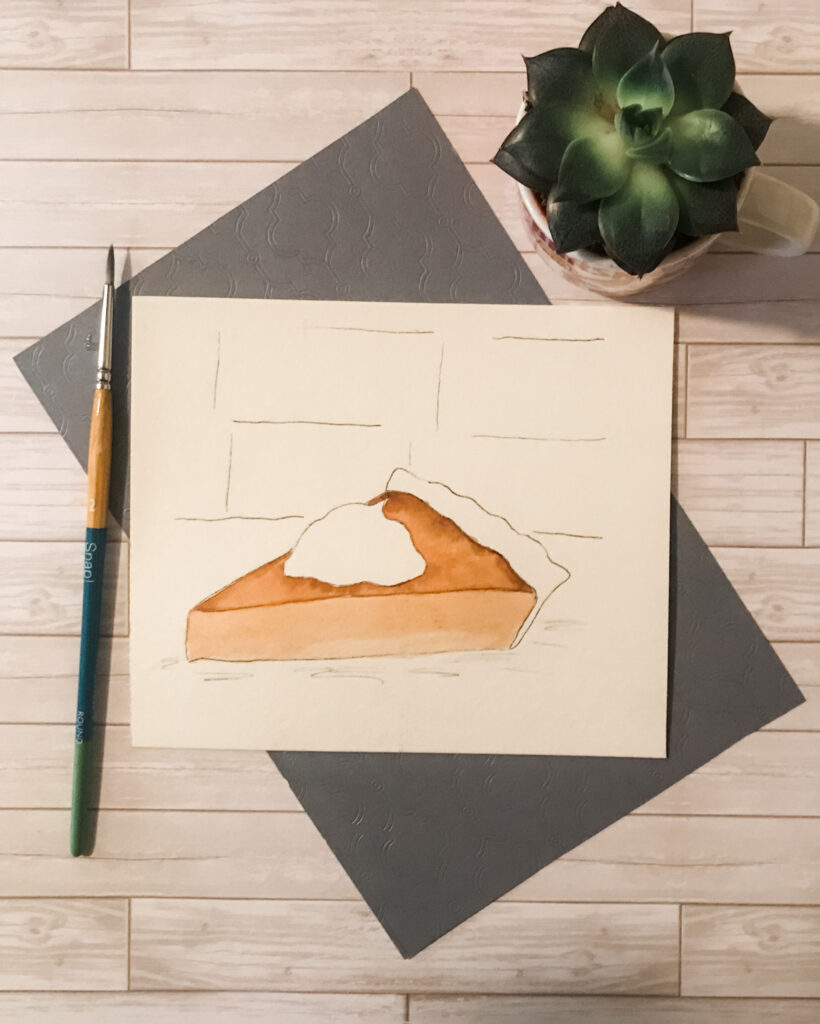
Step 4:
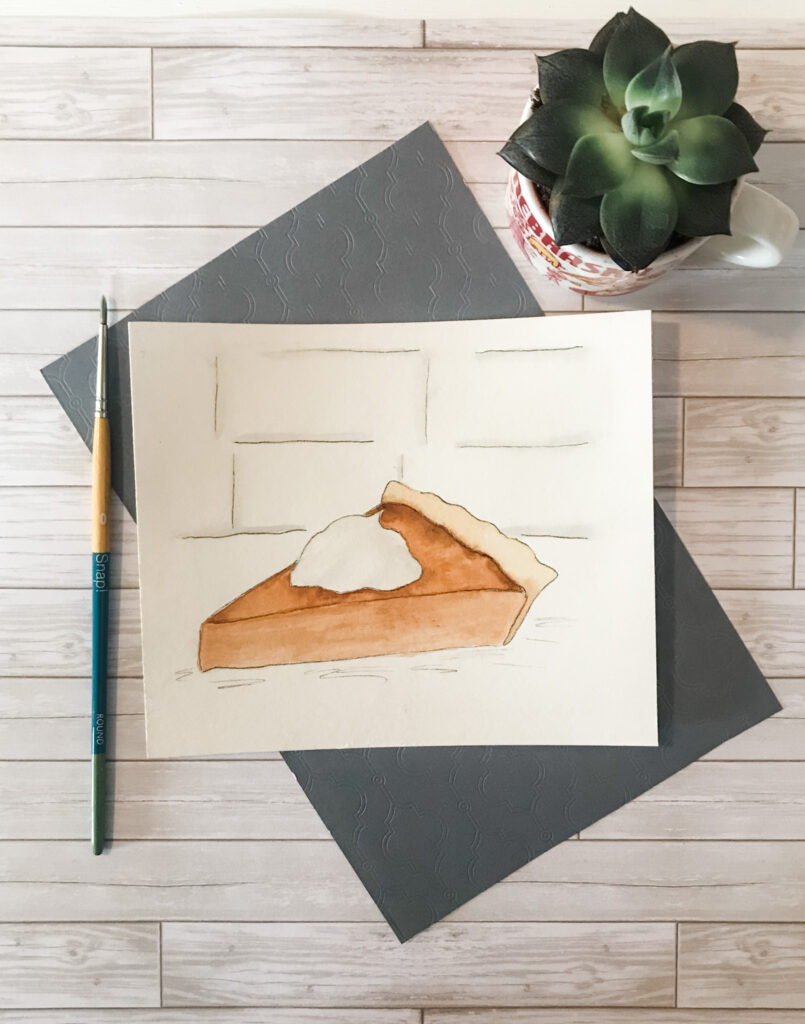
Now we are going to paint in the crust. Dip your round brush into the tan paint mixture, and paint in the entire crust. While the paint is still wet, dip your brush into the brown paint mixture and tap in the color in along the bottom of the crust, and down the side. This is going to create the shadows we need on the crust.
Wait for this layer to completely dry before moving on.
Step 5:
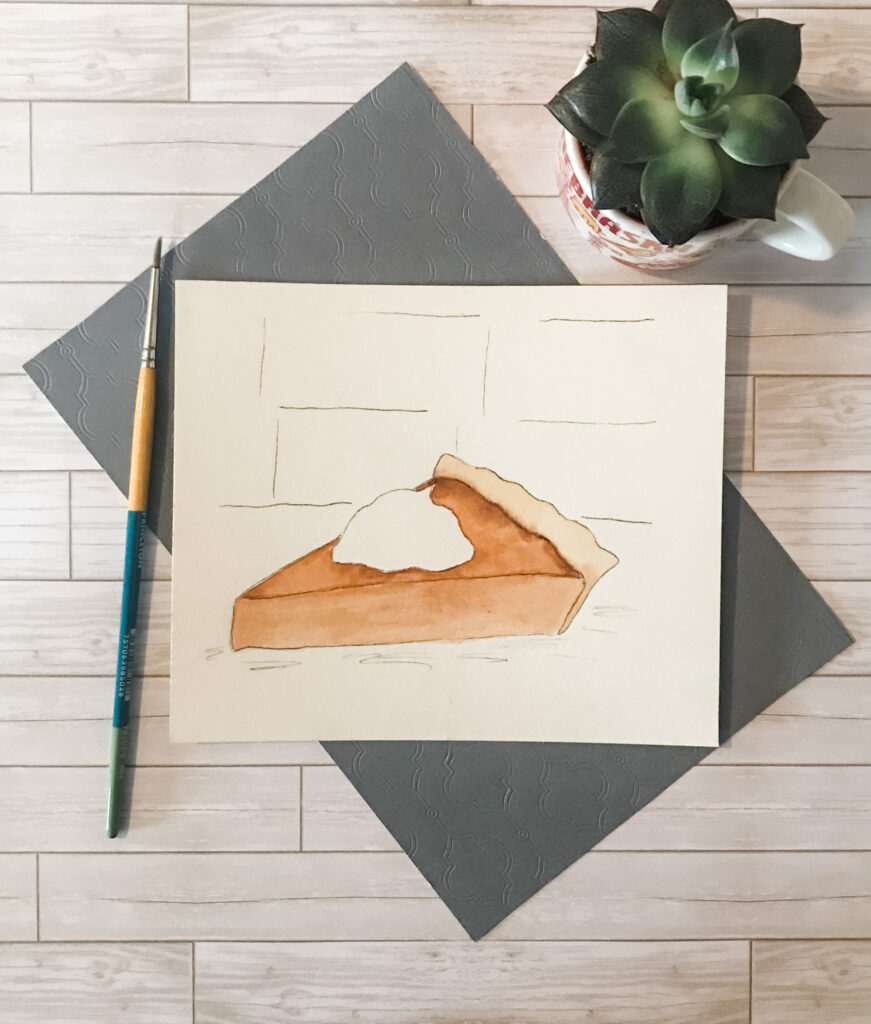
In this next step, we are going to add shadows to our whipped cream. This will help the whipped cream not look flat on the page.
Dip your small detail round brush into the light great paint mixture. Use curving motions, starting at the base of the whipped cream, working your way up to the top. Once your paint is in place, blend it out with a damp clean brush.
Step 6:
We are now going to paint in the background. Dip your small detail round brush into the grey paint mixture and paint in a line of grey paint next to all the lines we traced it. Then, while the paint is still wet, take your flat brush, load it up with water, and use it to blend out all the grey lines of paint.
Next, dip your round brush into the grey paint mixture, and paint in the entire area underneath the pumpkin pie. While the paint is still wet, add more black ivory to the grey paint mixture, then tap in the slightly darker paint around the base of the pumpkin pie.
Step 7:
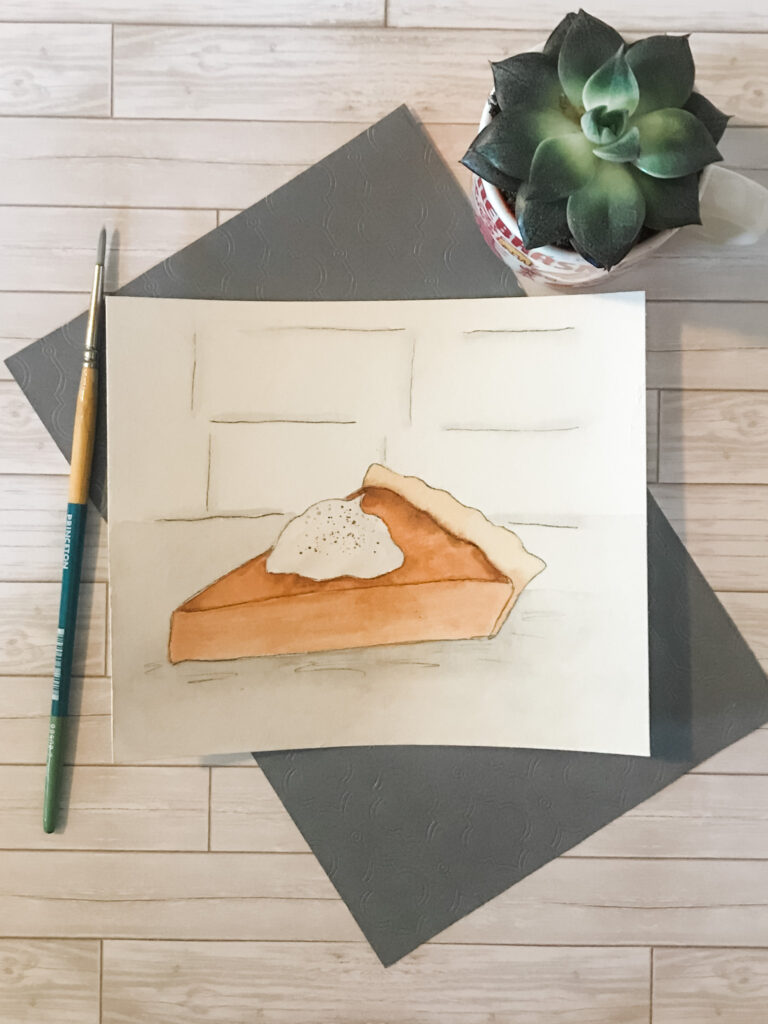
Now for the best part of the painting. We get to season our whipped cream with cinnamon that will be made up of the splatter technique. To do this, grab three scrap pieces of paper and create a triangle shape around the whipped cream. Only the top middle part of the whipped cream should be showing.
Next, load up your round brush with the orange paint mixture. Now, over the uncovered whipped cream splatter the paint by tapping the paintbrush on your finger over the whipped cream. This will give our painting the final touch it needs.
That’s it! You’re Done!
Congrats!
I hope you enjoyed creating this Thanksgiving painting/craft with me today. Before you go, don’t forget to follow along on Instagram, Twitter, Facebook, and Pinterest to see even more behind the scenes! If you don’t want to miss out on any new tutorials sign up for our completely FREE newsletter, where you will receive a FREE Pumpkin Pie Coloring Sheet. Comment below letting me know what you’d like to create next, whether it be a painting or a DIY idea!
If you are an artist like me and would like to share your own ideas on your own blog, check out Blogging Blastoff. This is a full 4-week course that’ll teach you exactly how to set up a successful blog that makes money. But if you aren’t ready to purchase a full course, check out this FREE blogging course, Start A Blogging Business 5 Day Course, it will get you started on the right path in just a week.
Nice tutorial. I like that you offer the free colouring page for kids on thanksgiving. Great idea. It’s been a while since I’ve painted and your article inspires me to get my brushes out. Thanks
This is lovely! Providing a sheet for tracing is so helpful for those of us who love to paint but can’t draw. (Yes, we exist!) Thank you!
I’m so glad you found the printable helpful!
I love this Thanksgiving craft. I love the fact that you gave concise step by step instructions, but I especially apreciated the video demonstration. Great work!
LOVE THIS! Such a great, well-planned tutorial! I will definitely have to give it a go! I’ve always wanted to give water color a try!