We may earn money or products from the companies mentioned in this post.
Hey everyone! Welcome back for another beginner watercolor tutorial. Let’s get started!
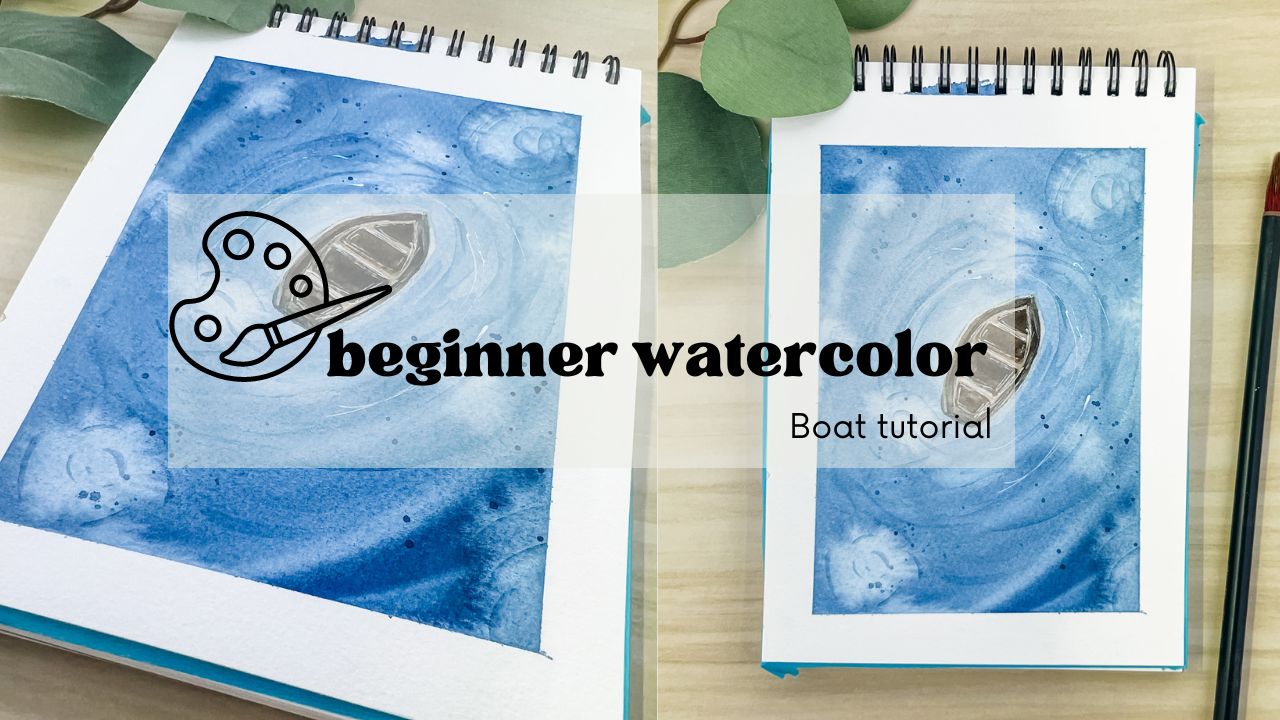
Today we are adding an object into our painting, which is going to be a boat. This will be somewhat similar to a silhouette, but adding a little more detail.
You can download the free traceable drawing below.

Check out “How to Trace a Picture Onto a Canvas” if you haven’t transferred a picture onto watercolor paper before.
I am now going to grab my size 12 round brush and I’m going to load it up with some clean water and fill in my entire page.

If you feel like you paint looks a little light on the page just add more paint to your brush.
Keep painting with those circular motions as if you slowly get closer to the boat drawing. Once you get close to the boat try to avoid painting over it. Use the tip of your brush to skirt around the boat.
For this next step we are going to want our water section to have started drying, but still be damp. Then we are going to take clean water on our brush and use the tip of our brush to let the clean water fall into the painting. This will add some water splashes to the lake. This is just a fun technique to be able to use whenever you want to add a fun texture to a painting.

We’re going to add some color to our boat by mixing up a brown color using Burnt Sienna and Black.
Keep this paint mixture light at first by adding a little more water, we will go back and add more paint later to create a darker mixture to finish off the boat’s details.
Once you have your paint mixed up add a nice even flat wash of brown paint over the entire boat.
While the boat starts to dry I’m going to mix up a darker brown using those same two colors, but this time using less water.
With that darker color we are now going to paint a second outline around the boat. I’m going to go to paint right along the edge of the boat.
We are going to paint in the back section, adding a little rectangle. We’re also going to do the same thing down the center of the boat. Just maneuver it as you go just leaving some of that lighter space in between the rectangles.

We are now going to let the boat dry. We can keep working on the water area while out boat dries. Go back into your blue paint mixture. Then using the tip of your brush paint in quick circular motions. I’m going add these lines around the little marks we made earlier with our water.
This is going to give the appearance of moving water.
After you add all of the curved lines around the water marks and the boat is completely dried we are going to go in with our white gel pen, and we’re going to add some final details onto our boat.
I’m going to outline the very edge of the boat as well as the inside of the boat, and the tip. You can also add highlight marks if you feel like certain sections of the boat looks too dark. Adding this white gel pen is another way we are adding depth to our painting.
Then (like I do with all of my paintings) we are going to add some blue paint splatter marks. All you have to do is get a lot of paint and water on your brush, then tap the brush over your finger to splatter the paint loosely over the painting.
FULL VIDEO TUTORIAL
I hope you enjoyed this tutorial, Click HERE is you missed our last lesson in this FREE Beginner Watercolor Course.