We may earn money or products from the companies mentioned in this post.
Welcome back!
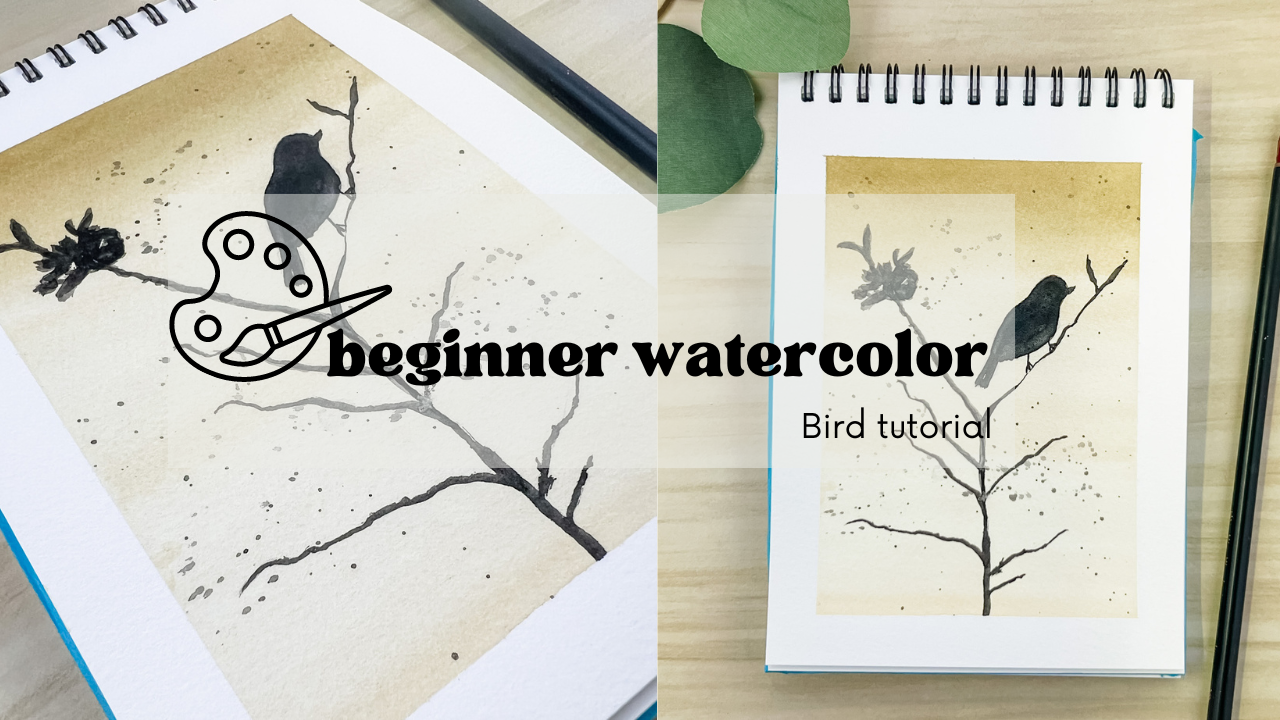
Today we are going to be doing our first watercolor painting with an animal! We will be adding a bird silhouette in this painting.
You can download a traceable image right here to transfer onto your watercolor paper, before we jump in to the painting process.
If you would like to learn the different ways you can transfer an image onto your watercolor paper without damaging it, click HERE
Now we can go begin painting now that we have our sketch on our watercolor paper.
We are going to take our size 12 round brush and create a flat wash behind our bird drawing. Fill up your brush with clean
water and apply it to the entire page.
I’m now going into my yellow ocher paint and I’m going to start from the bottom of the page and I’m going to paint upwards using horizontal motions.

This technique is something that you will end up using a lot as you paint with any medium. and just
I’m now going to add that color to the very top of my painting. This is going to give our painting the look that our bird is sitting on a branch in front of a yellow sunset.
Get a little bit more water on my brush to lighten up the color to blend it all the way down the painting.
Let this completely dry and then we will come back and we will paint in our silhouette.

Now that everything has dried we are going to go in with our black paint and paint in our silhouette using a size 6 round brush. You want this brush to have a fine pointed tip at the end to make the thin tree branches much easier.
I’m just going to go with a thick black paint mixture and add just a little bit of water.
Then I’m going to start painting my tree branch. Just using the tip of my brush I am follow those pencil lines we drew in place earlier with our transferred sketch.
I’m just going to follow down the marks that I’ve already made, however if you decided to free-hand this section keep your hand super loose and allow your hand to make uneven lines to create the tree branch.
Doing this free- hand is really a fun way to practice with your brush control. It allows you to be very wobbly and you don’t have to think about making perfectly straight lines.

I’m going to get a little bit more black paint on my brush and then we’re going to go underneath our bird and paint in the tree branch the bird is sitting on. Use the very tip of my brush and paint up along that line that we previously drew.
Paint in that tree branch right underneath where the bird drawing is. Make it a little bit thicker under there where it connects to the tree. Now we can fill in our bird with our black paint.
Make sure you have a lot thick black paint. Begin by making fanning motions below the bird to create the tail. Next just start following that outline. You don’t need to add any detail to this at all. The most detail that we are going to create is that little feathering at the tip of the tail.

Like I always like to do I’m just going to add some splatter to adds to our painting and finish it off. All you have to do is load up your brush with black paint and tap your brush on your finger over your painting to create a light splatter.

There you have a very easy beginner friendly painting! Thanks so much for following along.
If you enjoyed this tutorial please let me know over on Instagram by tagging me @reflectingcreation so I can see your artwork.
Sign up here for my FREE newsletter so I can let you know when the newest tutorial in our FREE Beginner Watercolor Course is live. I hope to see you back for my next tutorial.
One thought on “Lesson Four: Watercolor Bird Tutorial”