We may earn money or products from the companies mentioned in this post.
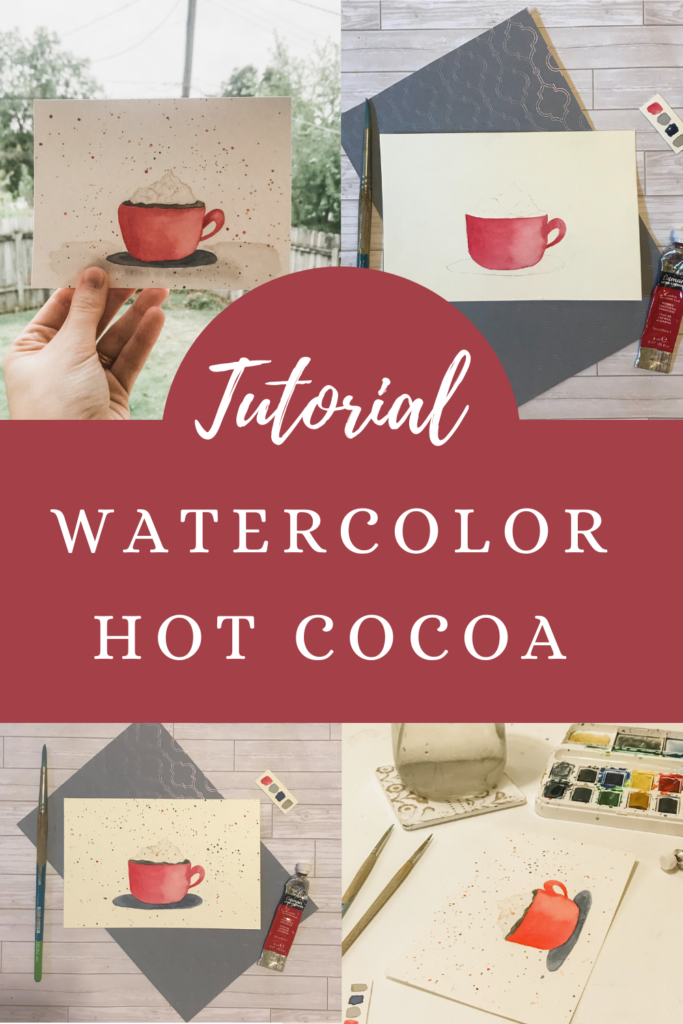
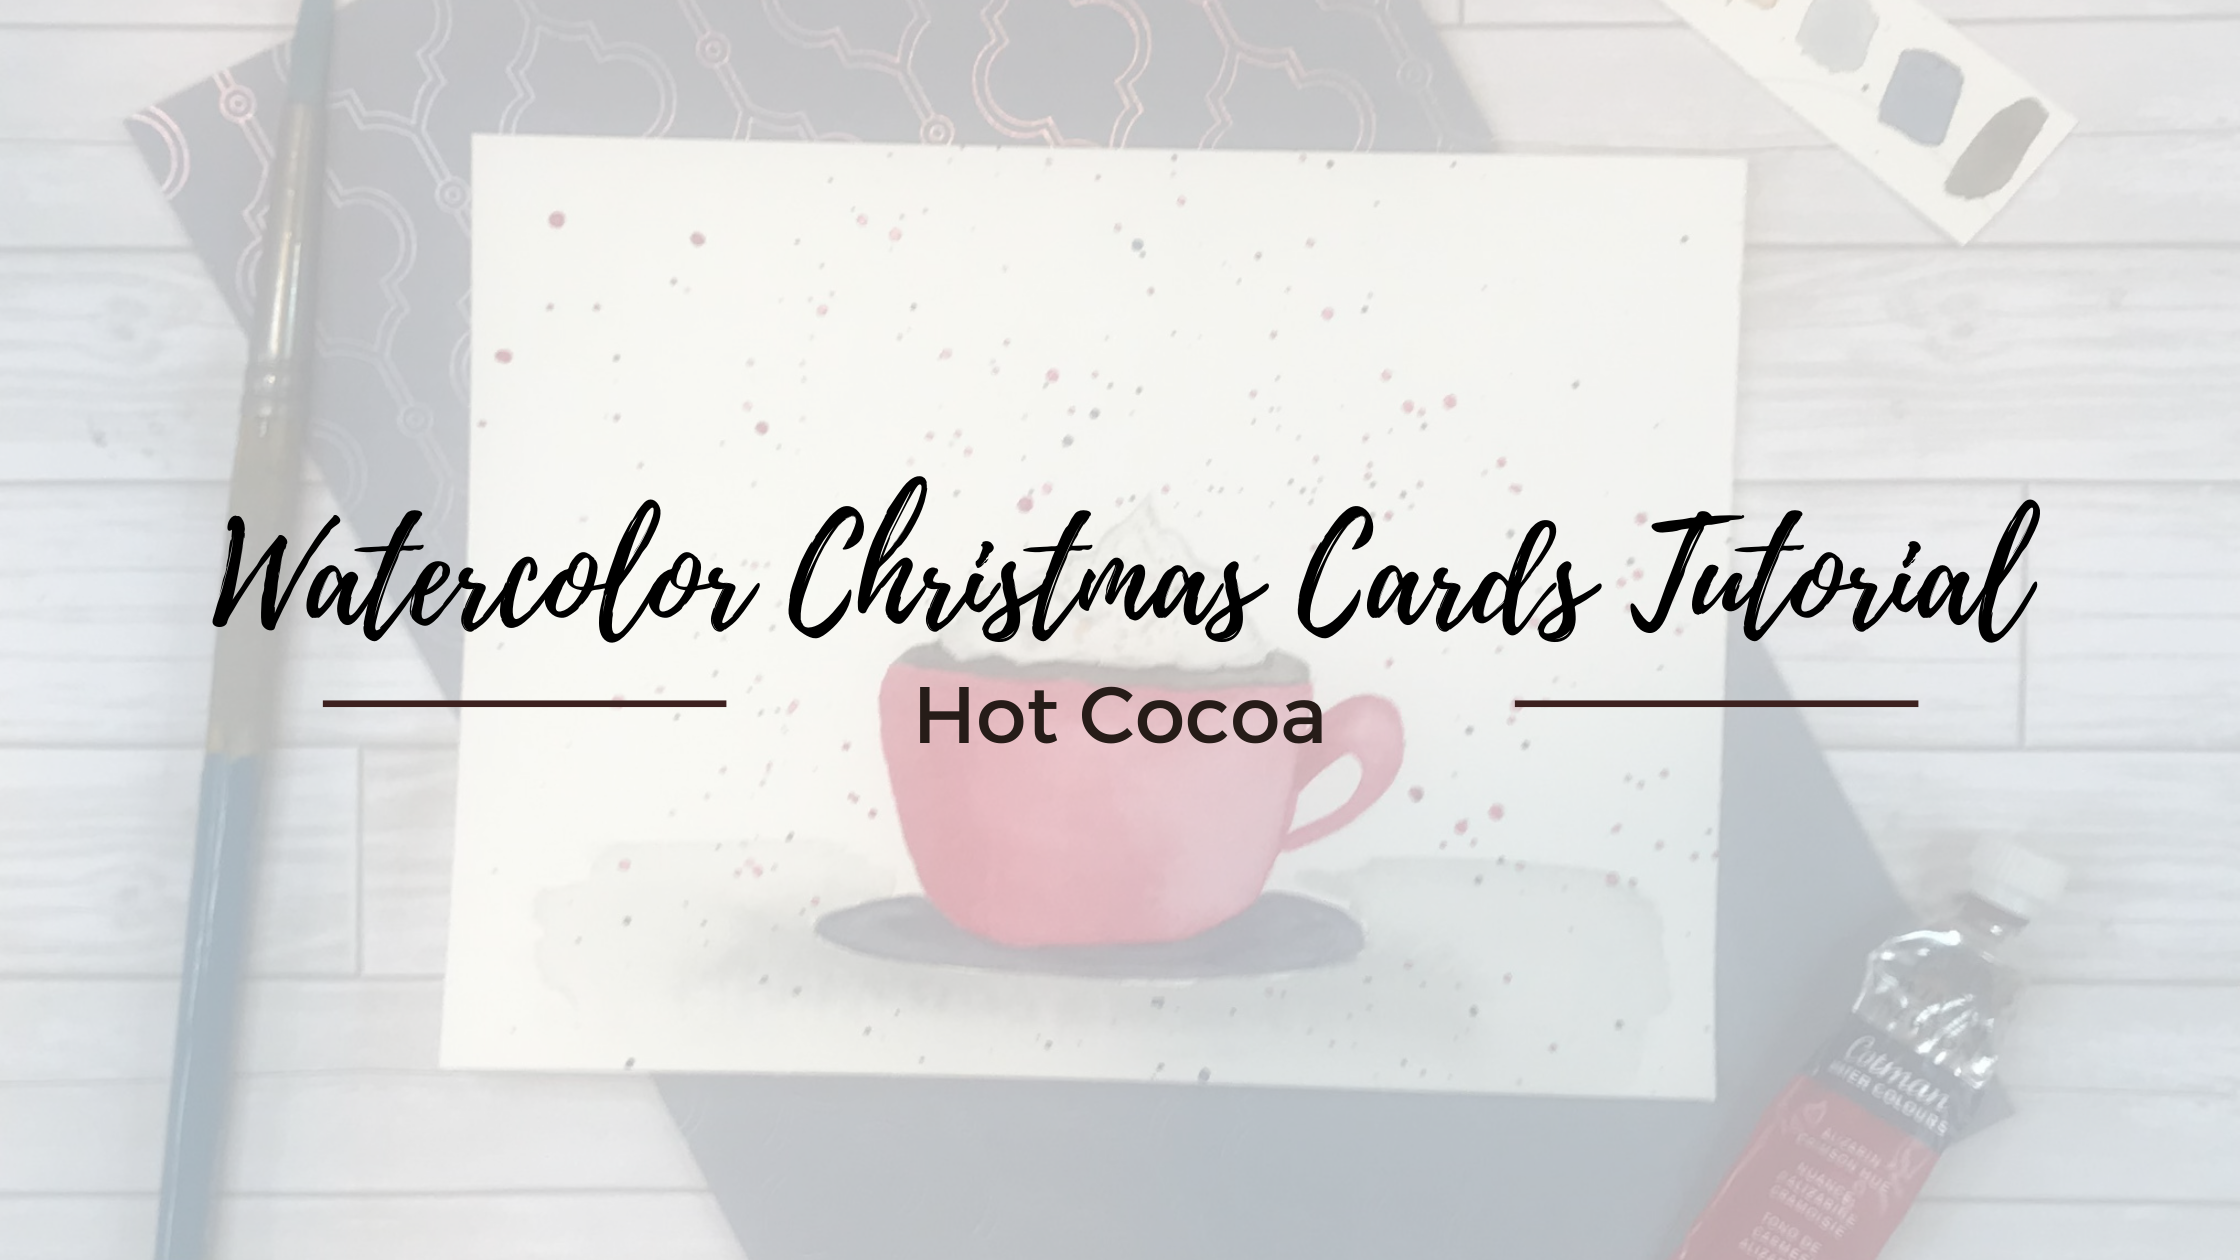
This easy watercolor Christmas Card of hot cocoa is a fun painting for new and old watercolor artists. Today, I am sharing all the steps I took to create this warm cup of hot cocoa. Let’s jump in and see how it’s done!
Full Video Tutorial at the End of This Post!
Supplies You’ll Need:
Watercolor Paper
Watercolor Paint
Round Paint Brushes
Paper Towel
Two Cups of Water
Pencil
Heat Gun
If you would like to see all the art supplies I recommend, check out, “My Supply List” page. Click HERE to check it out!
Paint Colors Used:
Alizarin Crimson
Payne’s Gray
Burnt Sienna
Ultramarine Blue
All of these colors can be found in this perfect beginner set of watercolor paints. This is the exact set I am using in the video above to create this painting. I highly recommend this product to you if you are looking for a beginner set of paints.
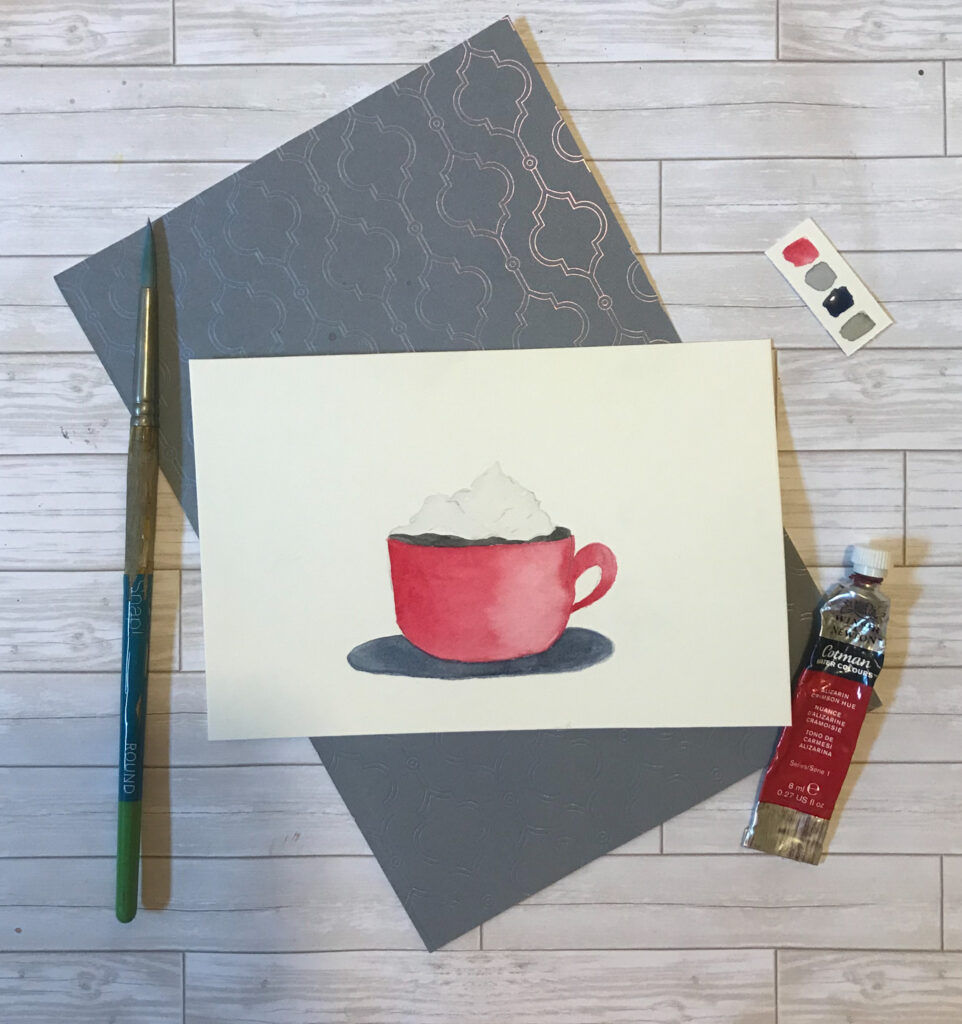
Step 1:
Start by drawing out a soft sketch of the hot cocoa mug and where you want the whipped cream and plate to be.
I recommend drawing your sketch out on a seperate sheet of paper than tracing your picture onto your watercolor paper.
Head over to “How to Trace a Picture onto a Canvas” to learn how, or scroll to the bottom and watch the first few minutes of my video tutorial and I will talk you through how it’s done.
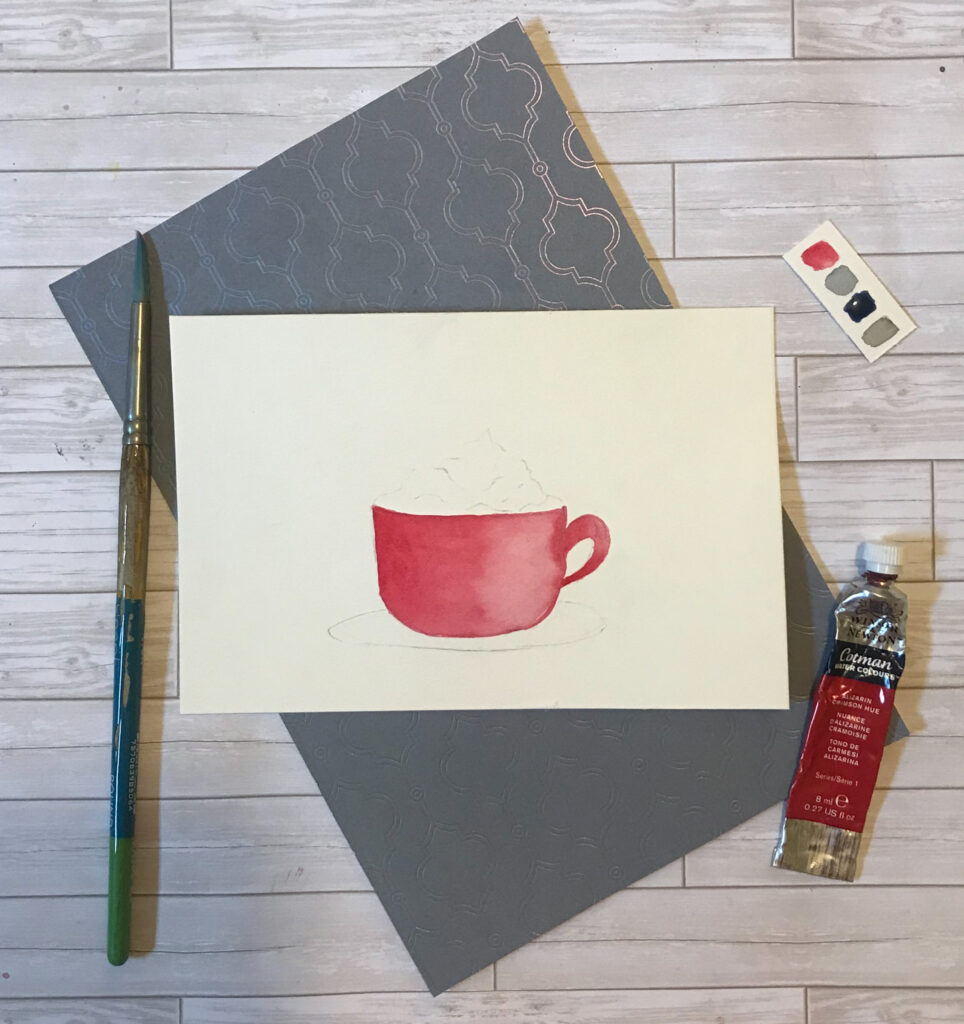
Step 2:
Before we begin painting wet the entire cup with a clean coat of water. Next, create a light mixture of red paint and apply it to the entire cup area.
While your cup is wet, create a darker mixture of paint and begin to apply it to the left side of your mug, then blending it out as you paint toward the right.
The right area should appear lighter than the left to create a natural shadow.
Fill the handle with a dark mixture of red paint, then using a clean dry brush pull up some paint on the curve of the handle to apply a highlighted area.
Let this layer completely dry, then add a second layer.
Step 3:
The best part about hot cocoa to me is the whipped cream on top! So, let’s paint the whipped cream.
First, create a light wash of Payne’s Gray paint. We want the gray to appear as shadows on the whipped cream, and we will leave a good portion of the whipped cream white.
Fill the entire whipped cream area with clean water, then begin applying the Payne’s Gray paint on the section of the outline and on the curved shadow lines we put in place earlier.
Let this layer completely dry.

Step 4:
For this step, we are going to paint the hot cocoa area and the plate.
Let’s start with the hot cocoa. Mix Payne’s Gray and Burnt Sienna. You want this color to appear to be a dark brown.
Begin by painting in the area between the whipped cream and the cup. While the paint is still wet add a little more Payne’s gray to your mixture and tap in the darker color right along the rim of the whipped cream to create a shadow.
While the hot cocoa section dries, we can move on to the plate.
Mix Ultramarine Blue and Payne’s Gray to create a Navy Blue color.
Paint the entire plate area with the navy blue paint mixture. Then just like we did with the hot cocoa, add some more Payne’s Gray paint to the Navy Blue paint mixture and tape in the color around the rim of the cup and plate.
Step 5:
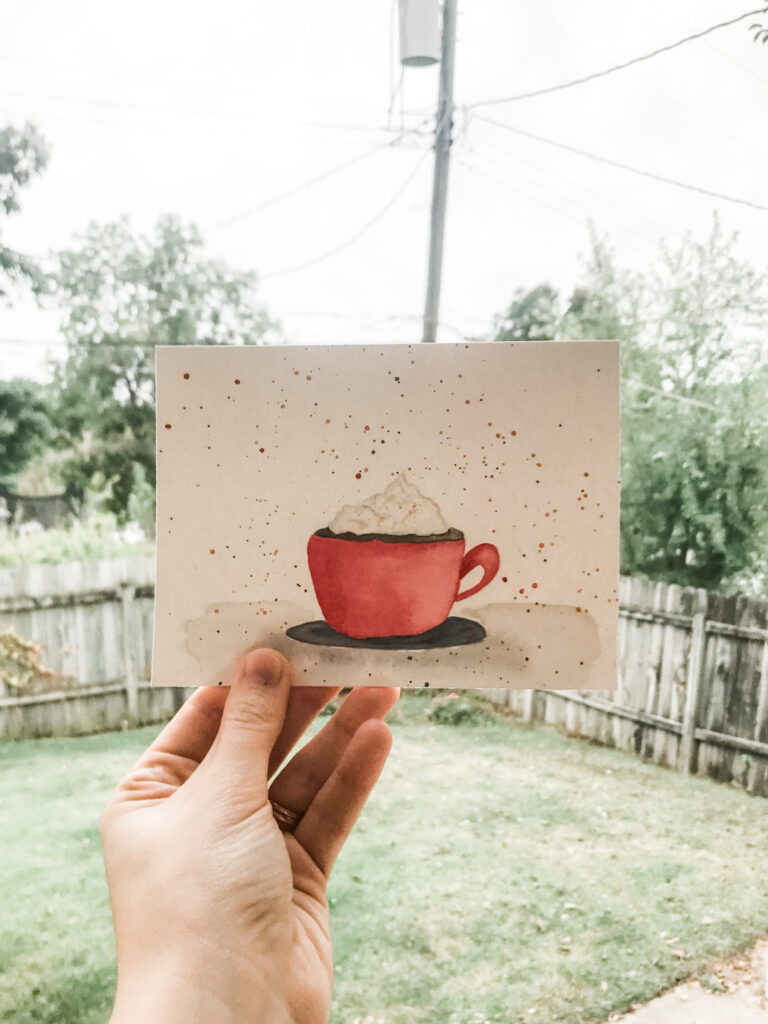
Let’s add some splatter and a little bit of shadowing to our hot cocoa to finish it off!
Before we get to the fun paint splattering, let’s add some shadowing under the plate. Start by wetting the entire area under the plate with clean water, then tap in a light wash of Payne’s Gray.
Now, we are going to add splatter to the whipped cream and then to the entire painting.
Adding splatter to the whipped cream will give the appearance of cinnamon sprinkled on the top.
First, cover up the entire painting except for the section of whipped cream you would like the splatter on. Then, load up your brush with a lot of water and Burnt Sienna paint and tap the brush over the whipped cream area.
For our second coat of splatter, you will want to cover up the entire cup of hot cocoa. Then load up your brush with the red paint and a lot of water and tap your brush on your finger all over your paper. Repeat this same step with the navy blue paint mixture.
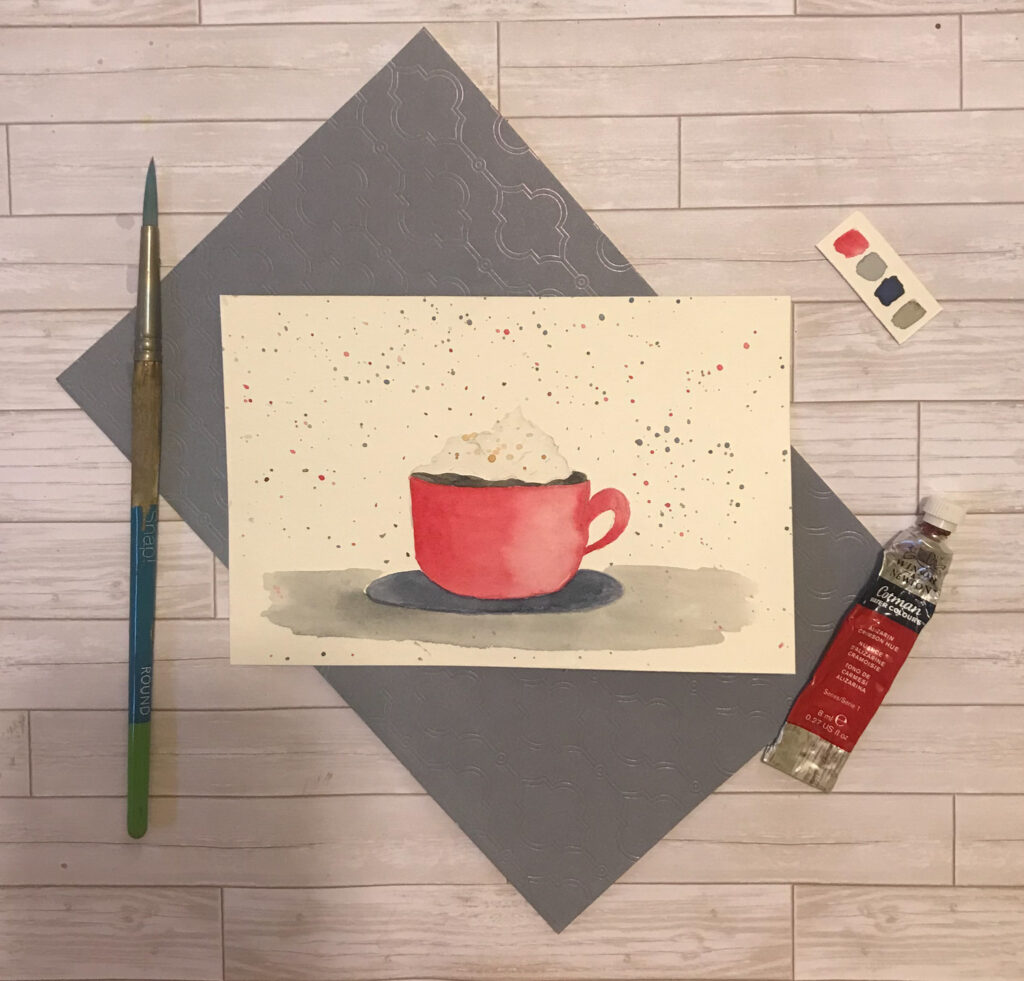
Let this layer completely dry and you’re done!
Full Video Tutorial
I hope you enjoyed following along on this Easy Watercolor Christmas Card of Hot Cocoa with me today!
Before you go sign up for our free newsletter! In the future, we will send you a few emails a month on watercolor painting, DIY crafts, acrylic painting, and/or blogging tips. Let us know by selecting which ones you would be interested in. You can unsubscribe at any time by clicking the link at the bottom of every email.
You may also like, Easy Watercolor Christmas Card | Christmas Truck or How to Paint a Watercolor Penguin
One thought on “Easy Watercolor Christmas Card | Hot Cocoa”