We may earn money or products from the companies mentioned in this post.
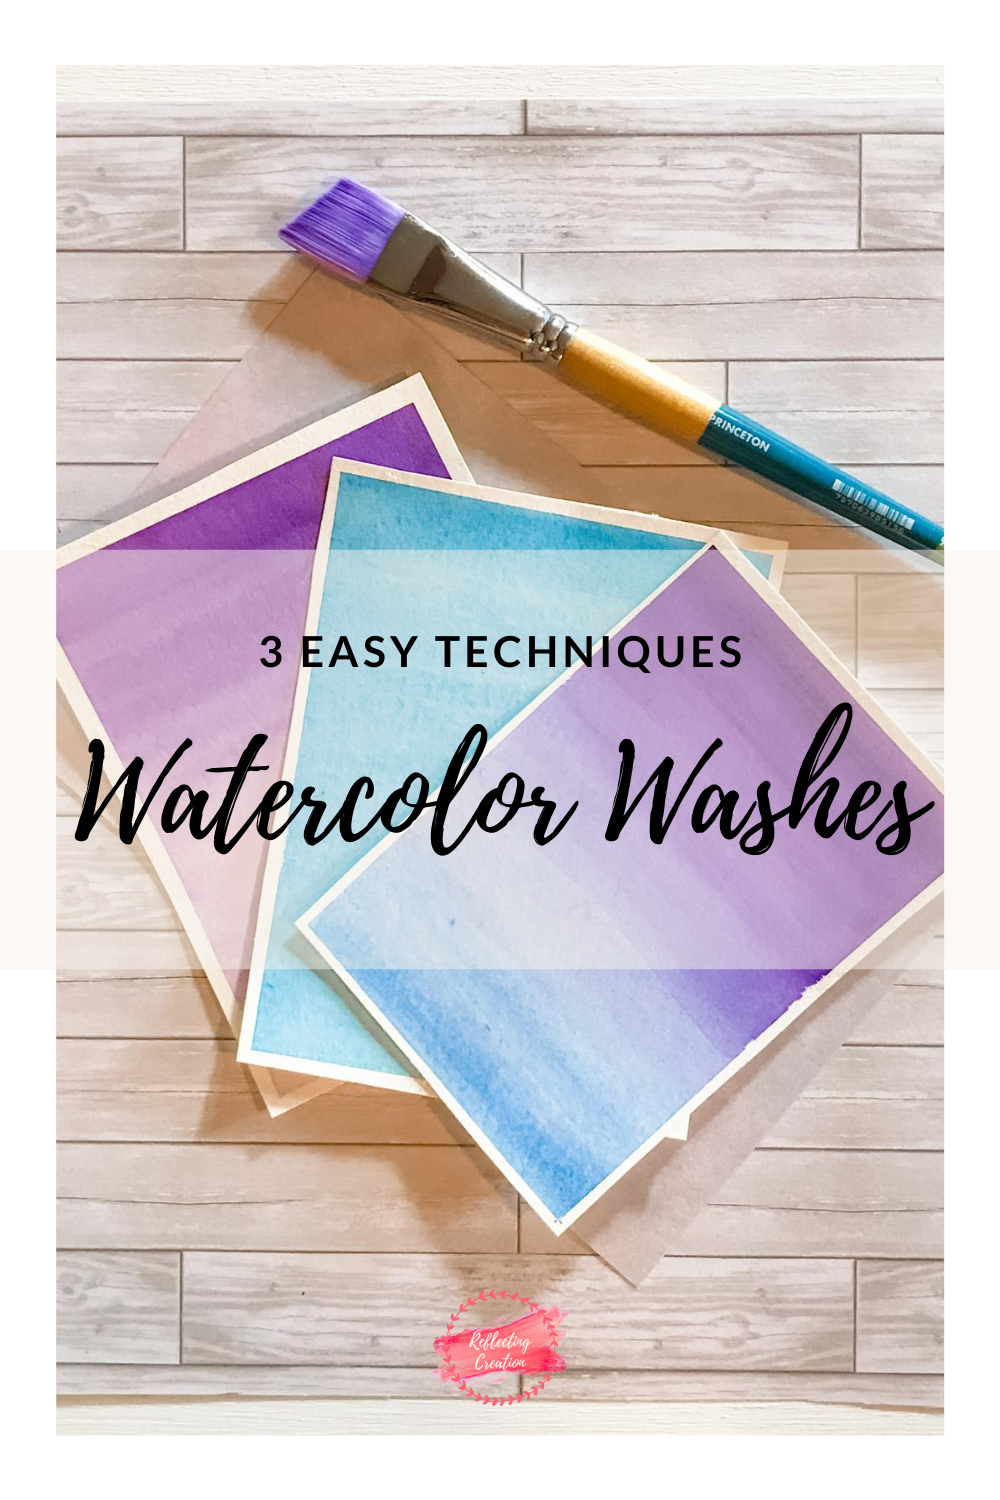
Beginner Watercolor Techniques You Need to Know!
Stick around and learn the difference between a watercolor flat wash, graded wash, and variegated wash, as well as how to create these three easy techniques. These skills are crucial if you are new to watercolor. Let’s get started!
Supplies You’ll Need:
- Watercolor paper
- Flat paintbrush
- Watercolor paint
- Washi/Painters tape
- Two cups of water
- Paper towel
If you would like to see all the art supplies I recommend, check out, “My Supplies” page. Click HERE to check it out!
What Is A Watercolor Flat Wash?
A watercolor flat wash is when you choose one paint color then paint in an even layer of it on your paper. This can be done using the wet on dry technique or the wet on wet technique. You will often see this technique used when layering in a painting or background.
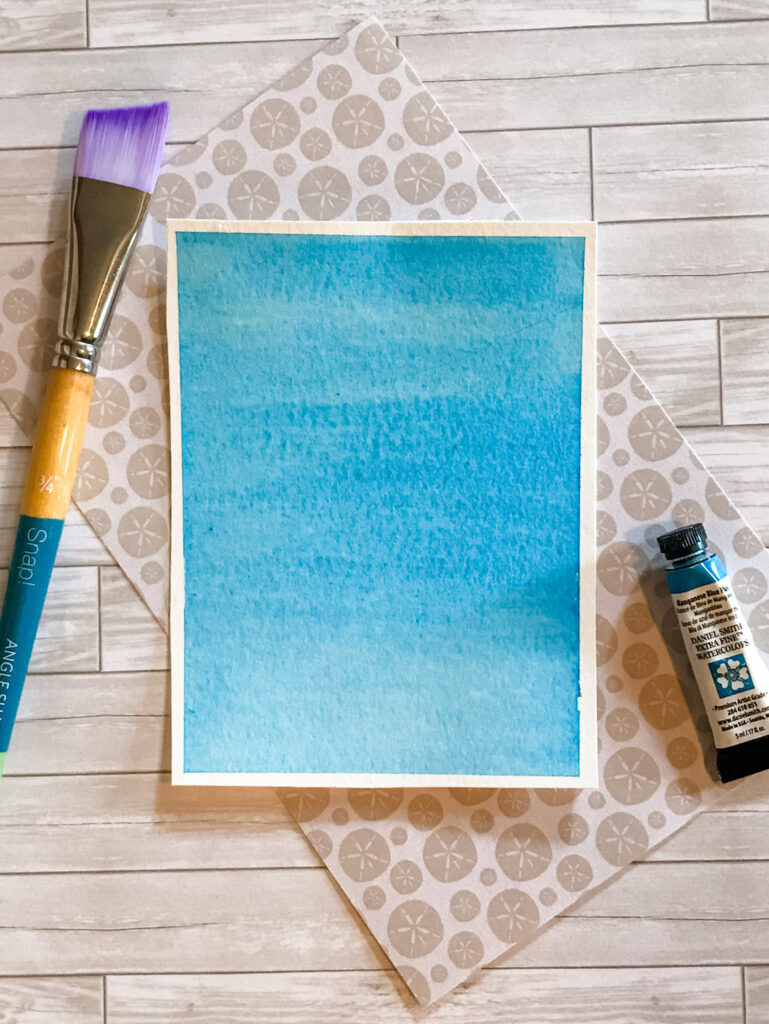
How Do You Create A Flat Wash?
Grab one paint color and add it to your pallet creating a milky consistency (add more paint than water). Next, grab a large flat brush, dip it into your paint mixture, and begin painting using side brush strokes. Continue this step all the way down your page.
Work quickly so your paint won’t dry as you work. If your paint dries on your paper while still painting with it, it can create a weird cauliflower effect.
Once you’ve reached the bottom you are done. If you would like your painting darker all you need to do is add another layer. To add another layer wait till your painting completely dries before repeating the step above to create another layer.
If you would like to put this into practice in a full painting check out, Beginner Watercolor Misty Mountain.
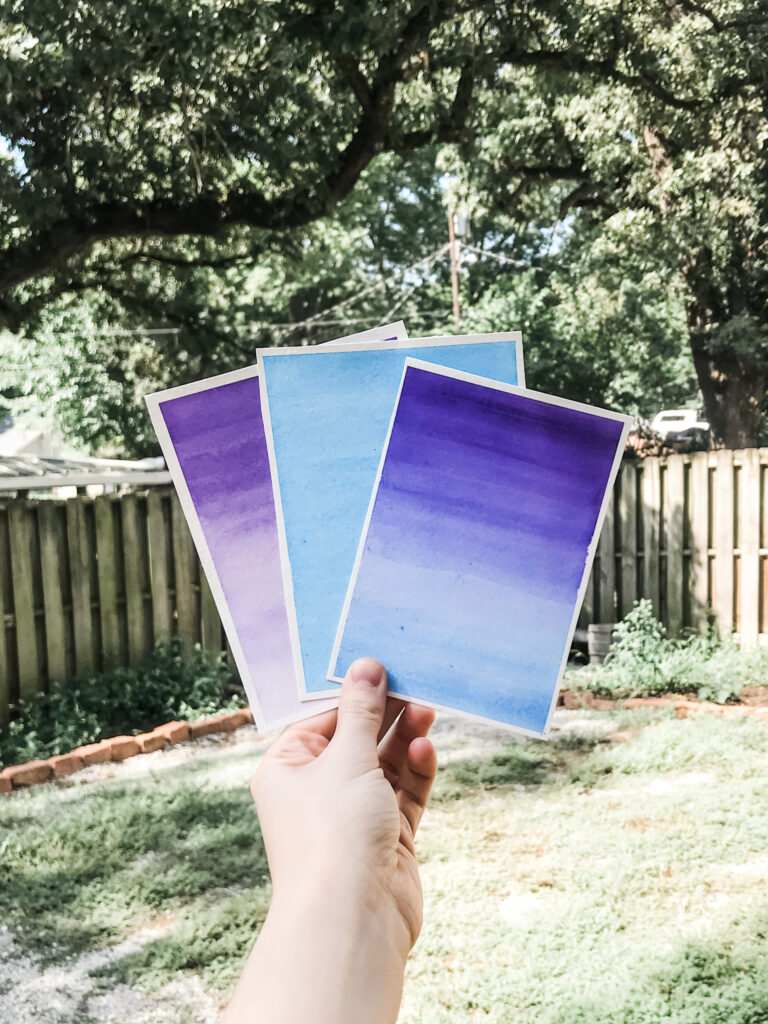
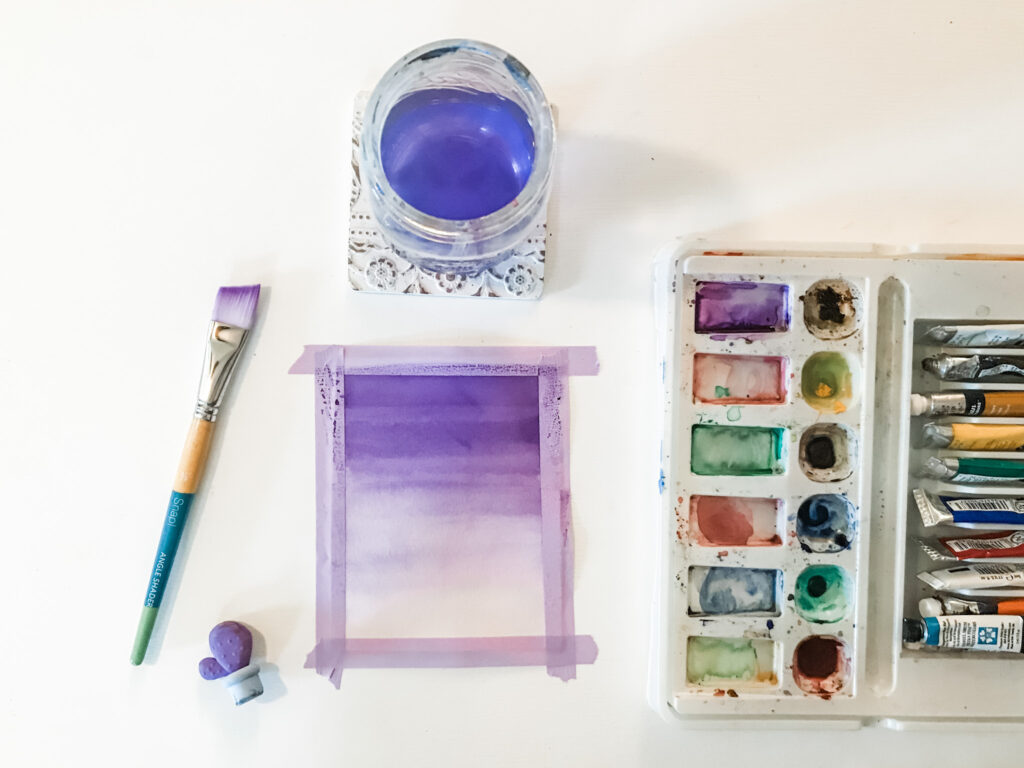
What Is A Graded Wash?
A watercolor flat wash is when you start with a dark color consistency and as you paint down or across your color will continue to get lighter. This also can be done either using the wet on wet technique or the wet on dry technique. I like using this technique when creating DIY cards or fun backgrounds for ink sketches.
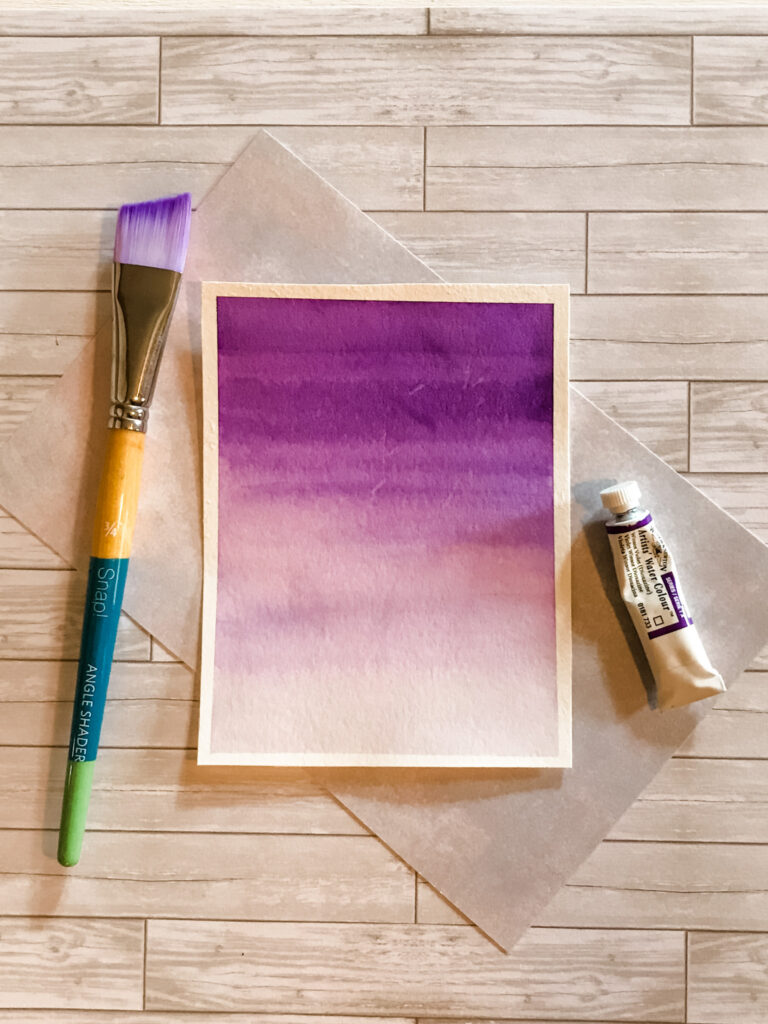
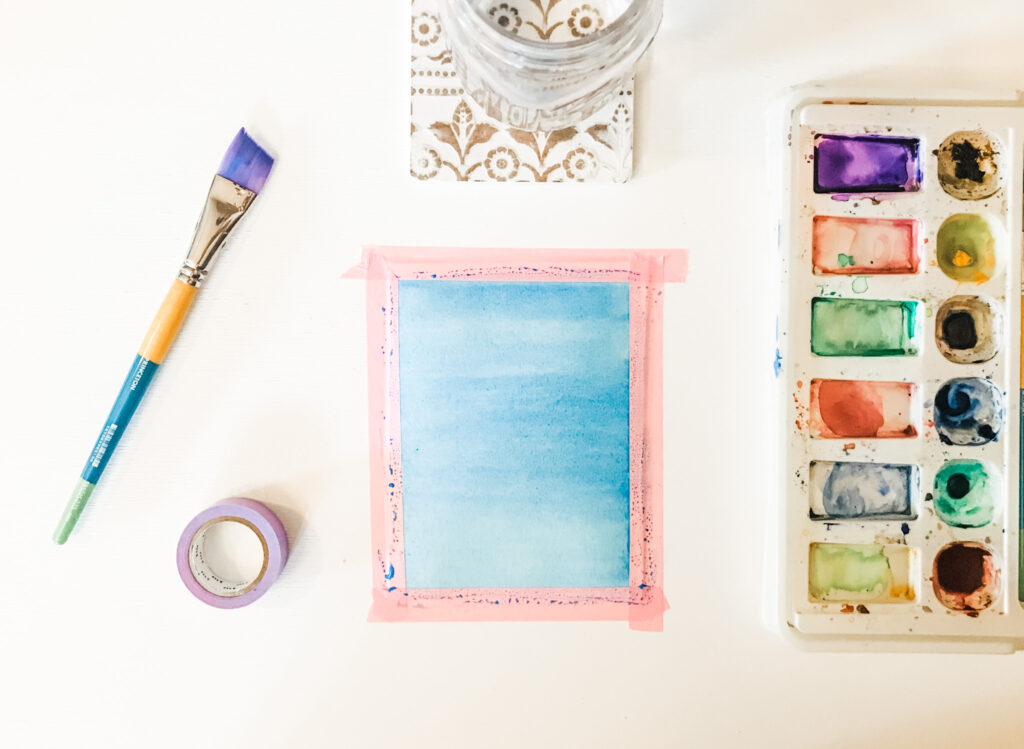
How Do You Create A Graded Wash?
Begin by choosing one color of paint and create a thick dark mixture of your color in your pallet (more paint than water). Grab your flat brush and begin painting in an even brush stroke moving across your page.
Next, clean your brush off, then add a drop of clean water to your paint mixture to slightly lighten the hue. Dip your flat brush into your new mixture, then paint in your next layer right under your first layer.
Repeat by continuing to slowly add water to your paint mixture and by painting in an even layer of the lightened color as you work downward.
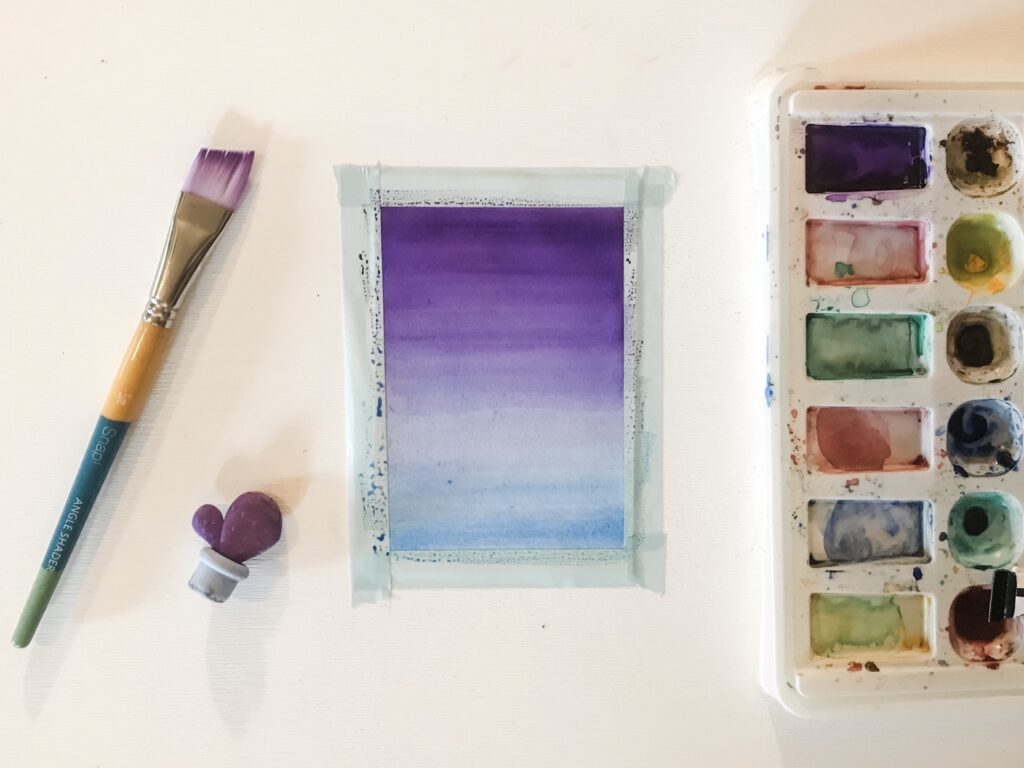
What Is A Variegated Wash?
A variegated wash is when you begin painting using one color then transition into another color while blending the two together. You can create this look using either the wet on wet technique or wet on dry. This is one of my favorite techniques. I use this in many of my paintings, especially on sunsets.
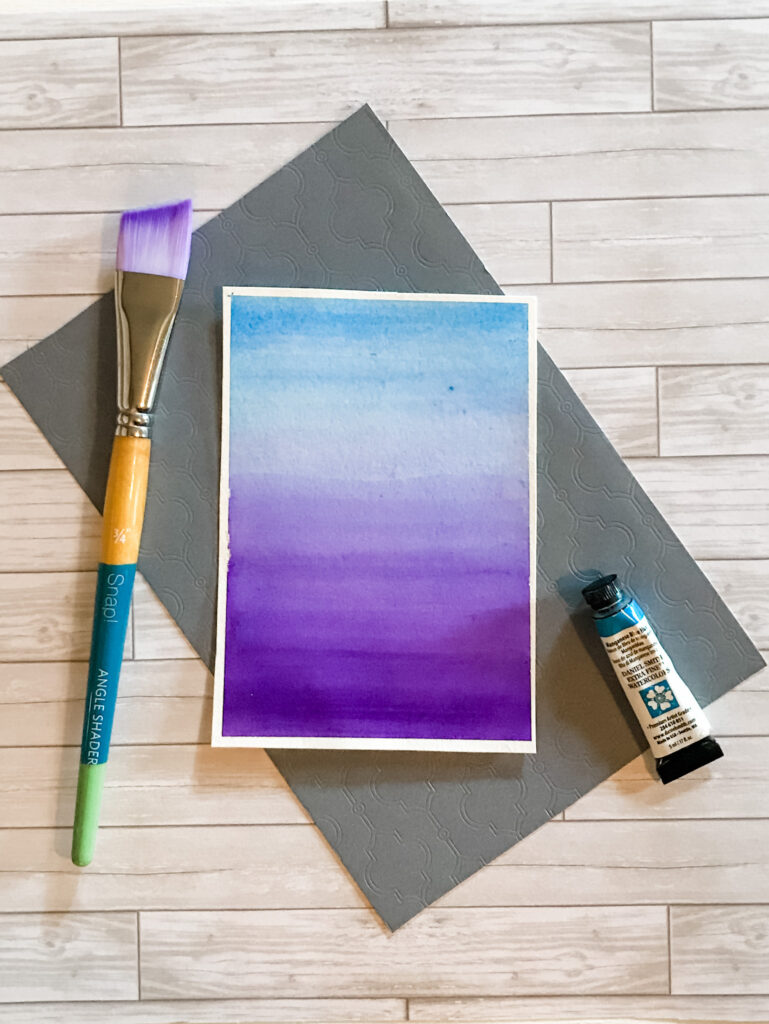
How Do You Create A Variegated Wash?
The best way to start painting a variegated wash is to grab your color wheel to choose at least two colors that will complement each other. Understanding color theory and using your color wheel will help you pick beautiful colors that will blend well together and make your painting stand out.
Now that you’ve picked two colors (I picked Winsor Violet and Magnesium Blue), create two separate mixtures into your pallet. Use a little more paint than water to make your paint mixture have a milky consistency. Now let’s begin painting!
Grab your flat brush and dip it into your Winsor Violet and begin painting in even brush strokes going across your page. Repeat this step till you reach the center of your paper.
While your painting is still wet, quickly clean your brush, dab off the extra water on your paper towel, and dip it into your Magnesium Blue mixture. Again, while your purple paint is still wet, apply your blue paint halfway onto your purple paint and halfway on your clean paper. Paint in the rest of your painting with the Magnesium Blue. And that is it!
If you enjoyed this technique and would like to try it out in a complete painting, check out, Simple Watercolor Mountain Sunset.
Congrats!
You have learned all about three different watercolor washes as well as how to paint them! I hope you enjoyed practicing these techniques with me. If you would like to learn more about watercolor or how to paint watercolor paintings, sign up to receive our weekly newsletter, as well as a FREE Color Theory Cheat Sheet. Before you leave, don’t forget to follow me on Pinterest, and on Instagram and Twitter for behind the scenes and more paintings. Comment below letting me know what you would like to paint next.
If you are an artist like me and would like to share your own ideas on your own blog, check out Blogging Blastoff. This is a full 4-week course that’ll teach you exactly how to set up a successful blog that makes money. But if you aren’t ready to purchase a full course, check out this FREE blogging course, Start A Blogging Business 5 Day Course, it will get you started on the right path in just a week.
THANK YOU! I am learning so much from your blog.. that I think I maybe able to start painting soon!
Love the graded wash look!
I love this. I can take lessons about watercolors and the techniques to use online. Great post!
I really wish I was more creative.
Where were you long ago when I had my ill-fated watercolor painting phase? ☺️ I would have loved to have known these techniques! I am going to save them for when I have time in retirement!
You make this look easy! I am always so impressed by people who have artistic talent.
This is a beautiful technique.
Thanks for your detailed explanation of the different techniques and how to get them.
This is great! I’ve been looking for a beginner or intro activity with watercolor. I can’t wait to try the variegated one!
That is so pretty and doesn’t look too hard!
Thank you for this post it’s so fun!
Love these! So pretty!
Great information. Thanks for sharing.
You are very talented. These are so pretty.
You make this look so easy and beautiful!
If I were at all artistic…I would try this. You do make it look manageable!
Such a beautiful technique & one that I think I could give a go!
I always love the tips you give because I’m the worst at painting.
I love watercolors, thanks for sharing some techniques!
Passing this in to my daughter to read! She will LOVE it!! Learning so much!
Excellent tips as always!