We may earn money or products from the companies mentioned in this post.
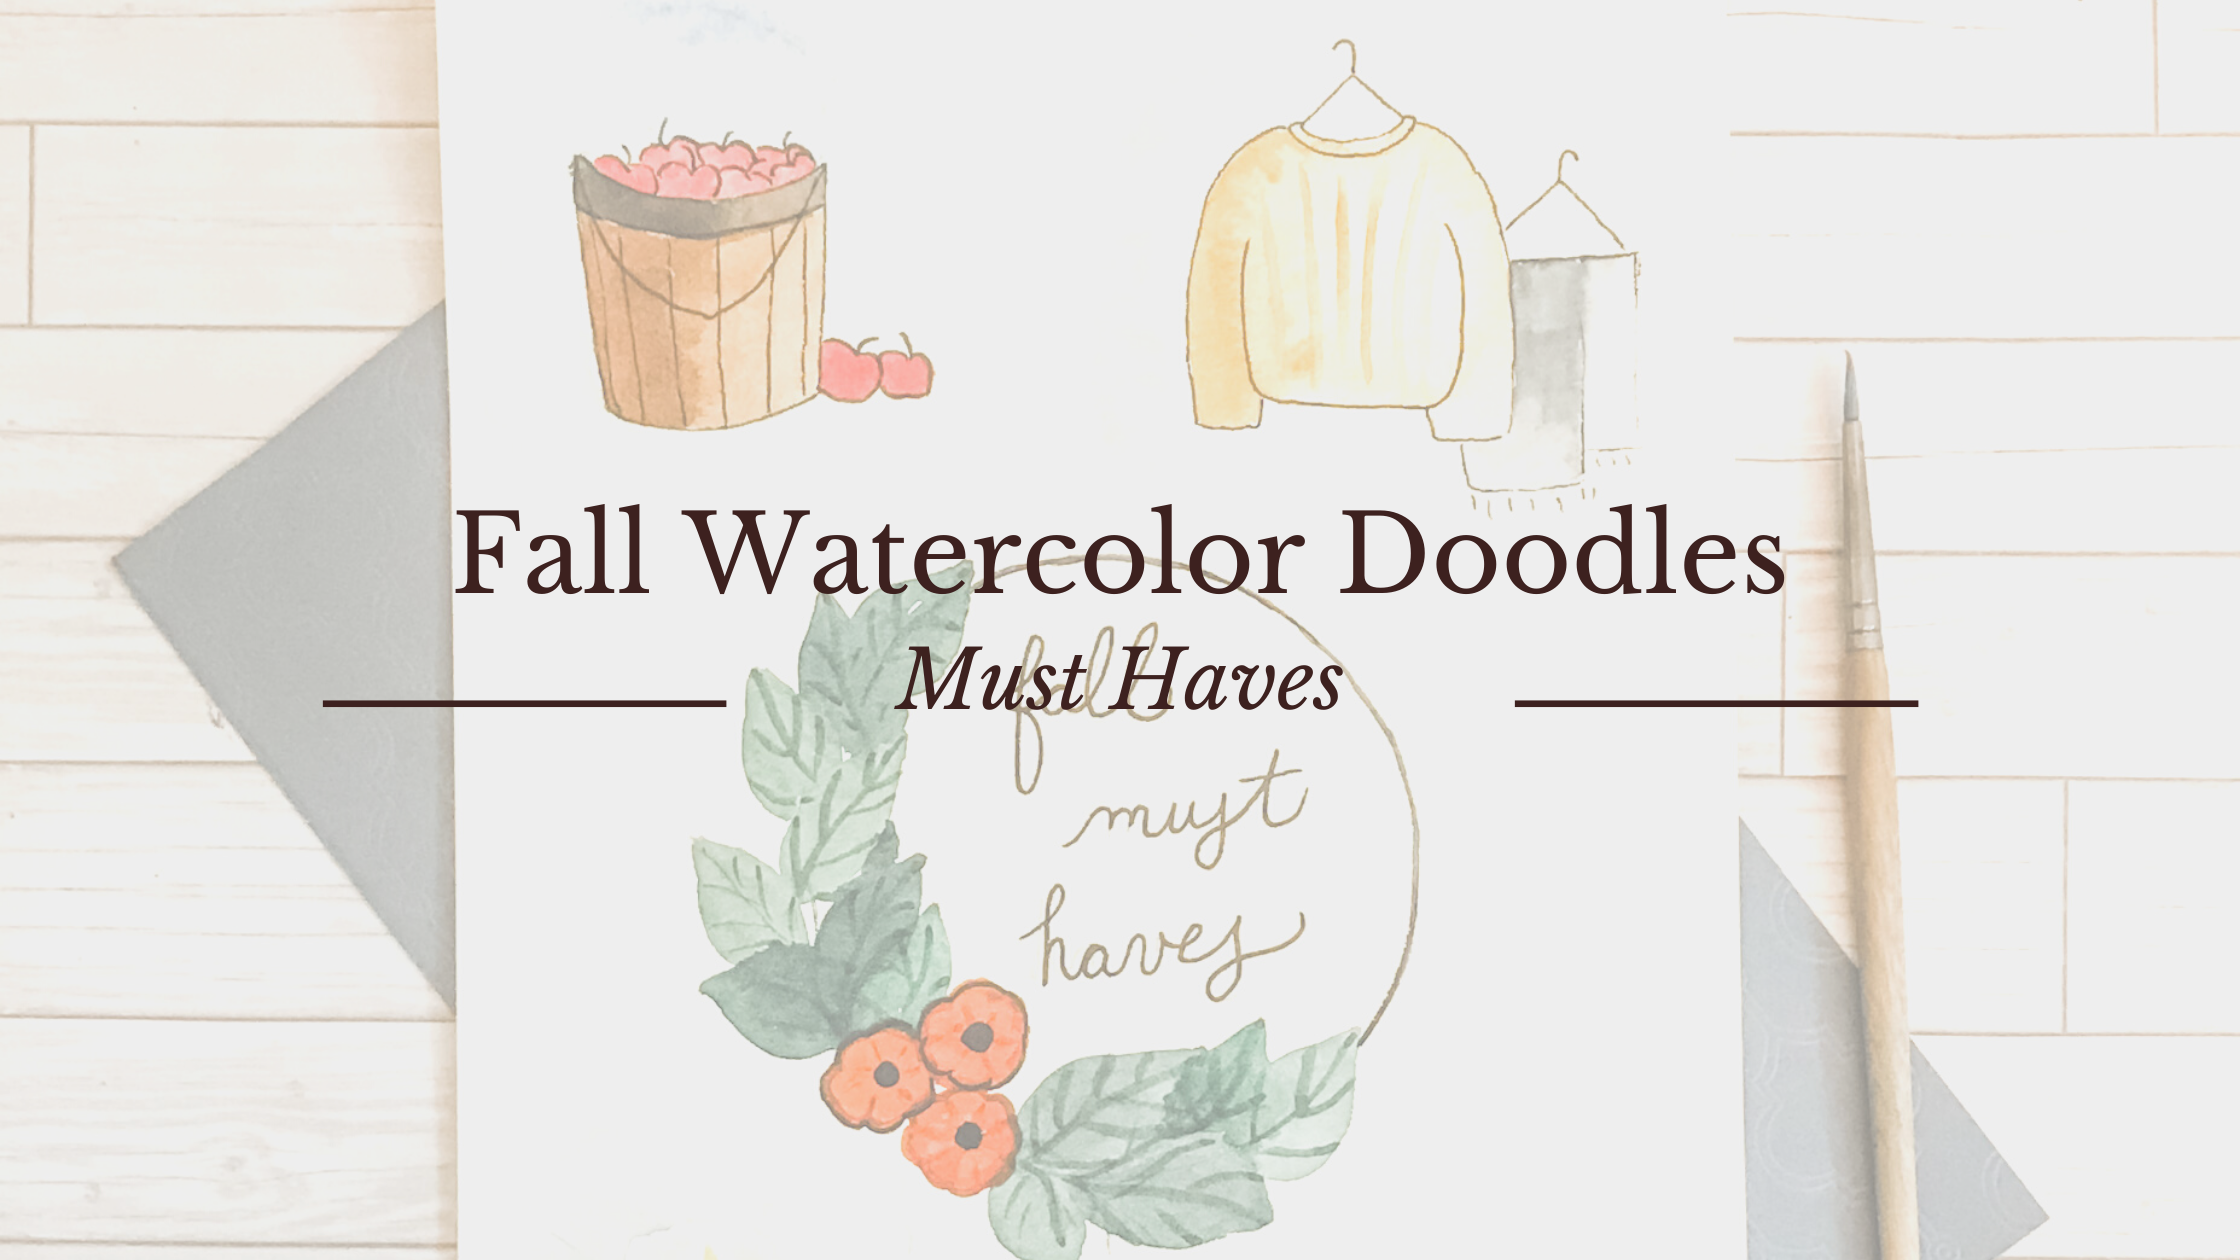
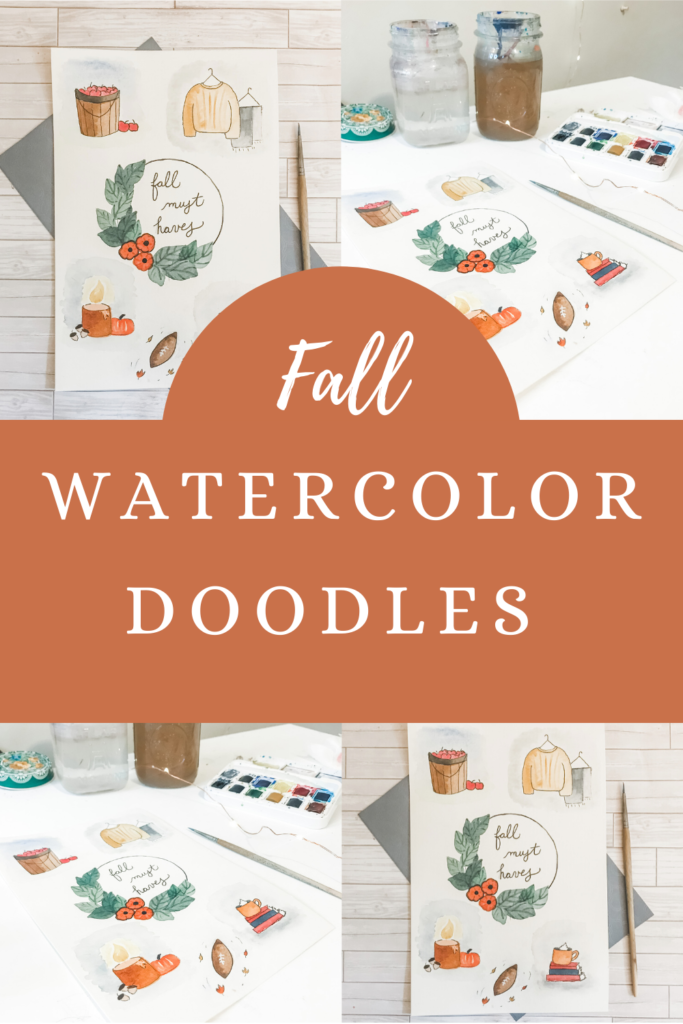
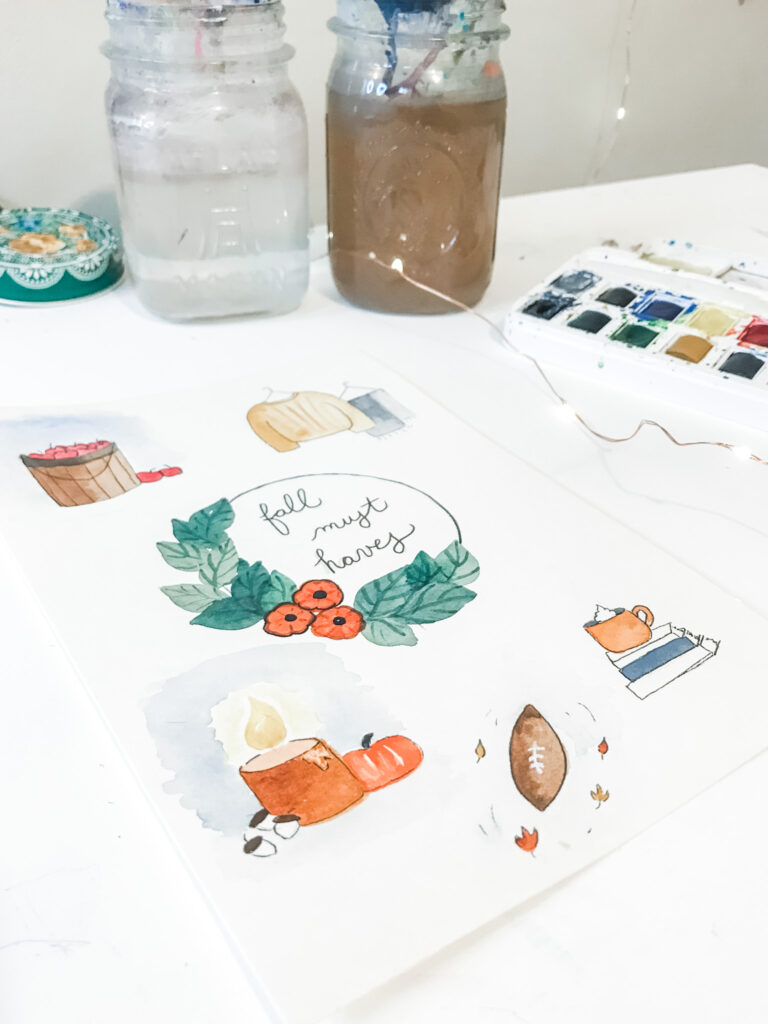
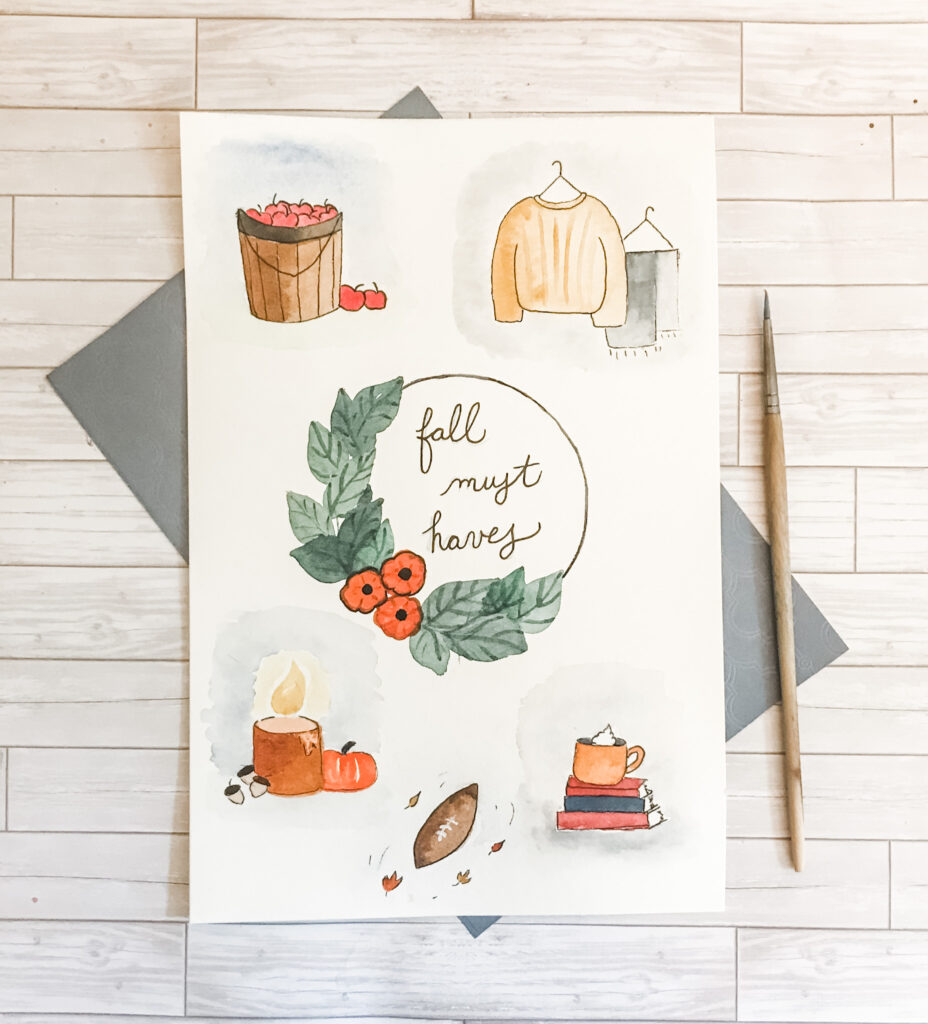
If you are like me you absolutely love the seasons, especially when it comes to crafts and decorating. So, today I am going to walk you through step-by-step how to paint your “fall must-haves” list for this season. I will show you using watercolor paint how to paint in five different fall doodles! Let’s get started.
Full Video Tutorial!
Supplies you’ll need:
Watercolor Paint
Watercolor Paper
Watercolor Brushes
Waterproof Pen
Two Cups of Water
Paper Towel
If you would like to see all the art supplies I recommend, check out, “My Supply List” page. Click HERE to check it out!
Colors Used:
Alizarin Crimson
Burnt Umber
Burnt Sienna
Yellow Ocher
Paynes Gray
Cadmium Yellow
Ultramarine Blue
Sage Green
Bright Orange
All of these colors can be found in this perfect beginner set of watercolor paints. This is the exact set I am using in the video above to create this painting. I highly recommend this product to you if you are looking for a beginner set of paints.
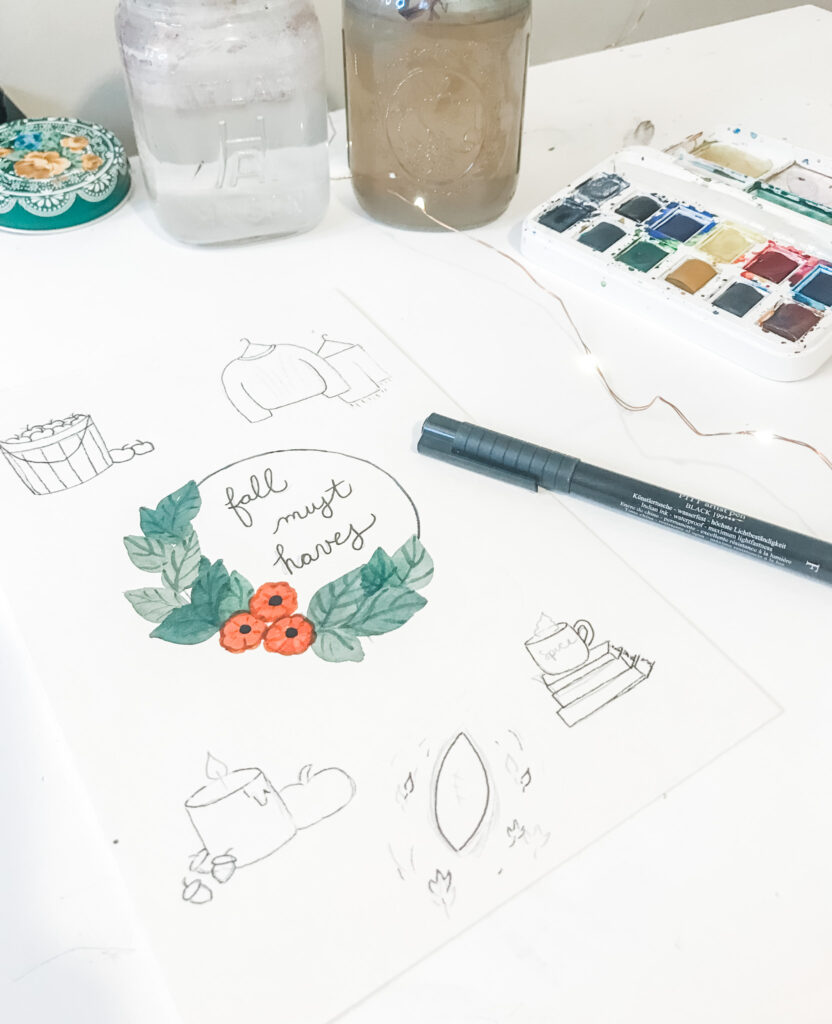
Step 1:
Trace a circle in the middle of your watercolor paper. This circle will become a wreath, where we can title our Fall Watercolor Doodle “Must Haves”. This gives your painting a nice centerpiece to put all of your “must-haves” around.
I choose to paint three pumpkins in a cluster on the bottom left side of my circle. Then I surrounded them on either side with large green leaves.
Once my leaves were dry I very carefully used my Paynes gray paint to trace over the rest of my circle to give it a finished look.
For more in-depth details on how to paint this wreath watch the video above. I will walk you through each step I took to create this wreath.
Step 2:
Now draw out a light sketch of each “Fall Must Have”. Use the picture below as a guide or play around with different design placements. Be careful to not erase too much on watercolor paper. Erasing too much can leave weird lines in the paper that will show up with the watercolor paint in place over it.
Once your pencil sketches are in place, use a waterproof pen to lightly trace over your sketches. I love adding the black pen line to watercolor doodles. It makes me feel like it completes my doodles and gives them a finished look.
Wait for the ink to completely dry before erasing away the leftover pencil marks.
You can always save yourself some stress and learn how to trace your picture onto a canvas by checking out “How to Trace a Picture onto a Canvas“. Knowing this hack will help save you time erasing over your expensive watercolor paper.
Step 3:
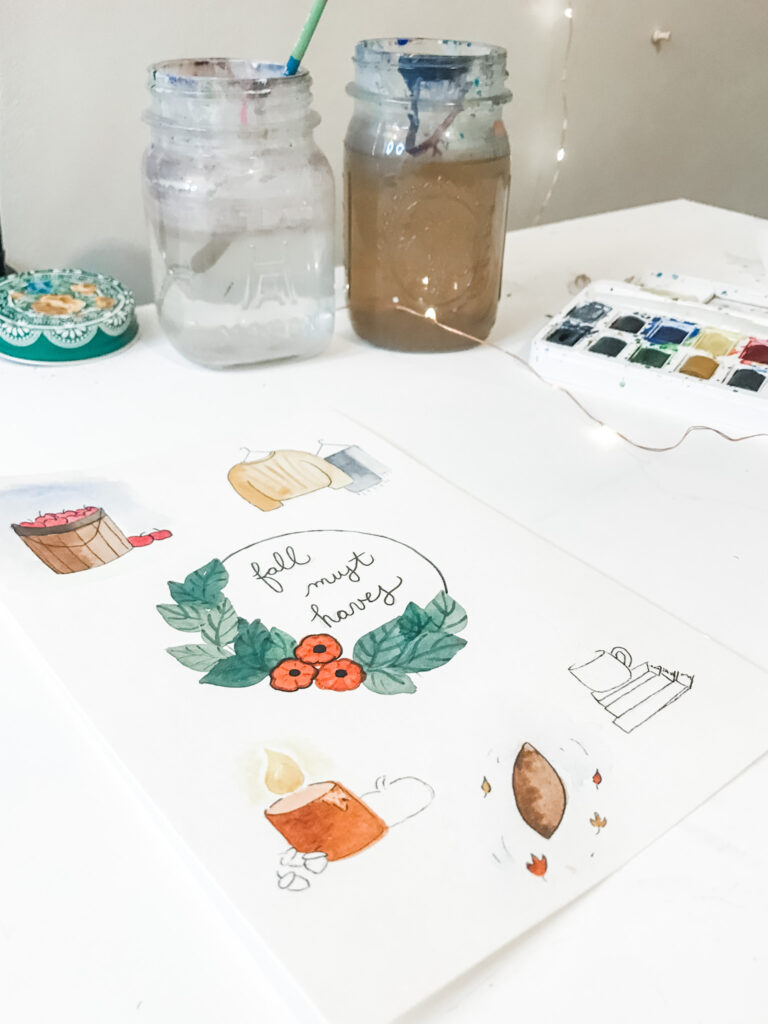
Now that our waterproof ink is in place we can use our watercolor paint to fill in each doodle. This is my favorite part! We are basically going to be coloring in our doodles like we would a coloring book, only using beautiful loose watercolors.
As we paint in each doodle it is good to go back and forth between each doodle to let certain areas dry before moving on. I will walk you through each doodle individually letting you know when to wait for a certain area to dry before continuing.
Apples Picking Doodle:
Dip your small round brush into your Alizarin Crimson and fill in each apple. You can be as detailed or loose as you want with this step.
While the apples are drying we can paint the bottom section of our bucket. Dip your brush into burnt umber and paint in the entire bucket area. Then while the paint is still wet over the bucket, dip your brush into a darker mixture (more paint than water) of burnt umber and tap in darker paint on the left side of the bucket to give it a natural shadow.
Wait for the apple section to completely dry before moving on.
Mix burnt umber and a little bit of Paynes gray and apply it to the bucket trim. Create a slightly darker mixture of this color and tap it into the left side of the bucket rim, as we did with the bottom section of the bucket, to add a shadow.
Next, carefully paint in a clear layer of clean water around the bucket. You do not want the water to touch the bucket or apples. Now tap in the Ultramarine Blue paint into the clean water, and carefully blend it around. This will give your bucket a very loose background. Repeat this step beneath the bucket with the Sage Green paint.
You may also like “Pumpkin Bread Recipe Card | Watercolor Tutorial”
Sweater and Scarf:
We will start with the sweater for this section. Dip your round brush into the Yellow Ochre paint. Begin painting on the left side of the sweater. Then clean your brush, dap off any dripping water, and blend the paint already painted on the sweater to the right side. This will give the base of the sweater a loose feel as well as some natural highlights.
Let the sweater dry before moving on.
Using the tip of your round brush, paint in slightly curved lines in the center of the sweater to give it some texture. You don’t want these lines to be too bold. You can always use clean water on your brush to blend any harsh lines.
For the scarf, we are going to use a similar technique to the sweater. Start by painting in the top left part of the scarf with Paynes gray. Then clean your brush and blend out the paint already on the brush to the rest of the scarf. You want the left side of the scarf to be darker since it is closer in perspective.
Candle:
Dip your paintbrush in the Burnt Sienna paint and paint in the entire candle with a light wash (more water than paint) of burnt Sienna. Then mix a thicker paint mixture of burnt Sienna and apply it to the base of the candle.
Next, use Cadmium Yellow to fill in the area where you would like your flame to be. Leave some white space at the top of the flame to create a highlight. Then use the remaining paint on your brush to create a glow around the candle. You want some white space left between the glow area and the candle flame.
Let both sections dry before moving on.
Create an even layer of clean water around the candle then tap in a paint mixture of Ultramarine Blue and Paynes Gray. This will create the illusion of a darker background. Repeat this step below the candle, pumpkin, and acorns using a light wash of Paynes Gray paint.
Wait for this layer to dry before moving on.
Now we can paint in the pumpkin and acorns around our candle.
Use the Orange paint mixture to color in the pumpkin. Leave white space on either side of the center of the pumpkin. These highlights will help the pumpkin appear round instead of a flat drawing.
Now for the acorns! Dip your round brush into a thick mixture of Burnt Umber. And fill in the top part of the acorns. Let this layer completely dry before painting in the bottom of the acorns. Once the top layer is dry, fill in the bottom of the acorns with a light wash of Burnt Umber.
Football:
We are going to fill in the football the same way we did the sweater and scarf doodle. Begin painting the left side of the football with a dark mixture of Burnt Umber, clean your brush off, and blend the paint to the other side.
Next paint in the leaves using Burnt Sienna and Yellow Ochre. Add a layer of clean water where we place the “wind” lines. And tap in a light wash of Ultramarine Blue.
Wait for your football base to completely dry before moving on.
Using either a thick white gel pen or white watercolor paint straight from the tube, add the center lines to the football.
Pumpkin Spice Latte:
Start by painting the base of the coffee mug with a light wash Burnt Sienna, then while the paint is still wet tap in a dark paint mixture of Burnt Sienna to the left side.
While the coffee cup is drying, use a dark mixture of Ultramarine Blue + Paynes Gray to fill in the center book’s binding. Leave the page area white.
Make sure the coffee cup is dry before moving on.
Using either the tip of your brush with Paynes Gray paint or using your ink pen sketch in the outline for the whipped cream.
Next, use the Alizarin Crimson paint mixture to paint in the top of the bottom books.
Wait for these two layers to dry before moving on.
Now you can paint in any remaining white area remaining around the whipped cream with Paynes Gray.
Last, but not least cover the coffee cup and books with a clean wash of water and tap in a light mixture of Paynes Gray paint.
That’s It! You’re done!
Thanks for painting with me today. I hope you enjoyed painting in these Fall Watercolor Doodles with me! If you’d like to see more paintings like this, please leave me a comment below. Before you go, don’t forget to follow me on Instagram, Facebook, & Pinterest, as well as sign up for our FREE weekly newsletter if you haven’t already! The newsletter will update you on new blog posts as well as a free monthly art print.
If you are an artist like me and would like to share your own ideas on your own blog, check out Blogging Blastoff. This is a full 4-week course that’ll teach you exactly how to set up a successful blog that makes money. But if you aren’t ready to purchase a full course, check out this FREE blogging course, Start A Blogging Business 5 Day Course, it will get you started on the right path in just a week.
3 thoughts on “Easy Fall Watercolor Doodles | Fall Must-Haves”